(The following took place on the week of November 05, 2023)
I’m using my table saw with its small surface size, cutting away at a large sheet of plywood.
I begin to struggle with the awkward weight of pushing this large sheet through the saw.
Suddenly…
![]()
![]()
![]()
ARGHHH!! OH NO!!
I awake in a cold sweat. It was only a dream. A dream that I just made up for this intro, but a dream, nonetheless.
Seriously, though, a table saw is dangerous! It’s time I made an outfeed table to help me work more safely and efficiently. Plus it would be nice to have a more stable work surface for other projects, as opposed to my unstable plastic table that is too low to the ground. And something with wheels so that I can move it around in the shop depending on where the work is.
Let’s make one, before that dream nightmare comes true! ![]()
 Planning
I want to make a table with these requirements, in no particular order:
- Stable—I don’t want it to wobble or move around while I’m working on it
- Mobile—I want to be able to easily move it around the shop
- Perfect Height—When the wheels are disengaged, I want the table to be the same height as my table saw surface so that I can use it as an outfeed table
- Low Friction—I want to be able to slide wood across the table easily during outfeed operations
- Large Surface Area—I want to be able to cut large sheets of plywood on it and also have ample work area, so it needs to be at least 4’ x 4’ (1.2m x 1.2m)
- Durable—I want it to last a long time and be able to take a beating
- Cheap—I don’t want to spend a lot of money on it
- Easy to Build—I don’t want to spend a lot of time building it
I have been very careful to not call it a workbench because it’s not. It doesn’t need to be near that level of awesomeness. It just needs to fit those requirements.
While I want the table to be durable, I’m also not naive—the top is going to take a beating. However, I can plan for this and make the top a sacrificial top so that the rest of the table can remain in use for much, much longer! You’ll see how I do this later.
 Building
I actually have all the tools for this one! And I’ll get to try out my new table
saw miter gauge ![]()
I just need to buy some materials, cut and build it, then sand and finish it!
Sounds like a short, but high value, project to me! ![]()
 Materials
I go to Lowe’s with my wife ![]() and we pick out some 2x8 lumber (38 x
184mm), 4” posts (89 x 89mm), and a full 4’ x 8’ sheet of plywood (1.2m x 2.4m).
The full sheet won’t fit in our vehicle, so I have them cut it in half for me to
be the final size of 4’ x 4’ for the table. Even if I didn’t need to cut it in
half while still at the store, I wouldn’t want a single 4’ x 8’ table in this
workshop anyway.
and we pick out some 2x8 lumber (38 x
184mm), 4” posts (89 x 89mm), and a full 4’ x 8’ sheet of plywood (1.2m x 2.4m).
The full sheet won’t fit in our vehicle, so I have them cut it in half for me to
be the final size of 4’ x 4’ for the table. Even if I didn’t need to cut it in
half while still at the store, I wouldn’t want a single 4’ x 8’ table in this
workshop anyway.
I do get enough wood to build two tables, just in case I end up wanting two in the future. Plus, my workshop is devoid of any spare wood right now, and this has caused me issues already, so it’s time to correct that!
 |
|---|
| The wood for the table, long enough to max out the interior of a Tahoe |
We also pick up:
- star drive construction screws (highly recommend)
- pocket hole screws
- more water-based polyurethane that I enjoyed using on the hair bow box project
- blue paint for the edges of the plywood—you’ll notice as time goes on my
blue and black aesthetic for the workshop

I’ve already ordered the wheels online, and already have some paintbrushes. I still have plenty of paste wax that I use around the workshop for the final slick surface.
 Cutting to Size
My plywood is 0.75” (19mm) thick, so I cut the posts to be that much shorter than the surface of my table saw. This way, when I put the plywood on top of these legs, it will be flush with the table saw surface.
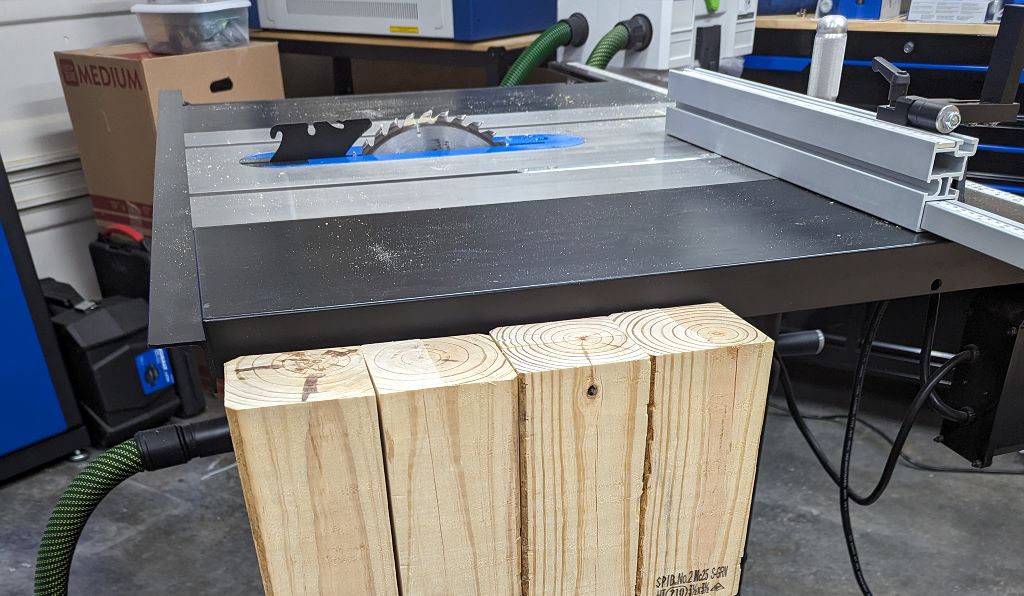 |
|---|
| The legs cut to size, allowing for the thickness of the plywood to go on top |
The plywood will not be directly attached to the legs, but rather the frame I will be building out of the 2x8s. I’ll cut those now.
First, I cut the 2x8s longways, so that I can get two 2x4s (38 x 89mm) out of each 2x8. This will be the frame of the table. Next I cut 4 pieces total to be around 4’ (1.2m) long so that they will fit within the plywood area, underneath. I trim a little off of two of these pieces so that they’ll make a proper joint with the other two pieces.
In order to be able to attach the plywood to the frame, I drill some pocket holes along what will be the outside edge of the frame. I am now ready to assemble the table!
 Wood Assembly
I assemble the frame and legs first, using the plywood itself as my work surface—this is both because I need a larger work surface than my small plastic table can handle, and so I can make sure everything is perfectly flush on top of the frame for when I’m ready to assemble the plywood to the frame.
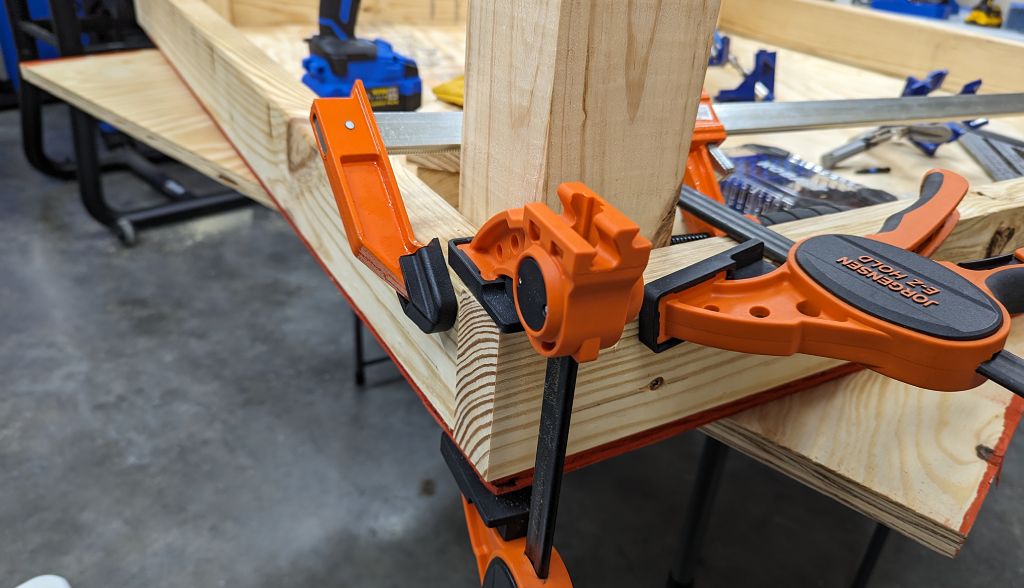 |
|---|
| The frame and leg on a single corner clamped, ready to be screwed together, with the plywood on the bottom (the table’s top) to make sure everything is flush |
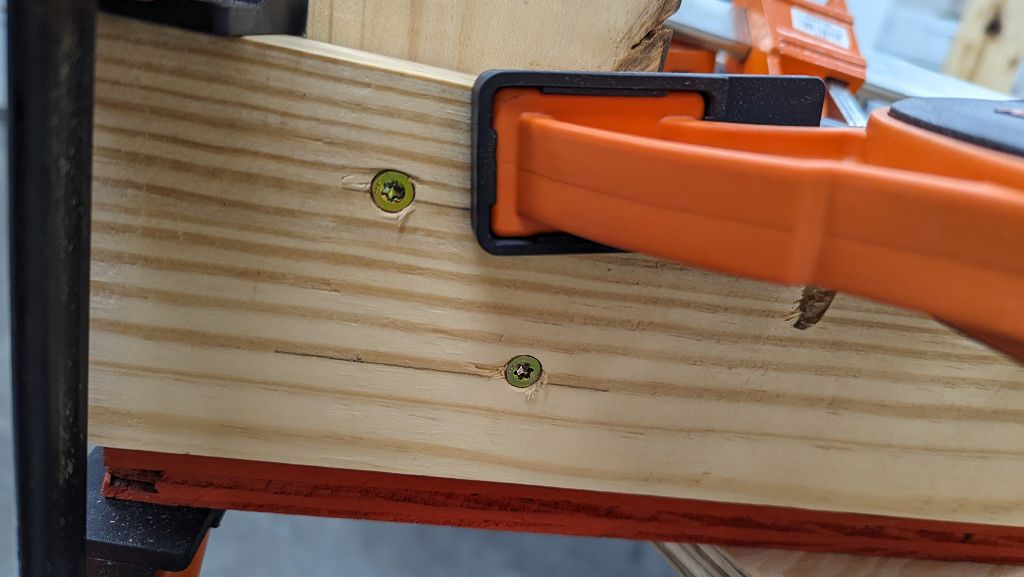 |
|---|
| The frame and legs on a single corner screwed together with 2 screws while clamped, with another 2 screws used after unclamping (not pictured) |
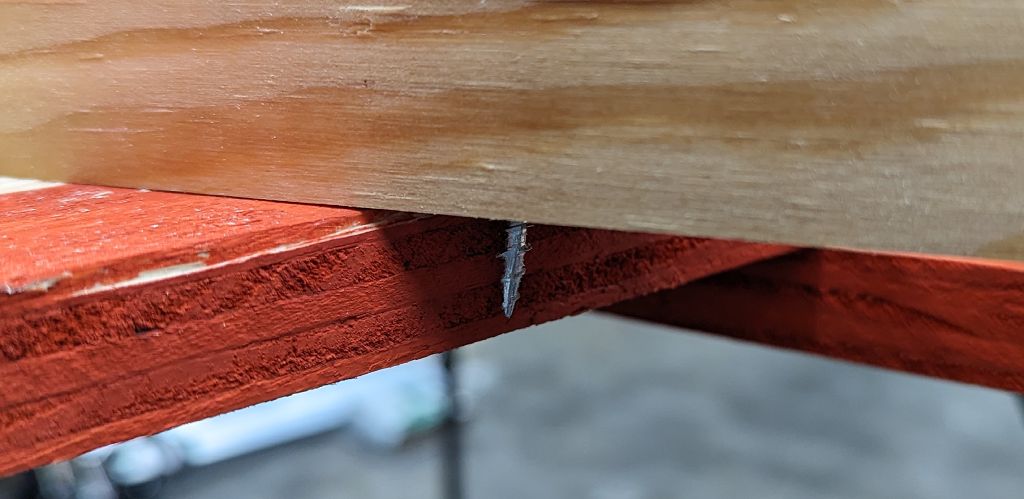
Now that all the legs and frame are screwed together, I need to attach the plywood to the frame. I already have the pocket holes drilled for this, but I’m unsure which length screw I need—I’m still new to pocket hole joinery!
I have a few to try out. I want them to go as far into the plywood as possible, but without risking coming out of the top. It would be unfortunate to slide wood across the table and have it marred by a screw!
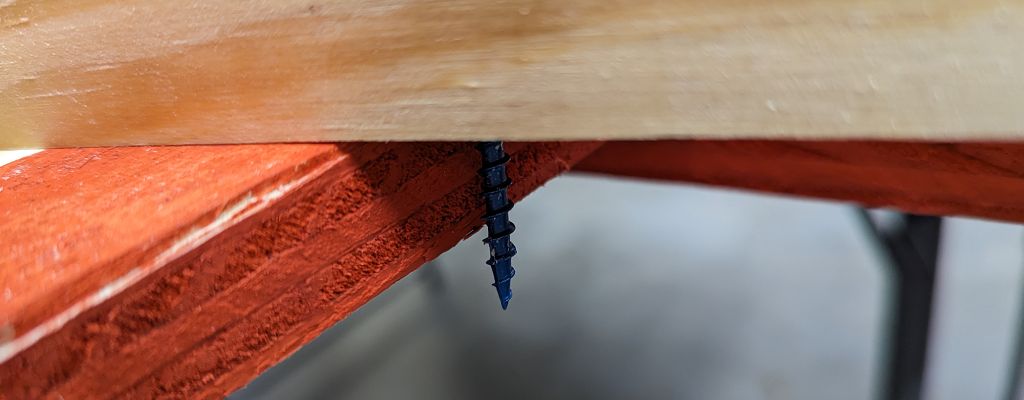 |
|---|
| The screw is too long and would come out the top of the plywood, so I can’t use this size |
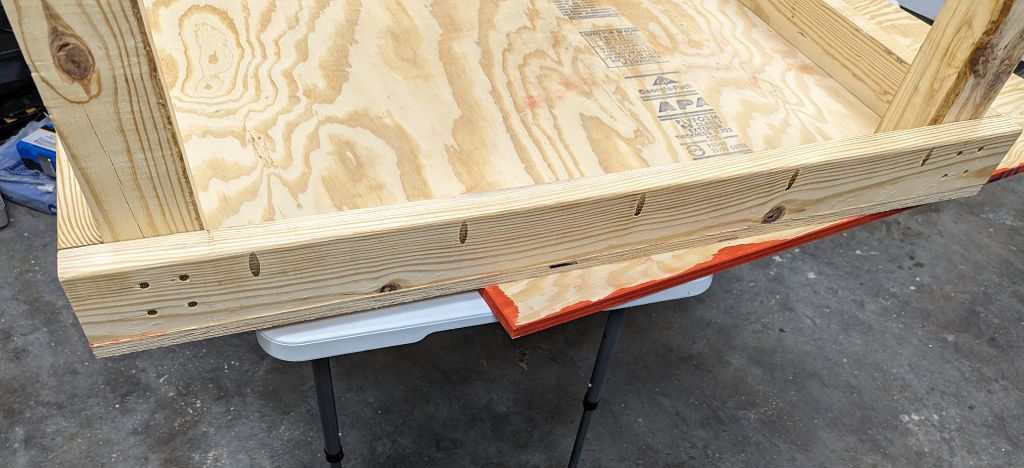
 |
|---|
| This 1-1/4” (32mm) pocket screw is the perfect size, going into the plywood as far as possible without coming out the top |
I clamp the plywood in place to the frame. Now comes the fun part… rapidly
screwing in all the screws! It’s fun because all the holes are already drilled,
and I can just go wild with the drill ![]()
After only a couple more minutes, it’s done! Well, the wooden structure is, anyway.
 |
|---|
| The wooden structure of the table is assembled |
I now, officially, technically, have a table ![]() But I can make this
so much better!
But I can make this
so much better!
 Next Time!
In the next article, I’ll finish the table by adding the wheels, painting the edges of the plywood, and finishing the top with polyurethane and paste wax. I’ll also show you how I make the top sacrificial so that it can be replaced in the future.
![]() Pixel
Pixel