Bookshelf woodworking isn’t all about the wood, it’s also about the finish! I’ll
show you how to apply finish to the Airy Bookshelf DIY, and how to align
everything for the final assembly by using dowel transfer plugs. There’s a lot
to do, and a big finish mistake to fix in this article, but it’ll all work out
in the end 
 Starting Point
 |
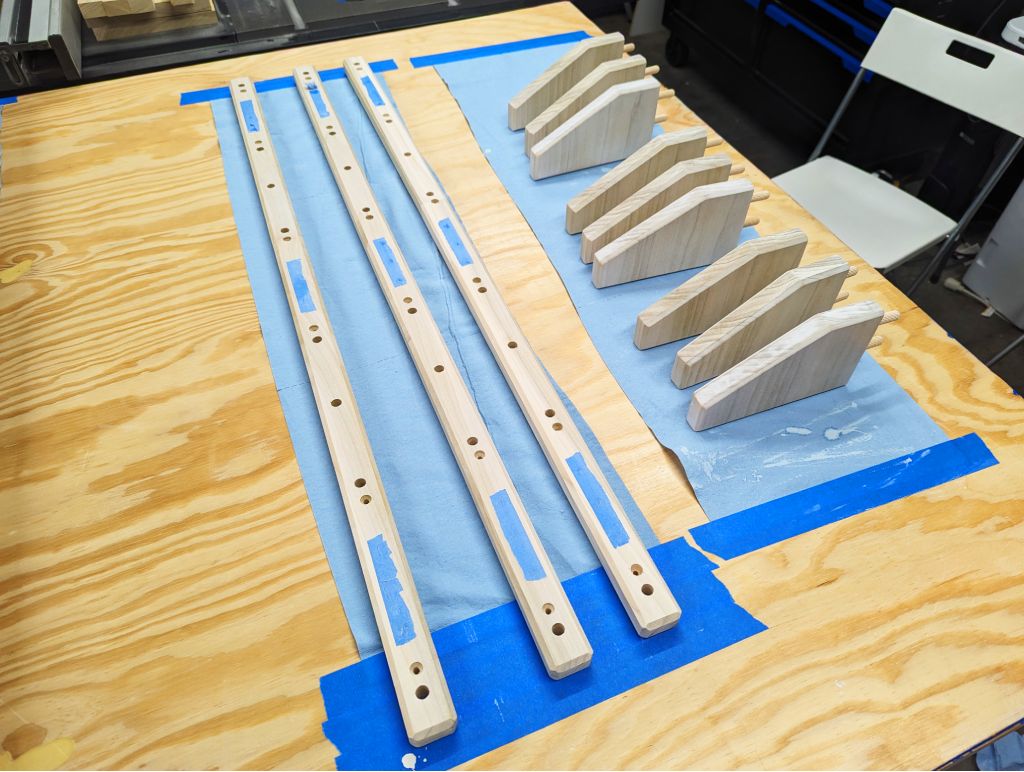
In the last article, everything is now chamfered, sanded, and the wood dust cleaned off with mineral spirits. We. Are. READY!  |
 Whitewashing Wood… or am I??
 |
While my wife Story  makes the whitewash as previously planned, I prepare the parts by taping over the areas on the wall brackets that we’ll be gluing later. I won’t tape the back sides of the shelf brackets, since we can just not put the whitewash on the entire side where the holes are. makes the whitewash as previously planned, I prepare the parts by taping over the areas on the wall brackets that we’ll be gluing later. I won’t tape the back sides of the shelf brackets, since we can just not put the whitewash on the entire side where the holes are. |
 |
| We start by applying whitewash to the shelf brackets. After we apply it on the third shelf bracket, we start to get a bit nervous at the look… |
 |
Upon closer inspection, our worst fears are confirmed! It’s splotchy on the end grain!!   |
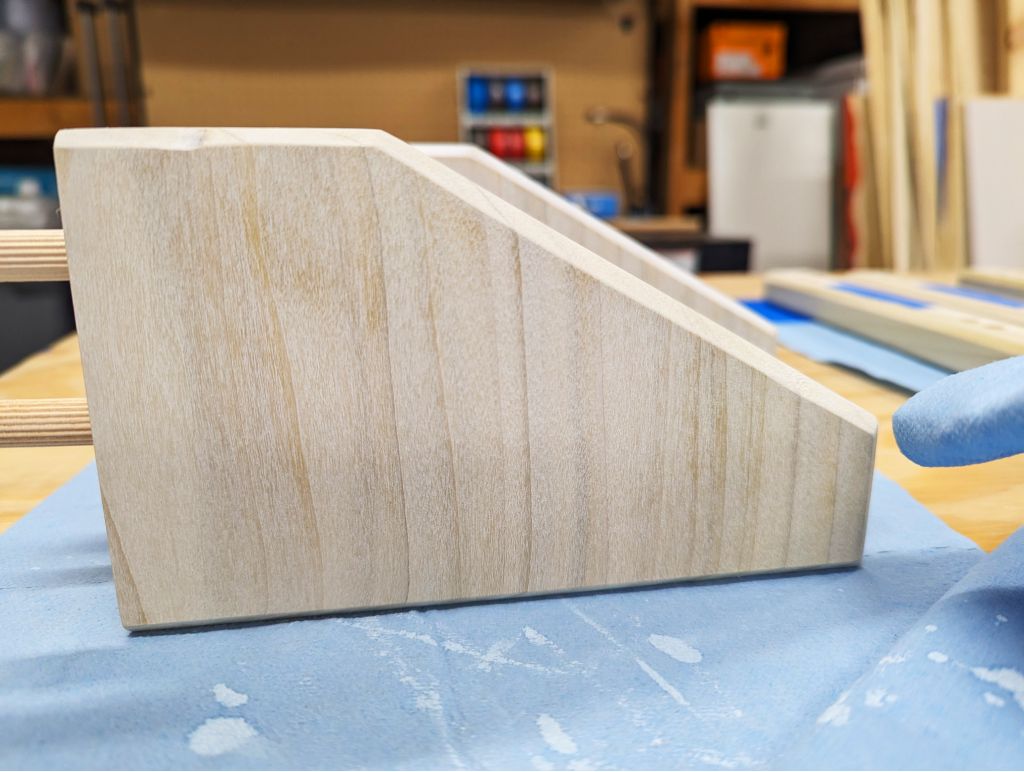 |
Even the sides aren’t looking even! Despite all our testing on the scrap cutoffs, which was on the very same poplar as we’re using here, it’s not looking good now  |
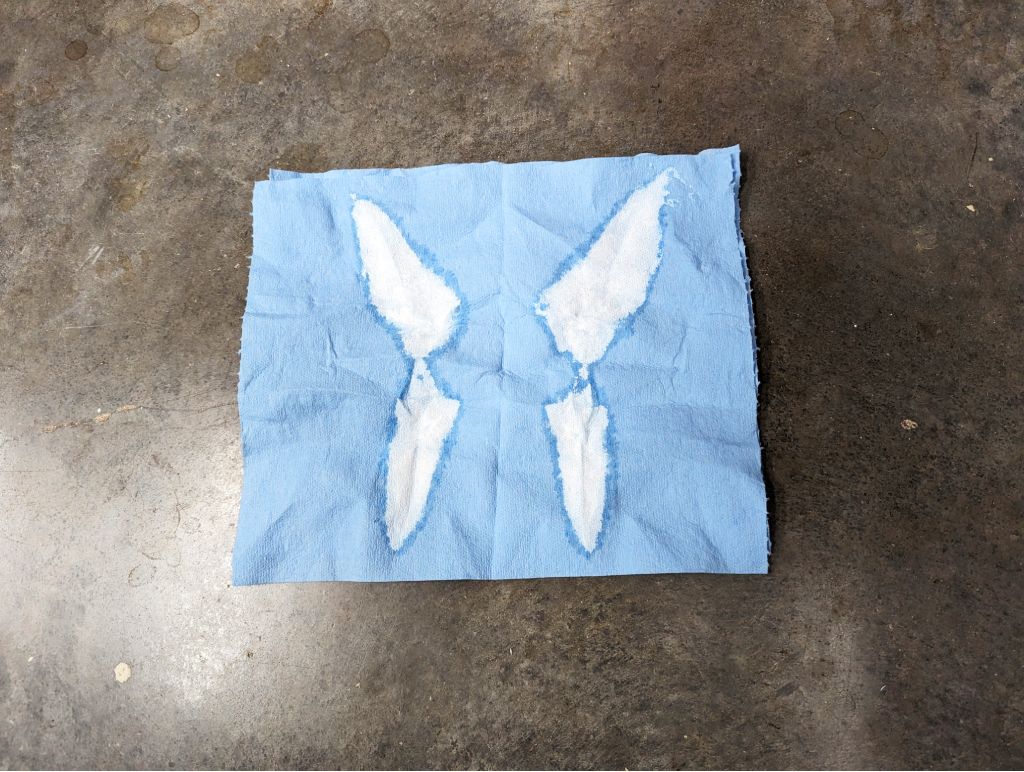 |
While we research other finish options, we decide to take a Rorschach (inkblot) test with the unfolded paper towel we were using to apply the whitewash. Story sees a butterfly. I see a further-delayed project  |

 Osmo Wood Wax = Better
After a day or so of research, I think I have a solution to our finish issue!
And this one is better in every way (except cost), including hiding the green
color of the poplar!
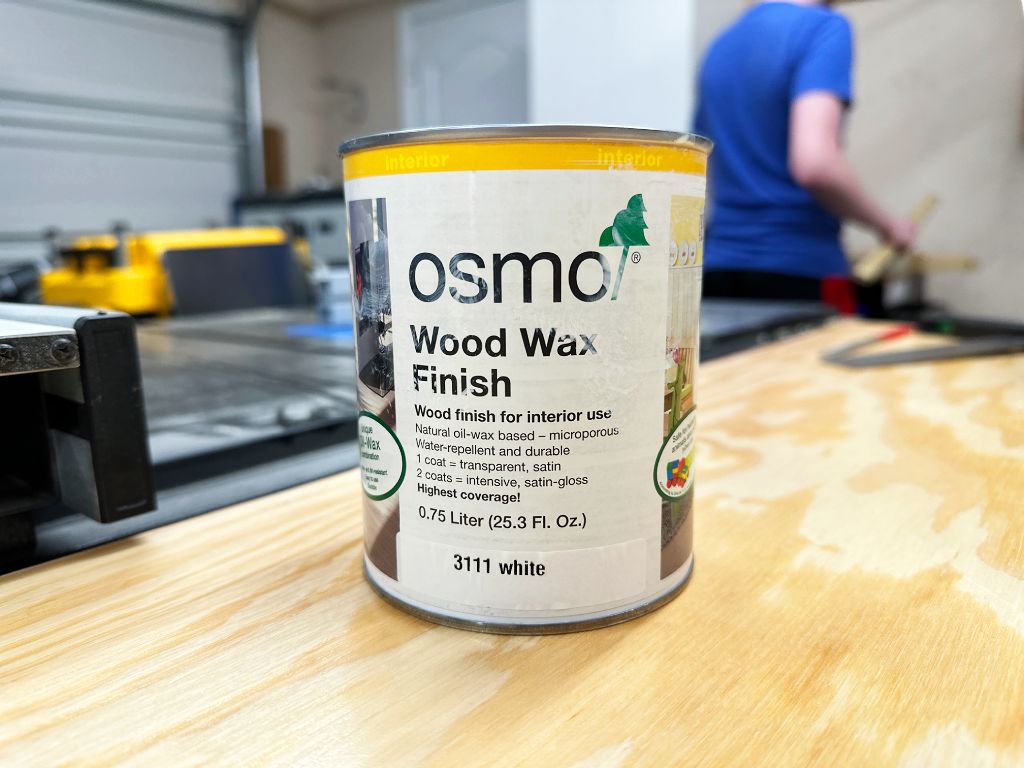 |
| It never feels great to make quick decisions on something important like selecting a finish, but this Osmo wood wax product seems durable, easy to apply, and looks great in the videos we watched! Picked up some of the white at our local Woodcraft, and now we’re ready for attempt #2 |
 |
| After testing on a scrap piece (not pictured), I start by applying it on the long wall brackets. Less end grain to go wrong here while I get used to it! |
 |
| I’m satisfied with the look on the wall brackets, so I turn my attention to the shelf brackets. While applying the wood wax, I can tell it’s going in a positive direction! I’ll need a second coat, but that is an easy fix! |
 |
| I wait a few hours and apply a second coat to both the wall and shelf brackets. These shelf brackets look much more uniform now with their color. |
 |
| And the wall brackets also have a better color to them now! Both the wall and shelf brackets will look even better once they dry, so I’ll leave them to do that overnight |
I go ahead and take the opportunity to apply wood wax to the 3 shelves, too.
Unfortunately, I apparently did not take a picture of this… My wife Story
was a big help here to get the wax uniform on these large pieces! I’ll
get to show you the shelves later in this article when I buff out their finish,
though 
 Gluing Bracket Assemblies
I come back the next day, and the brackets are dry and look great! But…
 |
It seems we had a visitor last night! The VOCs from the Osmo wood wax weren’t too bad, but it still must have been enough to attract this guy! Thankfully, it looks like everything was mostly dry before it landed on it, so, a quick brushing off…  All better! All better! |
Now that that’s out of the way, I need to figure out what I can do with the 3
blotched shelf brackets that we attempted to whitewash earlier… I know! I can
just place these blotched shelf brackets on the bottom of the bookshelf!
 |
| I can put these blotched shelf brackets on the bottom of the bookshelf, and nobody will ever notice due to the lighting! Everyone, even professionals, makes mistakes on their projects. The key is figuring out how to adapt |
 |
| I start gluing the shelf brackets in place on the wall brackets. You can tell by how the joint looks that it fits extremely precisely! That’s a combination of good table saw cuts and the Dowelmax doing its job very well |
I do this will all 9 shelf brackets and 3 wall brackets, but I’ll make you wait
just a couple more minutes before I show off what these bracket assemblies look
like after they dry  Things really feel like they’re coming together now!!
 Buffing the Wax
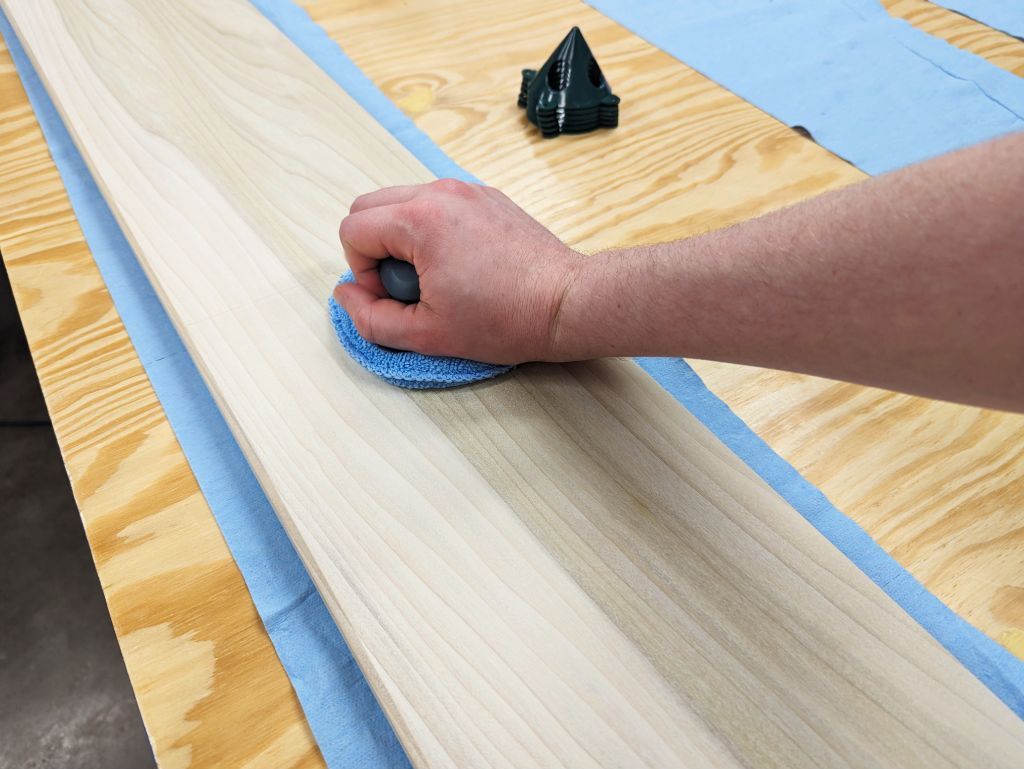 |
While I’m waiting on the glue to dry on the brackets, I decide to start buffing out the shelves. Don’t these shelves look absolutely   ?! But, WOW, is it INCREDIBLY hard to buff this by hand! My elbow is throbbing after just a few minutes ?! But, WOW, is it INCREDIBLY hard to buff this by hand! My elbow is throbbing after just a few minutes  |
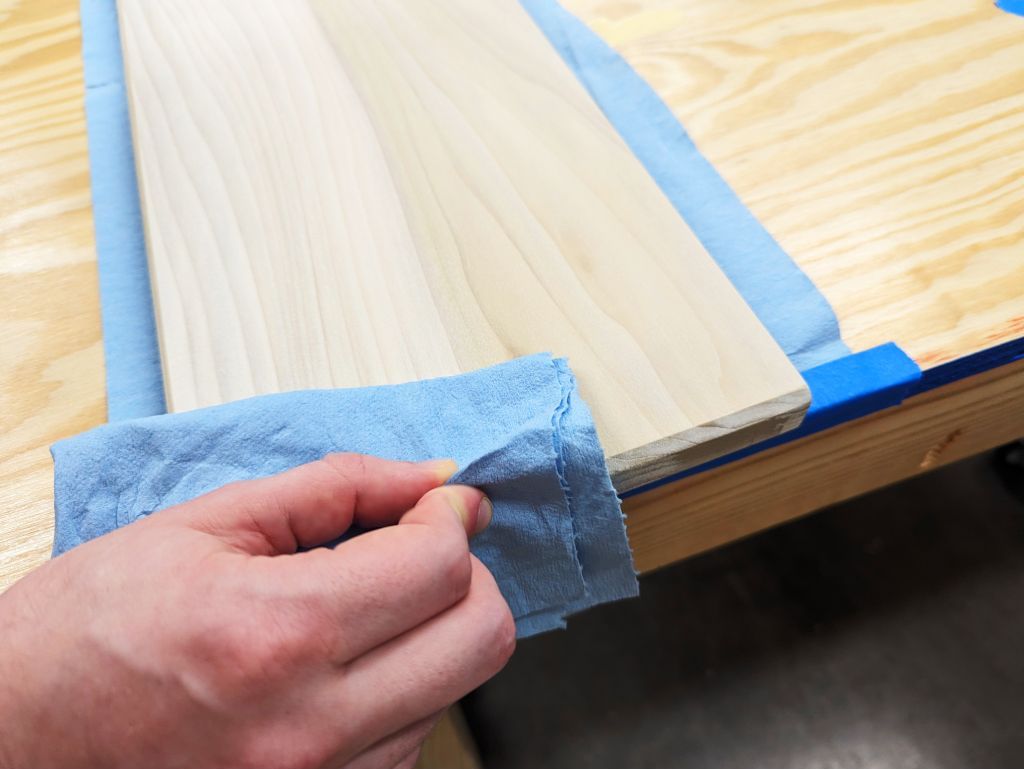 |
That’s okay, I can come back to the shelves. For now, I can buff these small surfaces like the sides and chamfers by hand. I’ll come back to this step later when I get another tool I’ve had my eye on for a while now…  |
 Vanity Plates
A quick reminder that I’m going to be adding some vanity
plates to the
bookshelf. The vanity plates’ only purpose is to hide the fasteners that will be
holding the wall brackets to the wall. I’ll also be making a chamfer on their
edges to match the rest of the bookshelf.
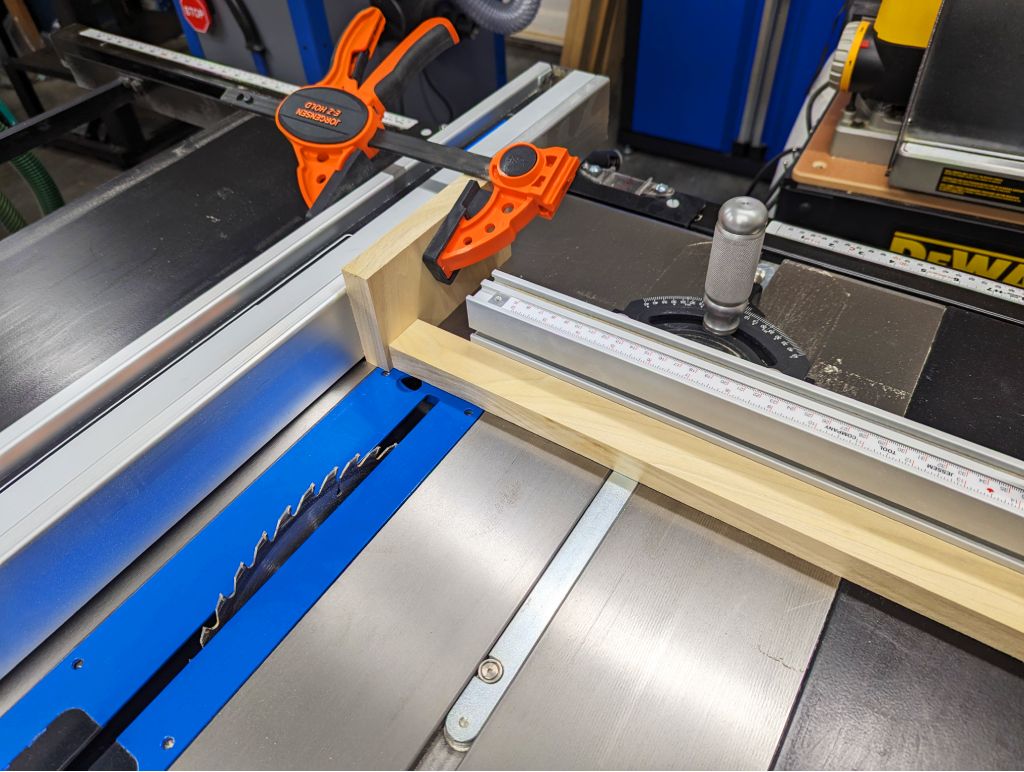 |
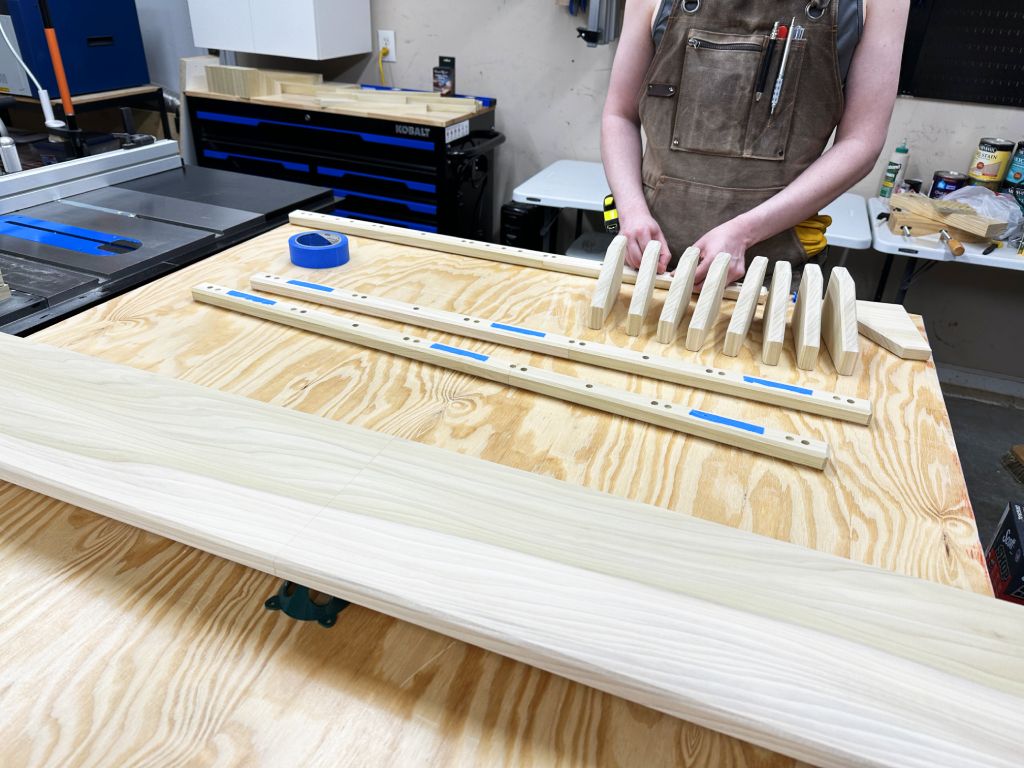
I set up my table saw to quickly cut my 6 short and 6 long vanity plates uniformly. The setup here is for short vanity plates. I make sure that my wood cutoffs will not be touching the fence at the same time they are touching the blade. Otherwise, that can cause the cutoff to get pinched and shoot back at me like a bullet  |
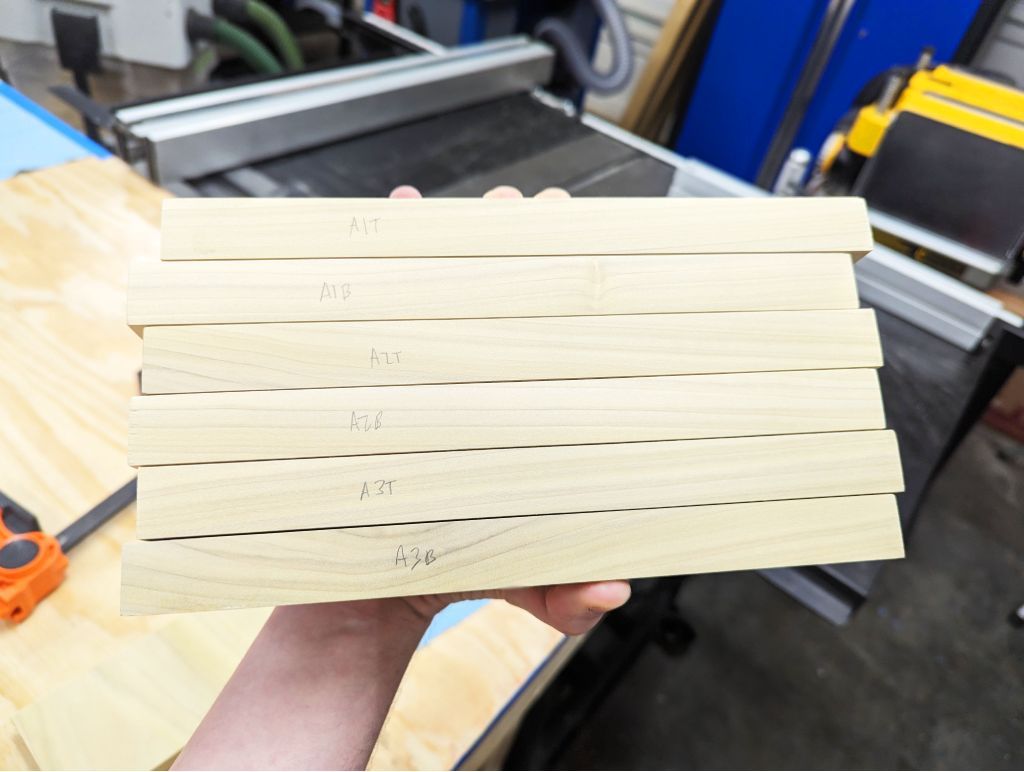 |
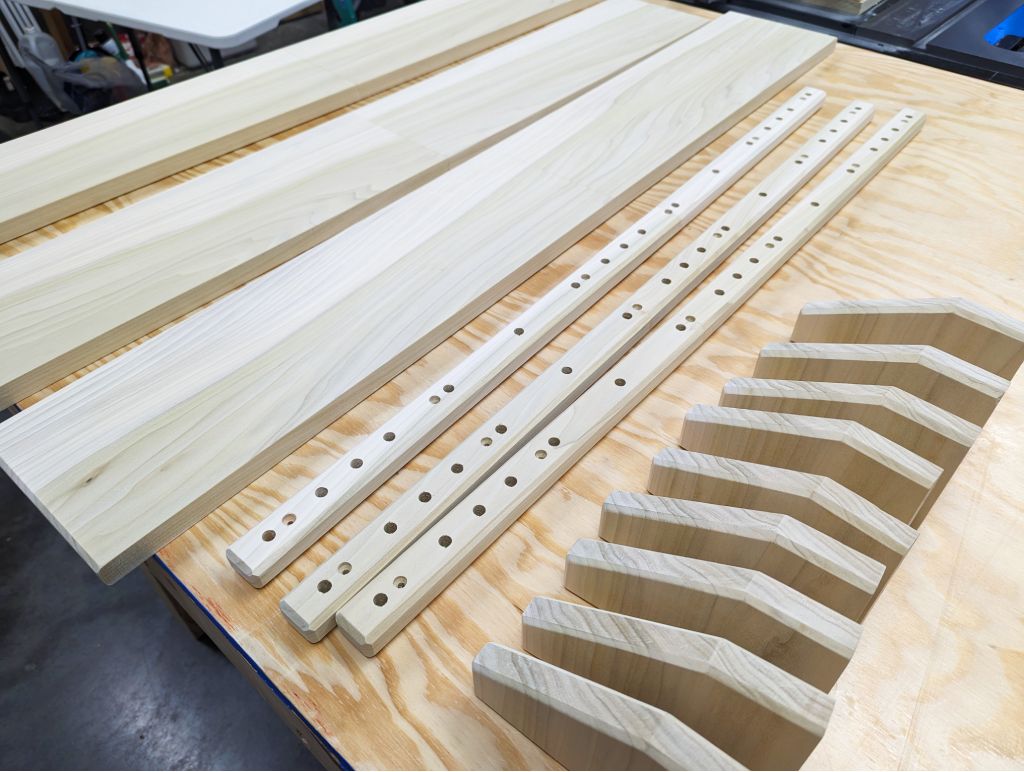
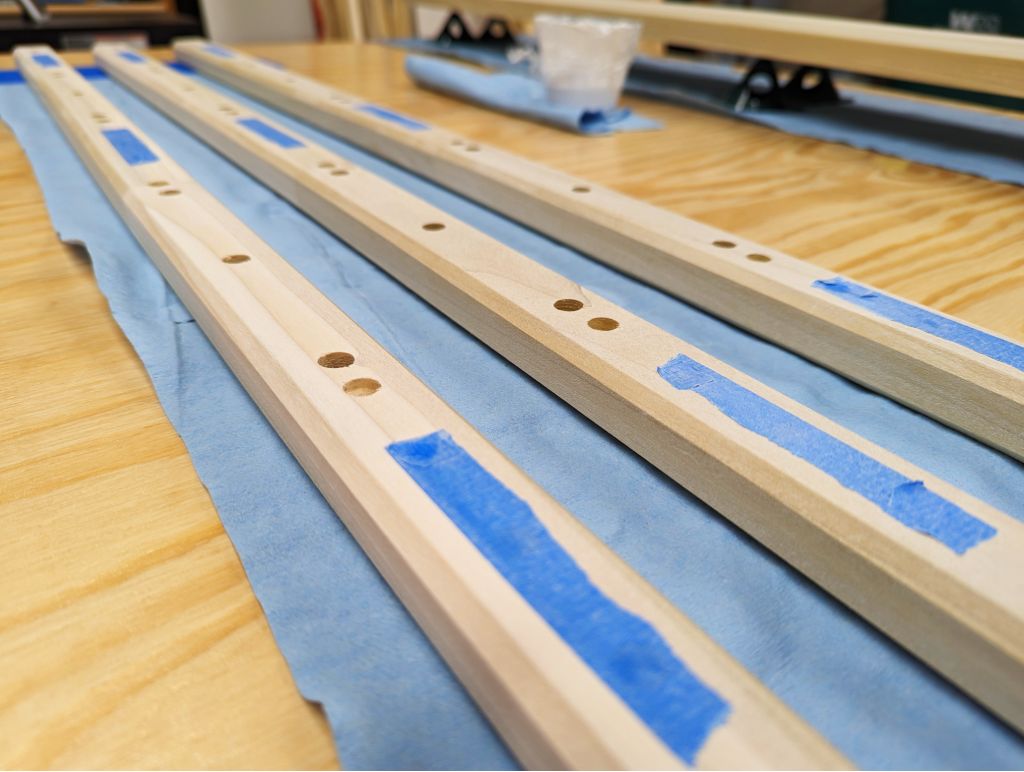
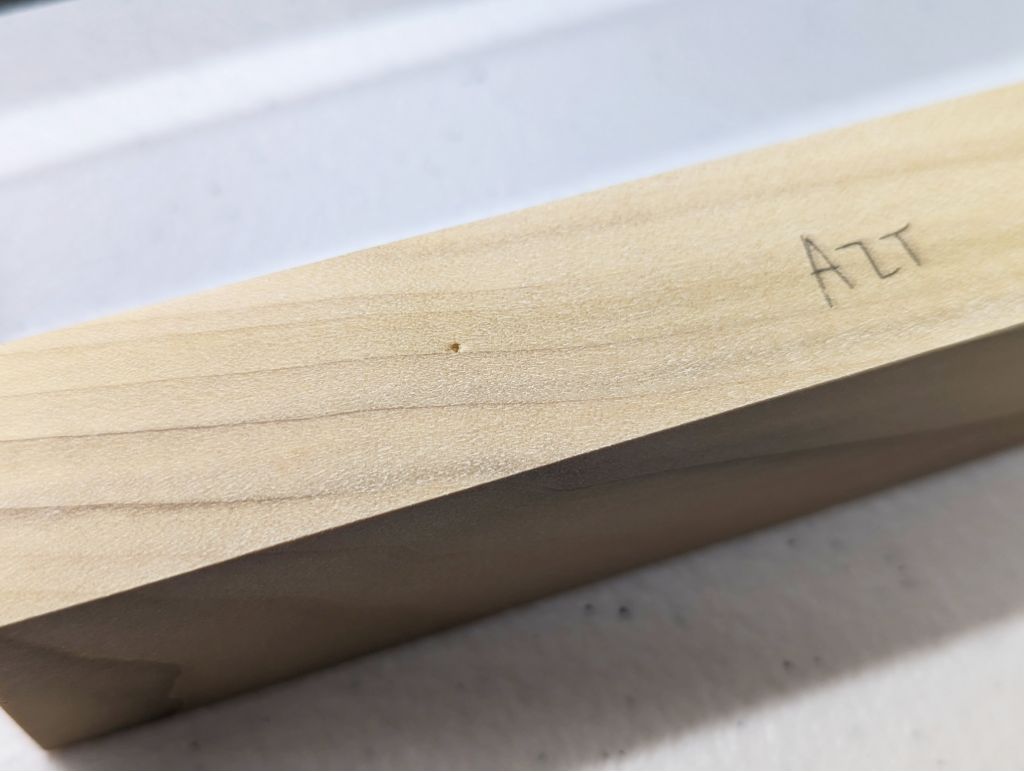
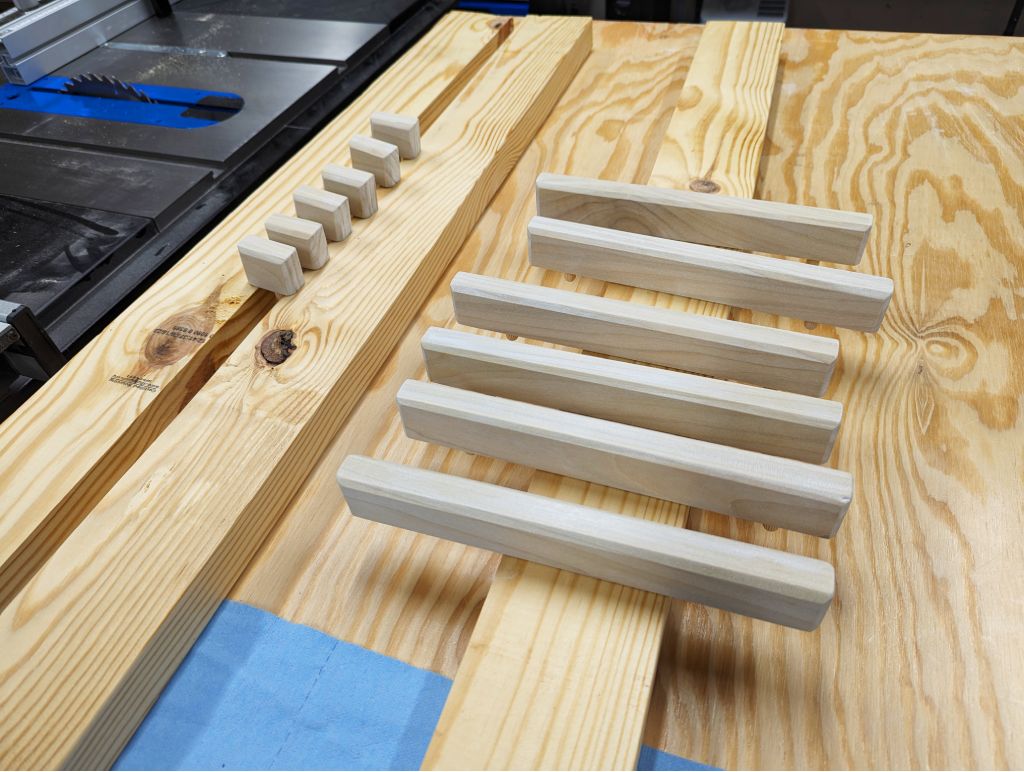
| After just a few minutes, I’m done! Here are my 6 long vanity plates, all cut the same. I go ahead and label them with where they will go on the wall brackets based on how much I like the grain on each one—better grain means it’s going closer to eye level! |
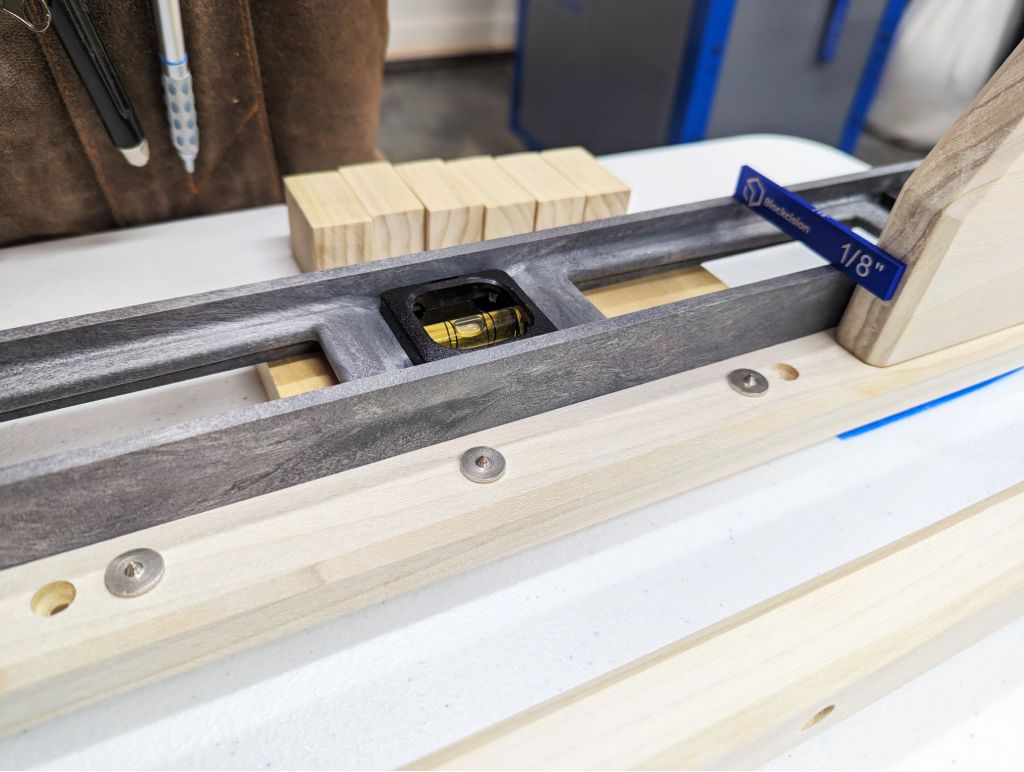 |
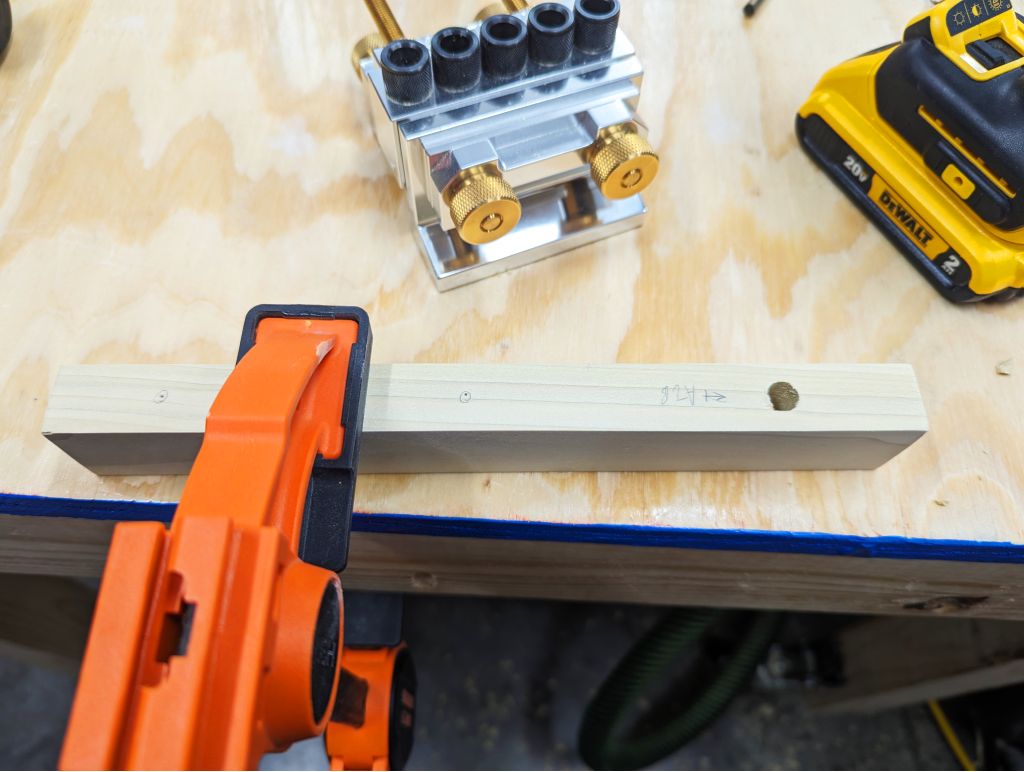
| Time to figure out exactly where the long vanity plates should be attached. This will require some set up! I take each bracket assembly and stick in my 3 metal dowel transfer plugs which have a marking spike in the middle. I press my small bubble level up to one side of the assembly, and a 1/8 in (3.2 mm) spacer touches the bottom of a shelf bracket. |
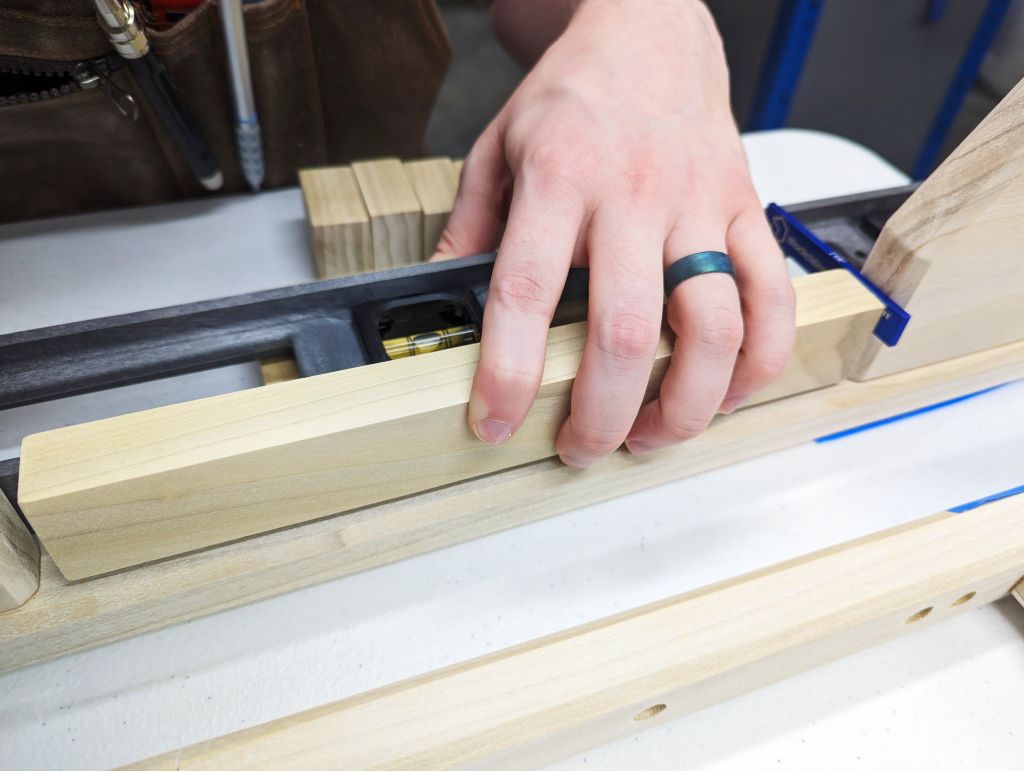 |
| I take a long vanity plate and press it up against the level and the spacer, making sure I keep the level pressed against the side of the bracket assembly. Once I’m sure it’s all lined up, I press down on the long vanity plate, piercing it with the 3 dowel transfer plugs underneath. |
 |
| And just like that, I have 3 precise divots in the vanity plate, ready to be drilled out for dowels! Since the divots are so small, I’ll circle them so I can see them easier for the next step. |
 |
| I use the Dowelmax to help me drill out the holes. Since I circled the divots, it makes it easier to look inside the hole of the black drill guide and verify my position before I start drilling. I realize that two dowel holes is plenty to secure this non-structural part to the bracket assembly, so I won’t bother drilling the middle hole. |
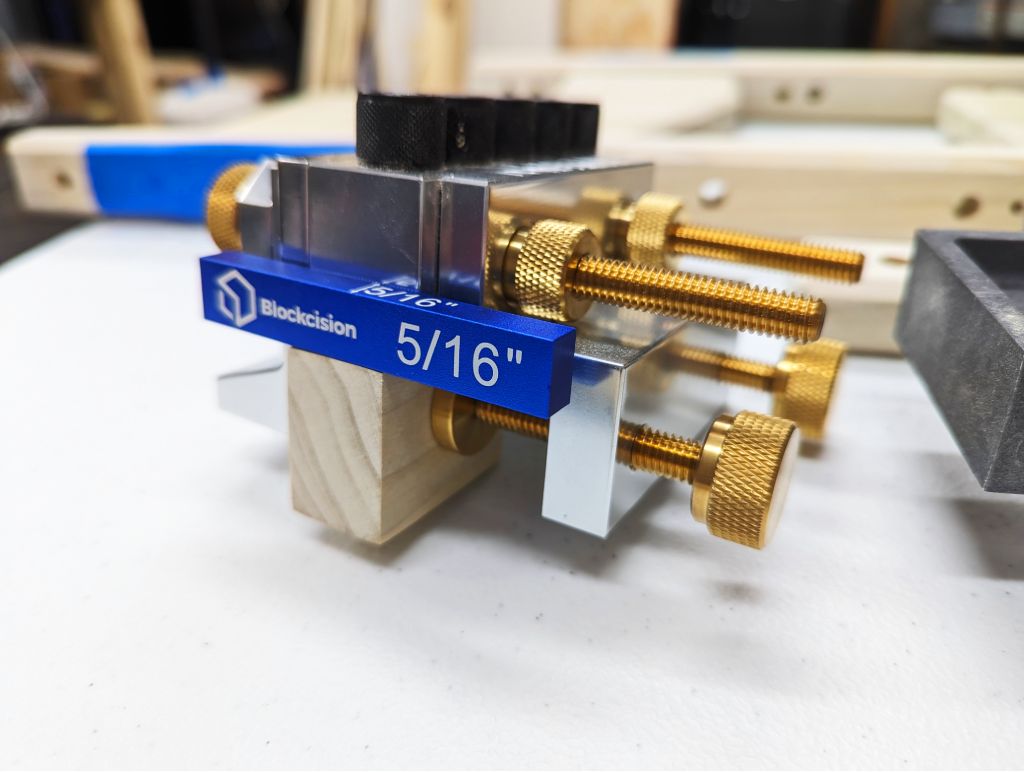 |
| After I finish with the long vanity plates, I turn my attention to the short ones. These are a bit different to line up, so I end up just deciding on a 5/16 in (8 mm) spacer to offset the end of my Dowelmax, and I drill a single dowel hole. It’s quick and easy, without sacrificing any of the looks after it’s assembled. |
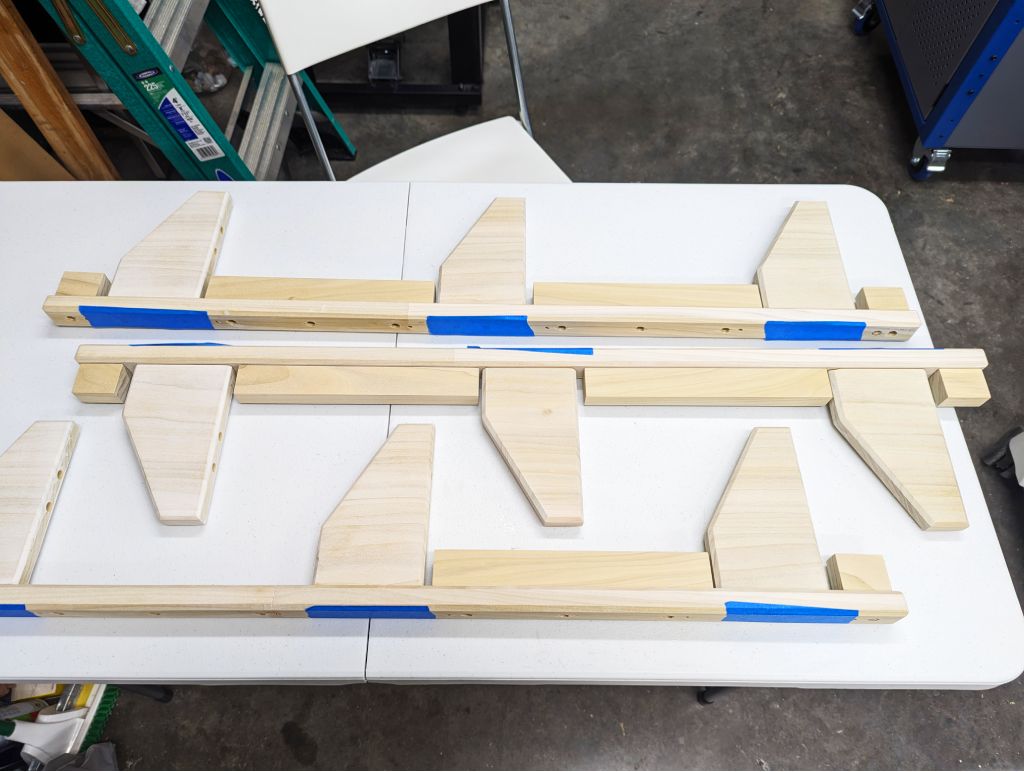 |
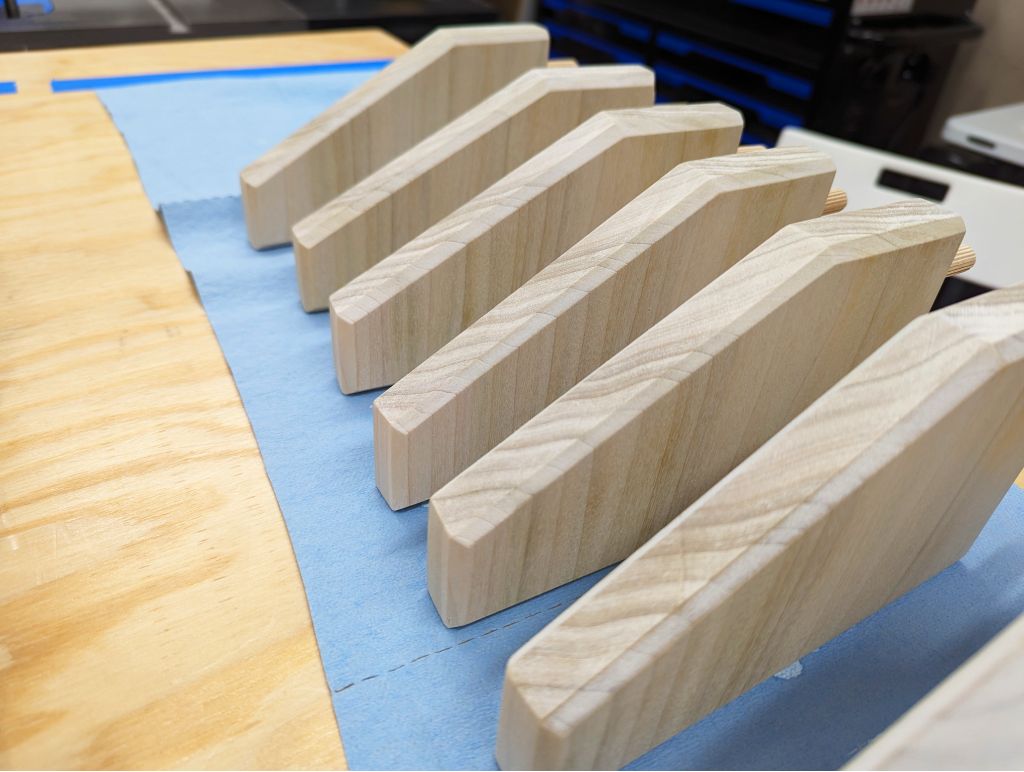
| It’s been 1-2 hours since I started at the table saw, and I now have all my vanity plates attached to the bracket assemblies! Ignore that one that is missing in the bottom left. It’s done, it’s just already waiting at the router table for chamfering, which I will do to all of them shortly! |
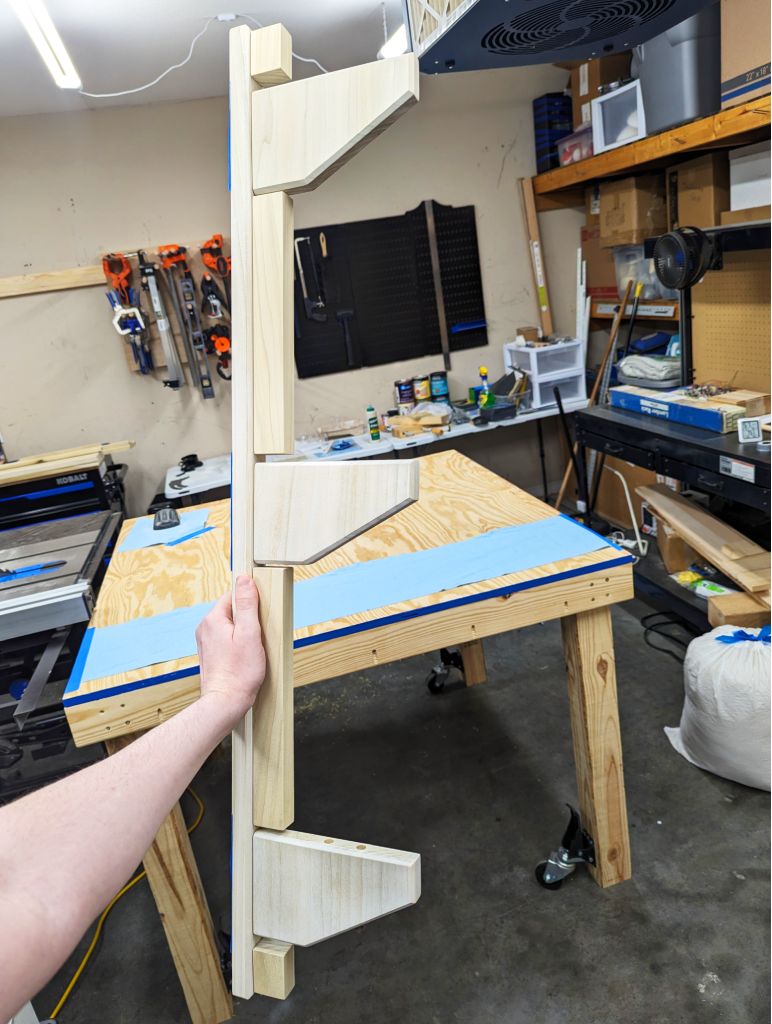 |
| I hold up one of the bracket assemblies to get a better idea of how this will look vertically on the wall. I’m very excited!! But first, I’ll disconnect all the vanity plates, then have a quick router table session to make all the chamfers, just like I’ve done before. |
 |
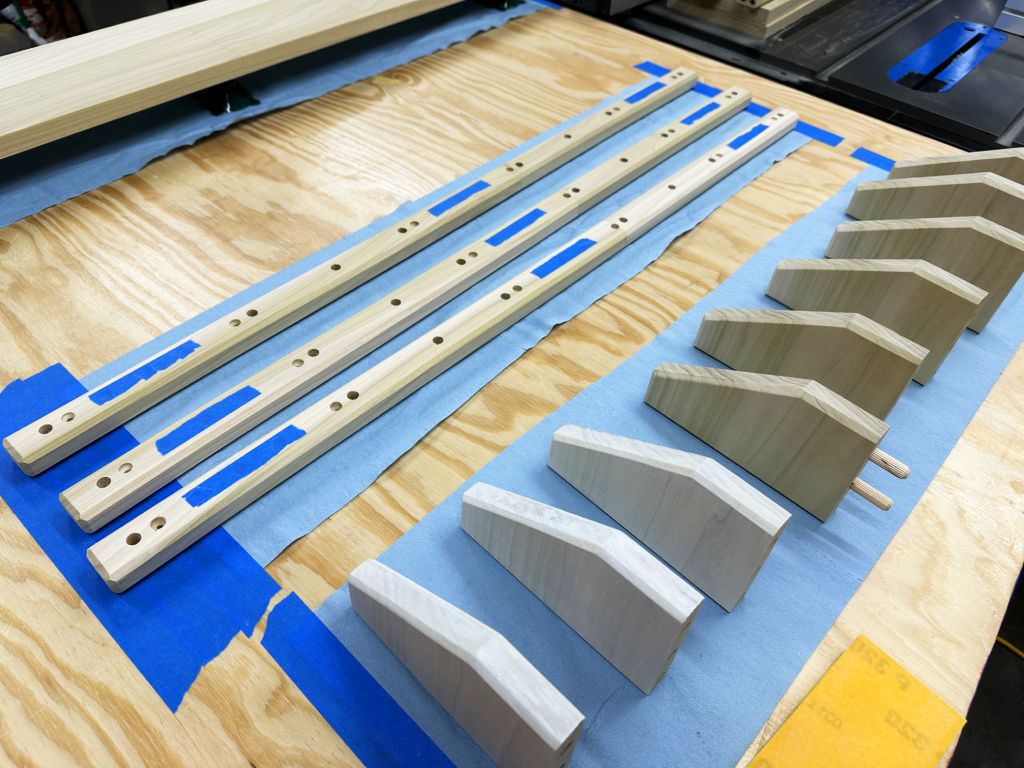
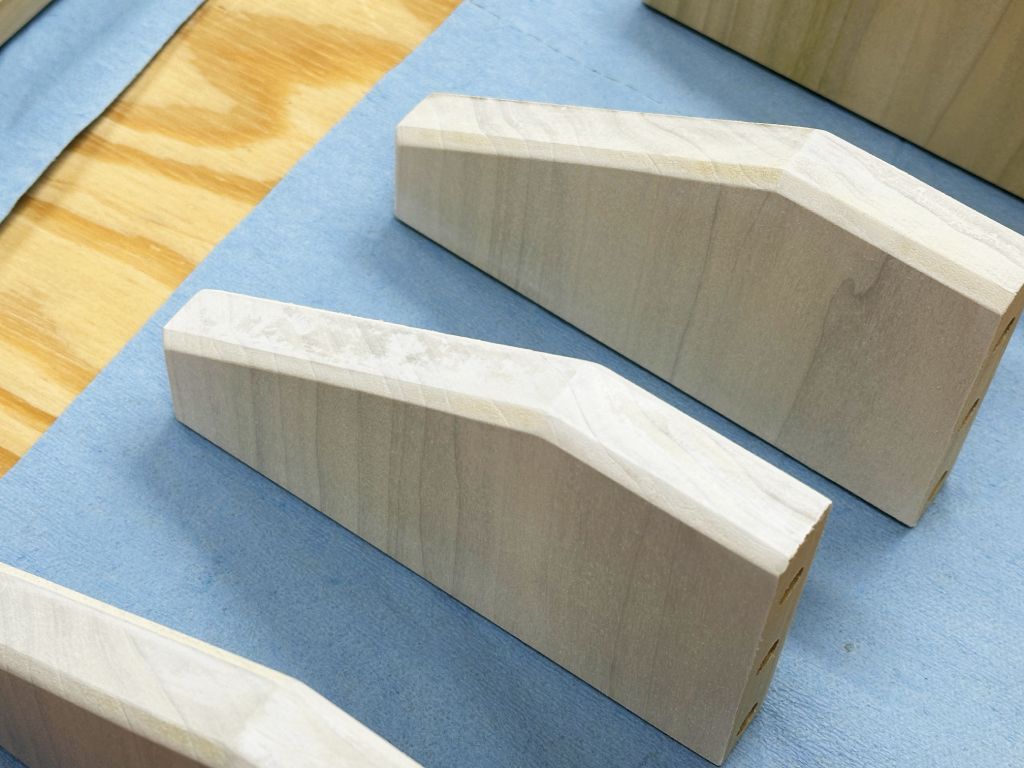
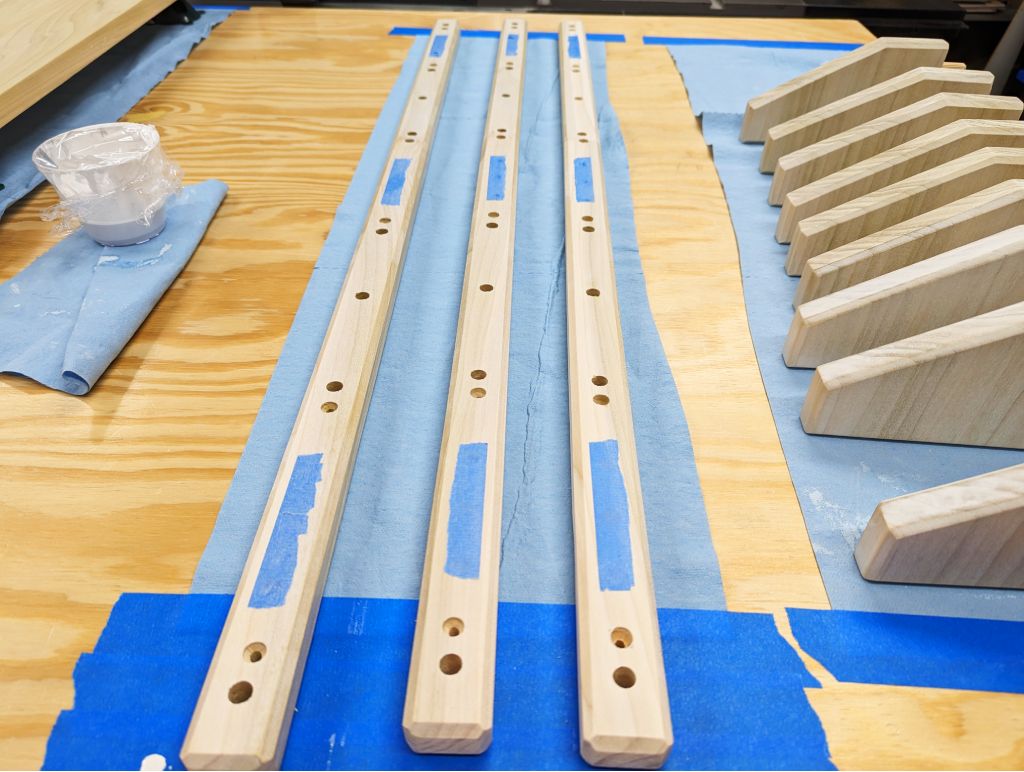
| After the router table session and sanding the chamfers, I apply the same Osmo wood wax and leave them to dry overnight! The labels you saw earlier are on the side underneath, and no wax was applied here so I can see the labels when I’m assembling everything. |
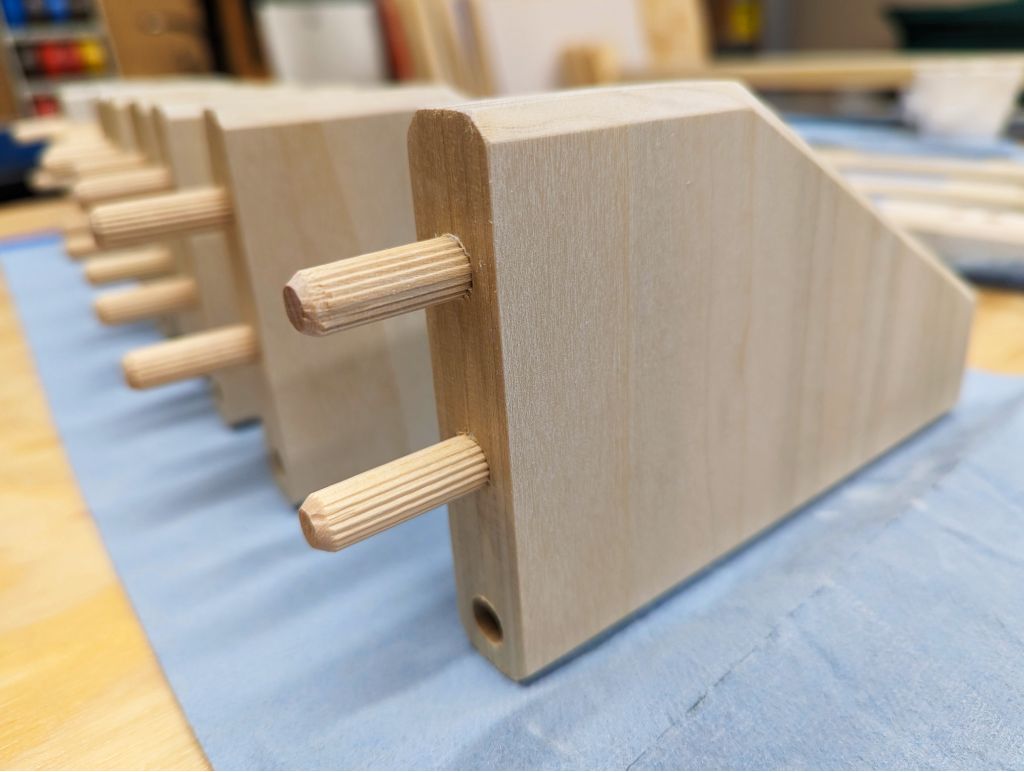
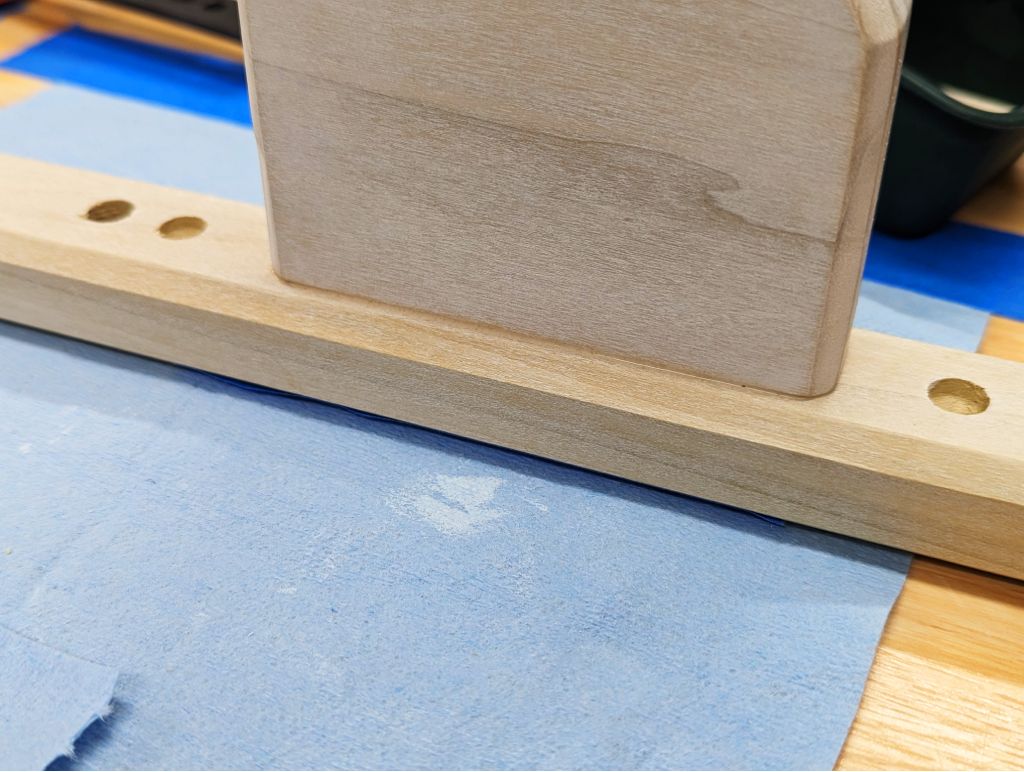
I placed dowels in all these vanity plates to give me a handle while I applied
the wood wax. Since all the dowels are already tightly in their holes—and they
are NOT coming out—I use some lumber I already had in the shop to support the
vanity plates while they dry.
The lumber acts as a surface to support the non-waxed side of the wood, and
allows the dowels to not make contact with anything which could make the vanity
plates turn over. Simple, and works perfectly
IT IS TIME! The only thing left to do is get this thing fully assembled on the
wall, and then take wayyyyyy too many results photos 

I hope you’ll join me for the final article in this series, where we’ll see the
Airy Bookshelf DIY in all its glory!
Until next time,
 Pixel
Pixel
 Next Time!