Time to cut the wood for this DIY bookshelf! This has been a long time coming,
but it’s FINALLY time to cut all the wood for the brackets. We have a plan. We
have a path forward from all the experiments we’ve done. Nothing left to do,
except to do it! 
 Starting Point
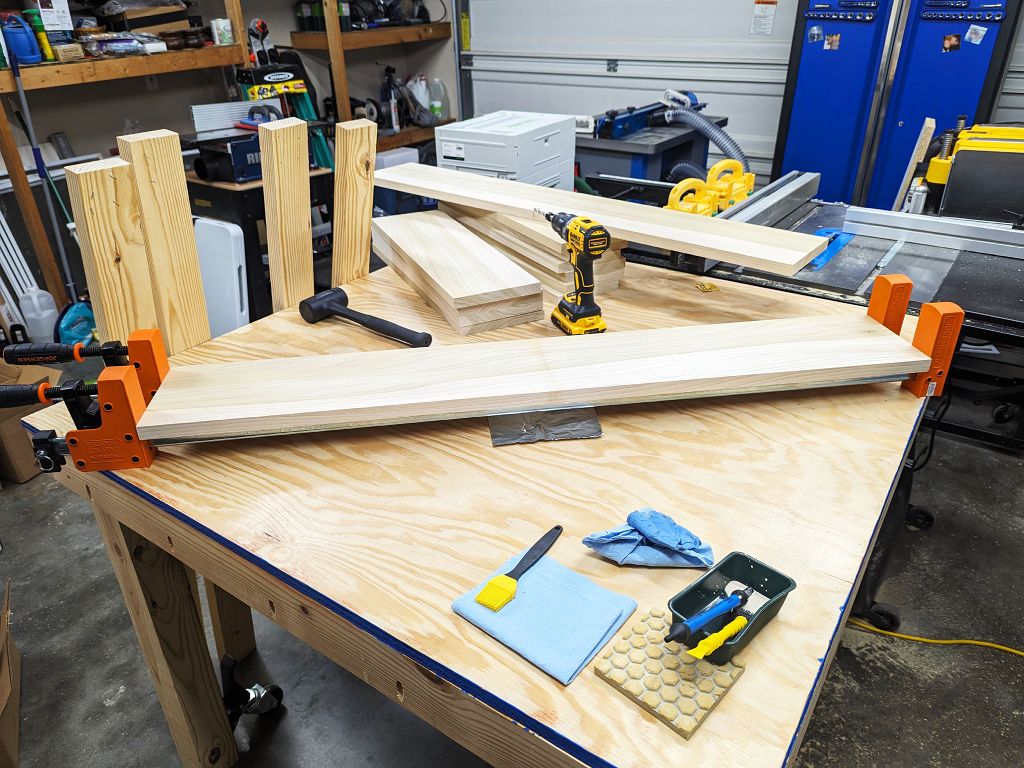 |
All the finish and woodworking technique experiments were completed, and 2 of the 3 shelves were glued together. Read more in the last article  |
 Small Plan Change
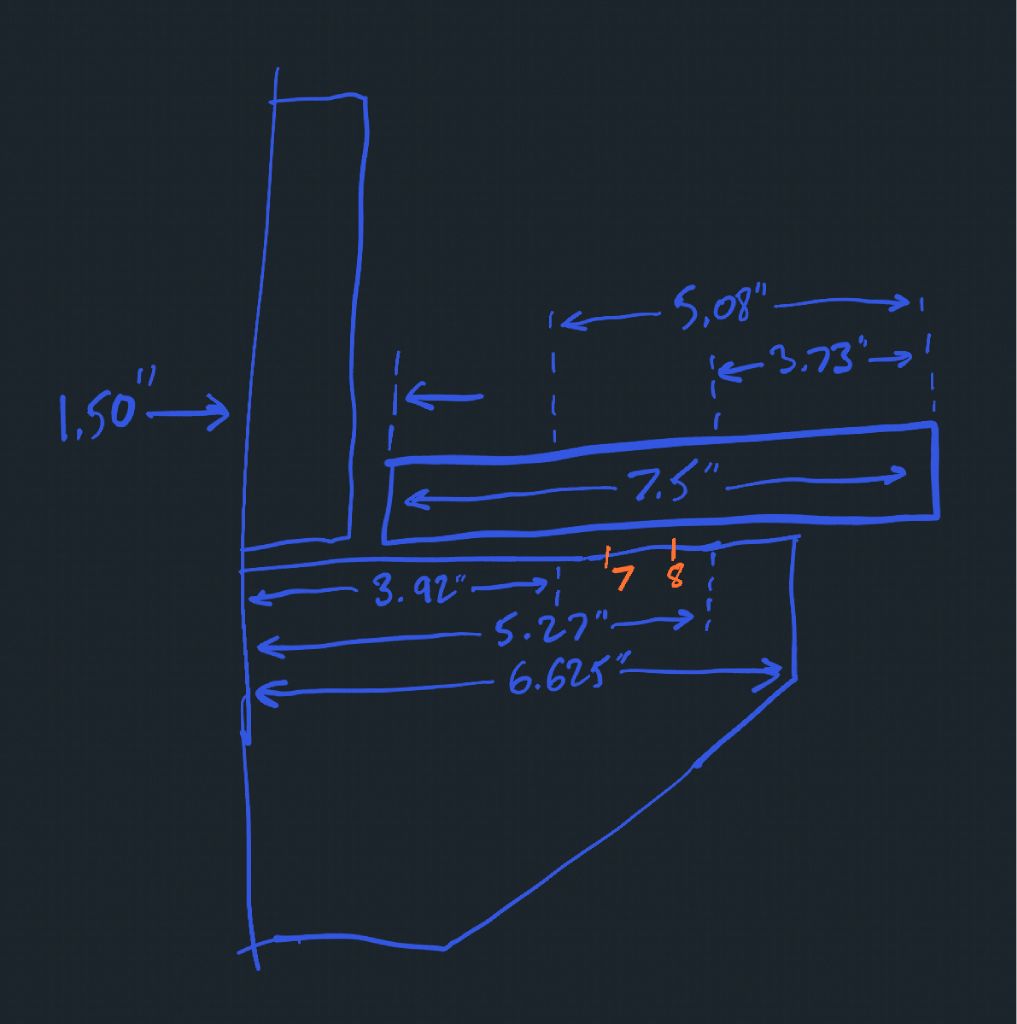 |
| On this hastily drawn “work of art”, on the bottom is the bracket with a new shorter length of 6.625 inches. I will explain the rest of this drawing in the future, which pertains to calculating the center of gravity of a shelf full of books and where it will land on the bracket underneath to ensure safety. |
After looking at the sizes of wood I have, their widths are slightly too small
to make all the brackets as planned. Instead, I’m just going to make the
brackets 6.63 in (16.8 cm) long, rather than 7 in (17.8 cm) long like they were
drawn
here—you
can see the full plans there, too. It’s a small change, but this will allow me
to very efficiently use the wood, like you’ll see in a moment 
 Cutting the Brackets
There are two different types of brackets for this design:
- Wall brackets — the brackets that attach to the wall
- Shelf brackets — the brackets that attach to the shelves, and also attach
to the wall brackets; in past articles, when I’ve referred to just
“brackets”, I meant these shelf brackets, but I’ll be more specific from now
on
 Shelf Brackets
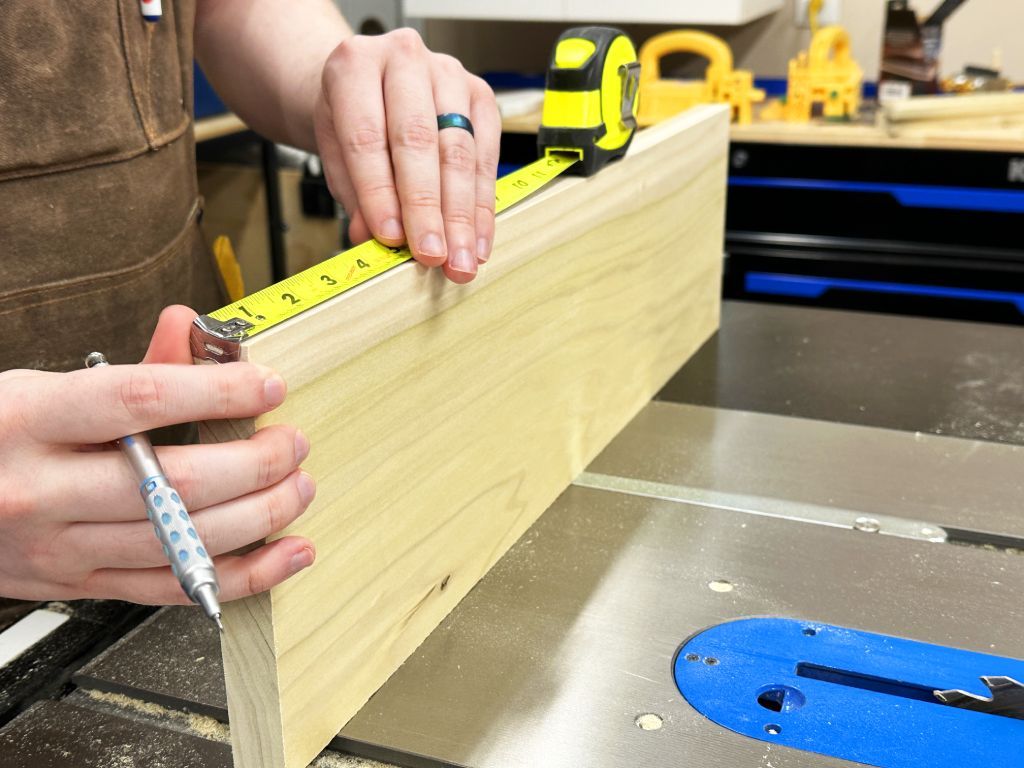 |
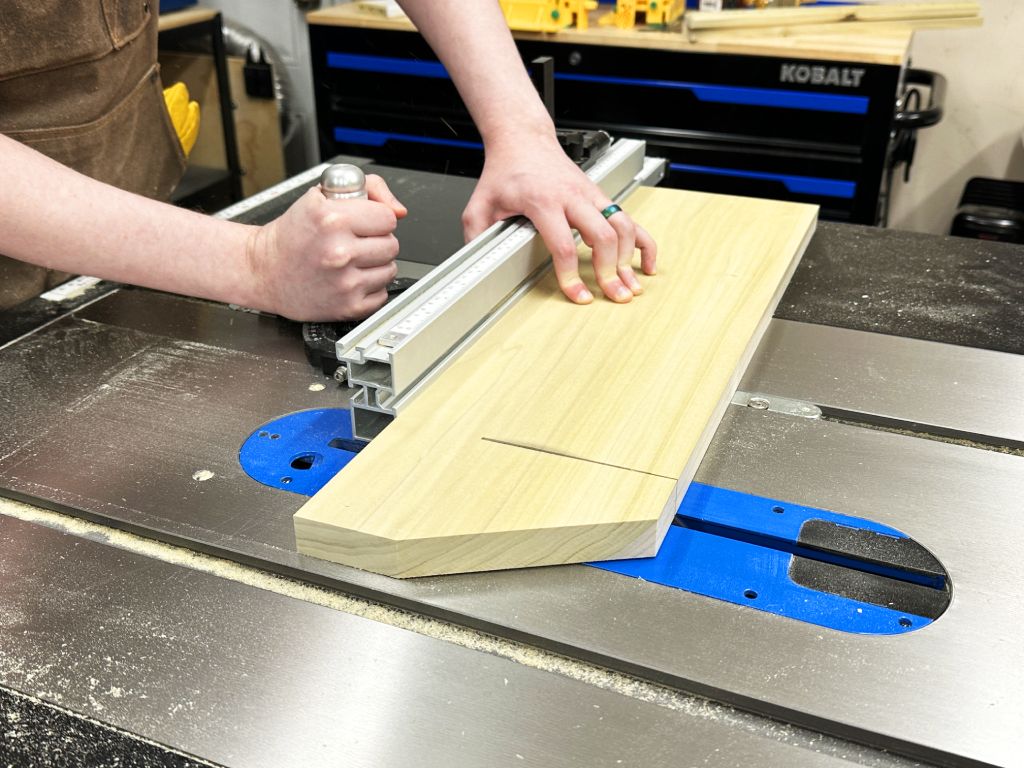
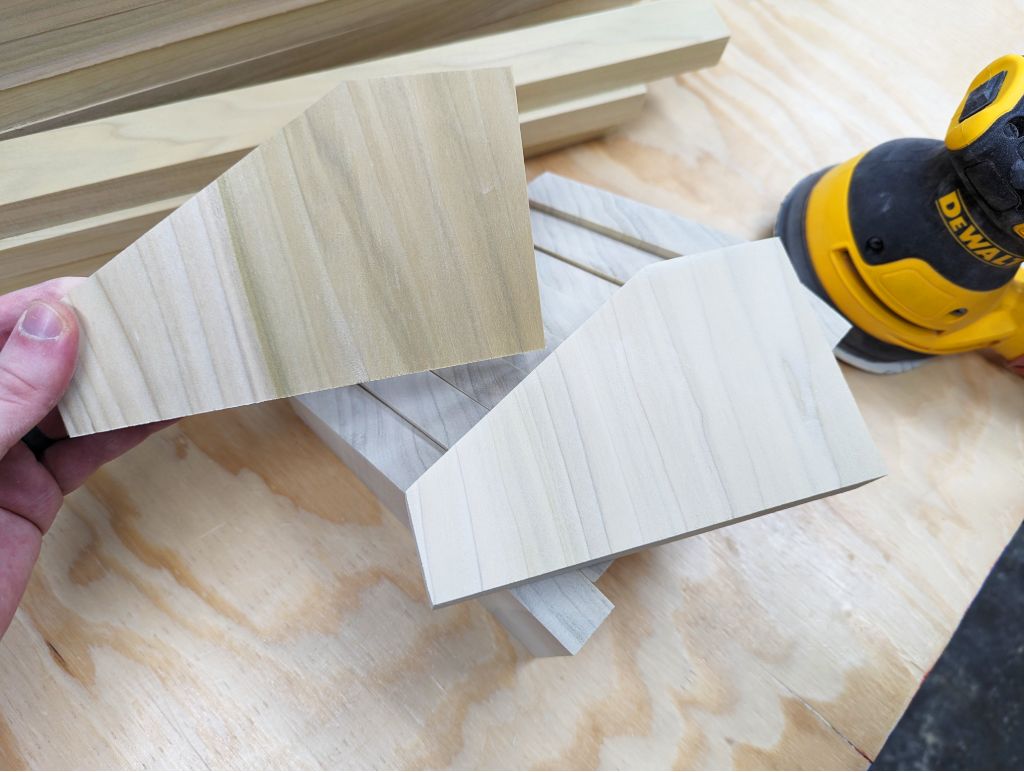
| I start by measuring the distance from the end of the board to the angled cut on the shelf bracket. |
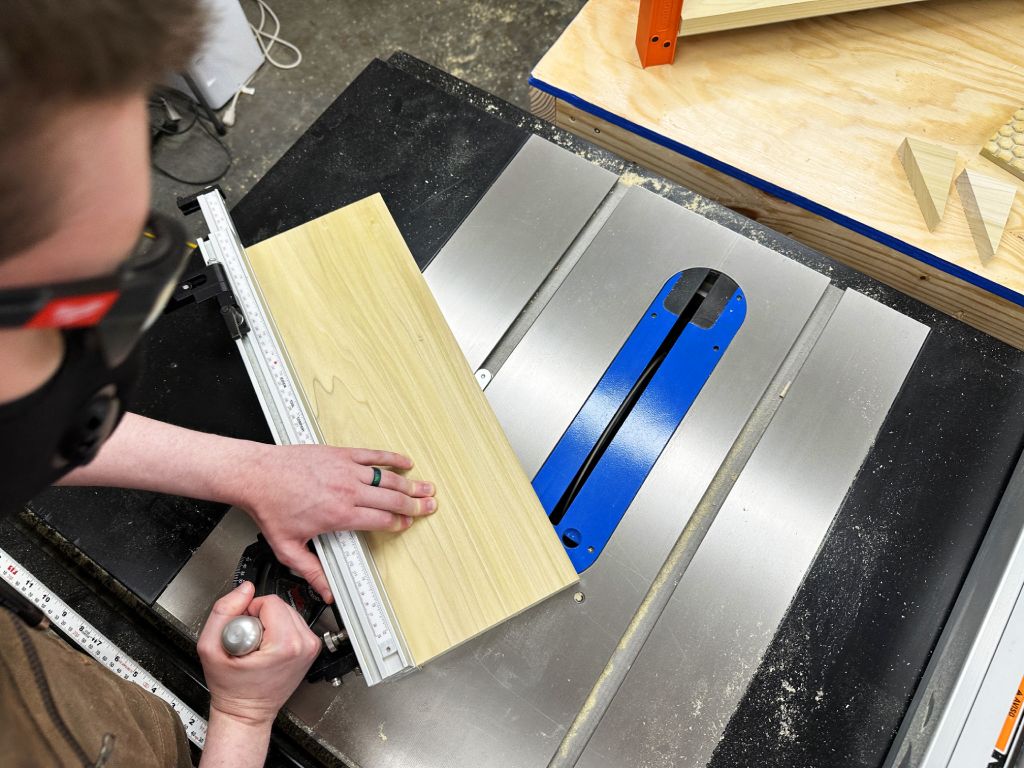 |
| Using the mark I just made, I cut the wood at a 30 degree angle. I used 30 degrees in the design because it was easy: I have an indent for this setting on my miter gauge, allowing for repeatable cuts. |
 |
With the angled off-cut complete, I straighten out my miter gauge, and cut off the newly formed bracket. Quick and simple  |
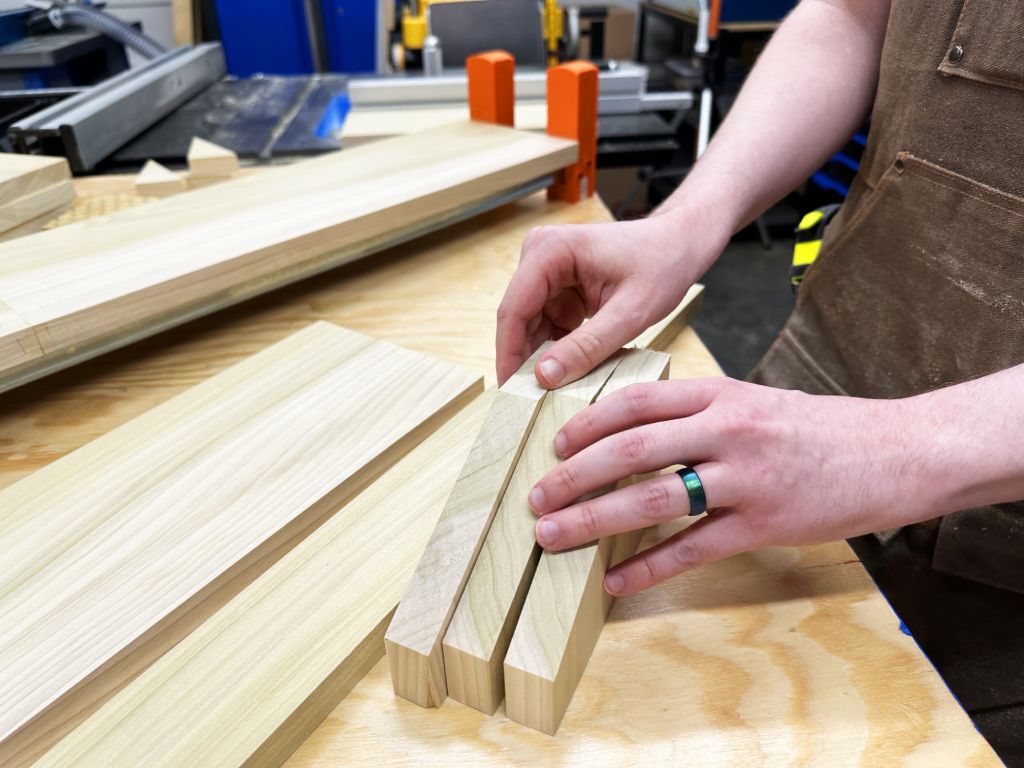 |
Here are 3 brackets cut out, but I can get 5 out of each piece of wood #efficiency  Oh! Forgot to mention, I am also using this time to glue up the third and last shelf, which you can see on the left in the clamps. Oh! Forgot to mention, I am also using this time to glue up the third and last shelf, which you can see on the left in the clamps. |
I keep cutting until I get the 9 shelf brackets that I need.
 Wall Brackets
Each of the 3 wall brackets need to be 37.75 inches (95.9 cm) long. Since my
wood is 24 inches (61 cm) long, I need to cut 2 pieces for each bracket, for a
total of 6 pieces. I’ll dowel them together end-to-end later with the Dowelmax.
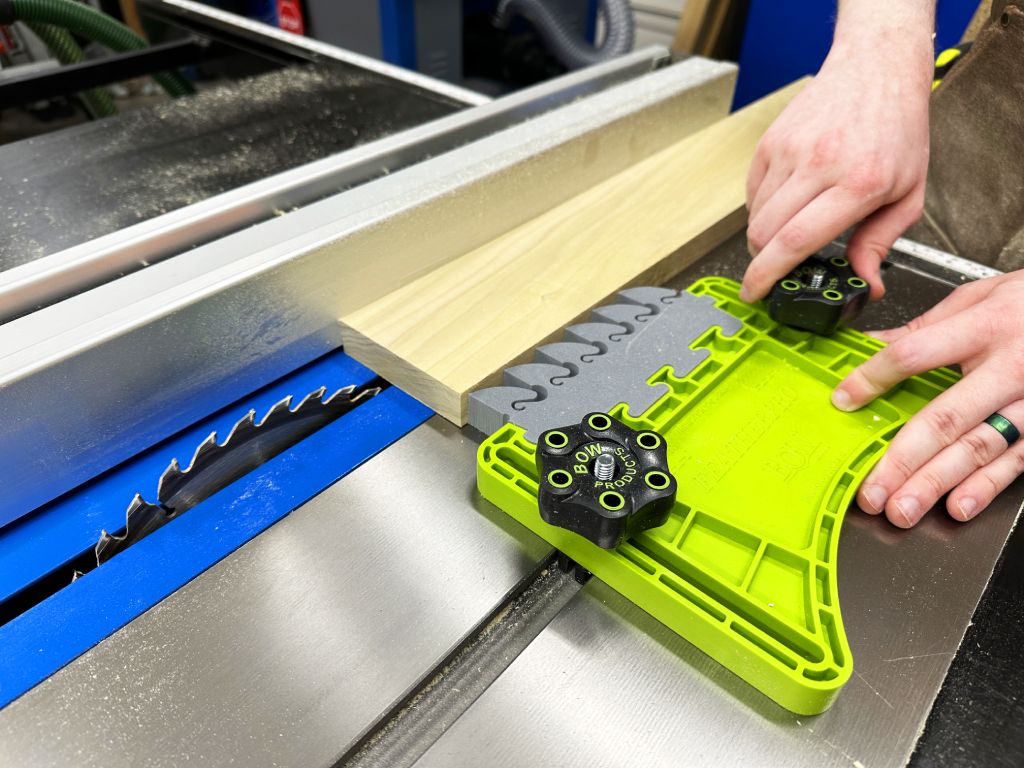 |
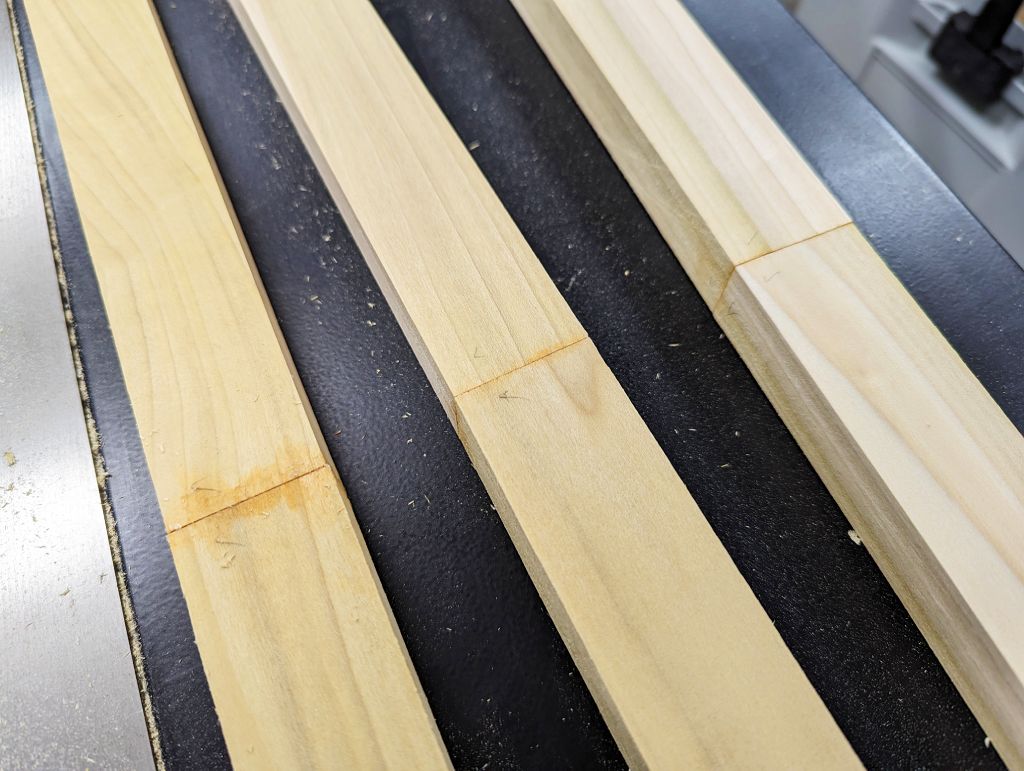
| I adjust my table saw fence to the width of the wall brackets. Each time I make a cut, making the wood less wide, I can quickly adjust my BOW featherboard to the new width and make another cut, like you see me doing here. Helps keep my fingers safe! |
 |
I use a couple push sticks to guide the wood through, especially since my riving knife is missing off my table saw because it got bent the other day  Not having a riving knife is less safe when using the fence to cut fully through wood. So, I’m using extra precautions, like standing more to the left in case the wood shoots back toward me, it likely won’t hit me—but not impossible! Not having a riving knife is less safe when using the fence to cut fully through wood. So, I’m using extra precautions, like standing more to the left in case the wood shoots back toward me, it likely won’t hit me—but not impossible! |
 Results
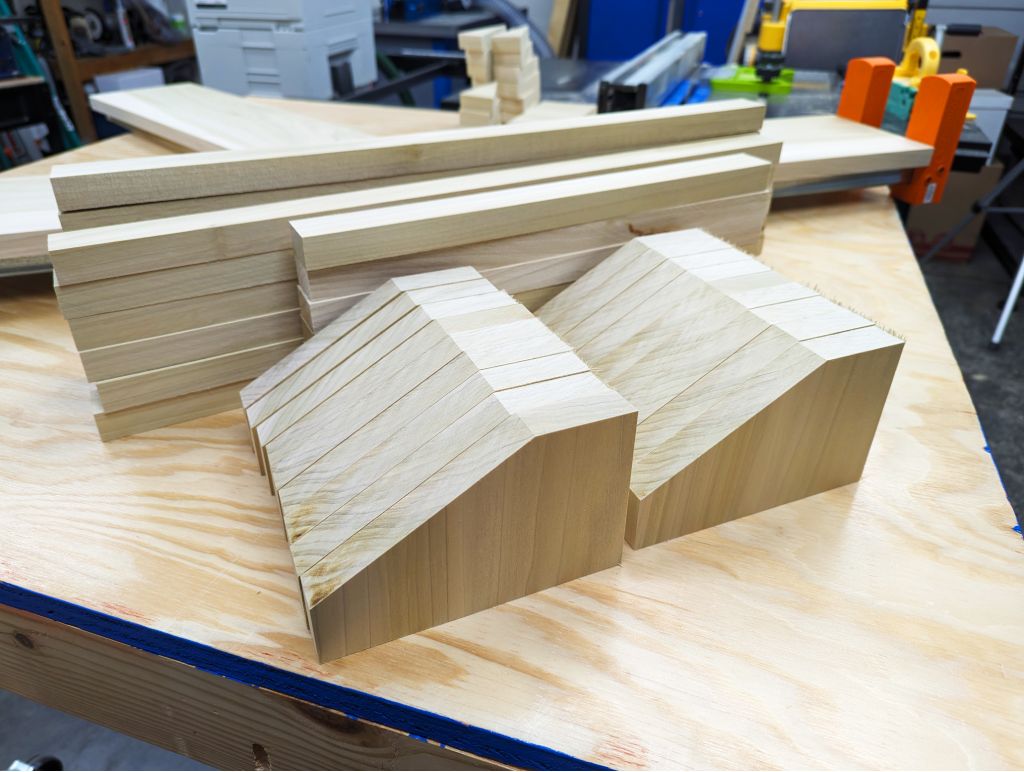 |
| And just like that, it’s all cut! But wait, isn’t that twice the amount that’s needed?… |
While I’ve been working on this project, my wife Story  has been working
on a project of her own: buying books so fast that this bookshelf went from
being twice as big as it needed to be to not being big enough
has been working
on a project of her own: buying books so fast that this bookshelf went from
being twice as big as it needed to be to not being big enough 
We are pretty sure that we’ll end up wanting another bookshelf on the other side
of the TV console just like this one, so I went ahead and cut out the extra
brackets for that future project. I’ll store them away for now.
 Sanding the Brackets
 |
I’ll be sanding everything as much as I can with a DeWalt sander at its highest setting of 6. My Festool dust extractor doesn’t fit my sander… or does it? If it’s stupid and it works, it’s not stupid!  |
 |
| I’ll be sanding with 3 grits: 120, 150, and 220. Sanding past that will burnish the wood and make it harder to take a finish later. I’ll wipe off the wood dust between each grit so I don’t mar the next grit’s finish with wood particles from the last courser grit. |
 |
| It’s interesting how much lighter the wood looks once it has been sanded, even after just the first grit of 120 grit. This is a positive thing! |
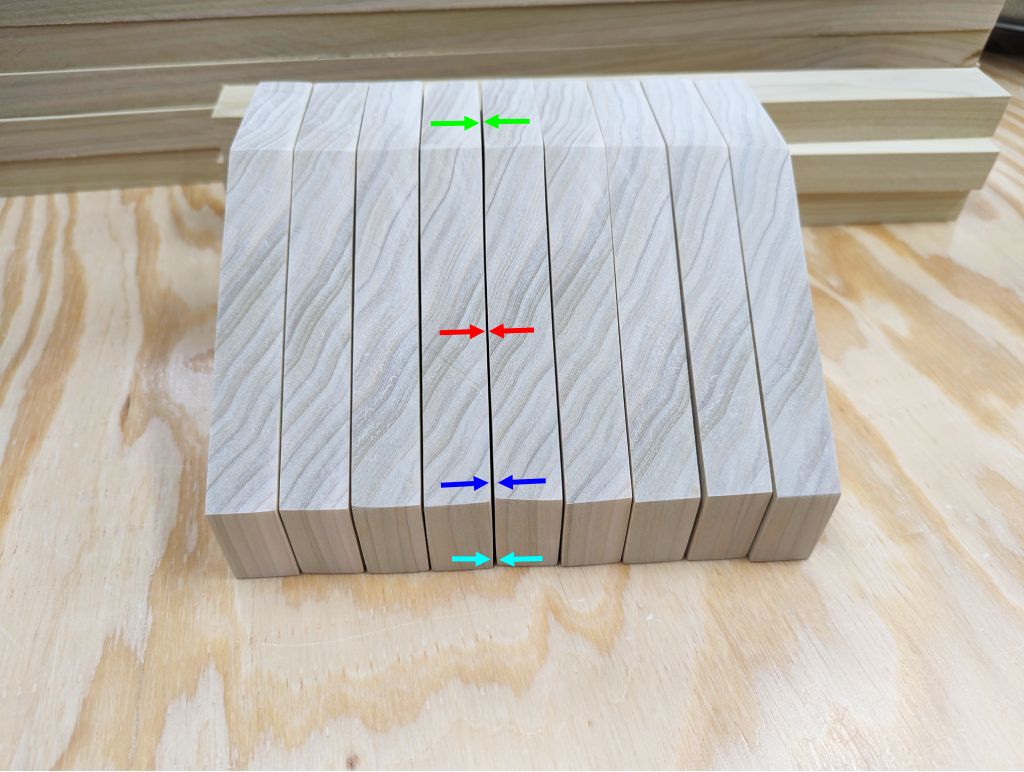 |
| After I get done with all 9 shelf brackets, I place them all side by side to admire them… But… Hmm… my sanding technique needs some work! I inadvertently sanded the edges too much, removing the flatness on the large faces, which can be seen from this view. Notice how the gaps between each set of arrows are different, and it’s like this on almost all of them. Good thing these are NOT dimension-critical surfaces! |
 Dowelmax for Longer Wall Brackets
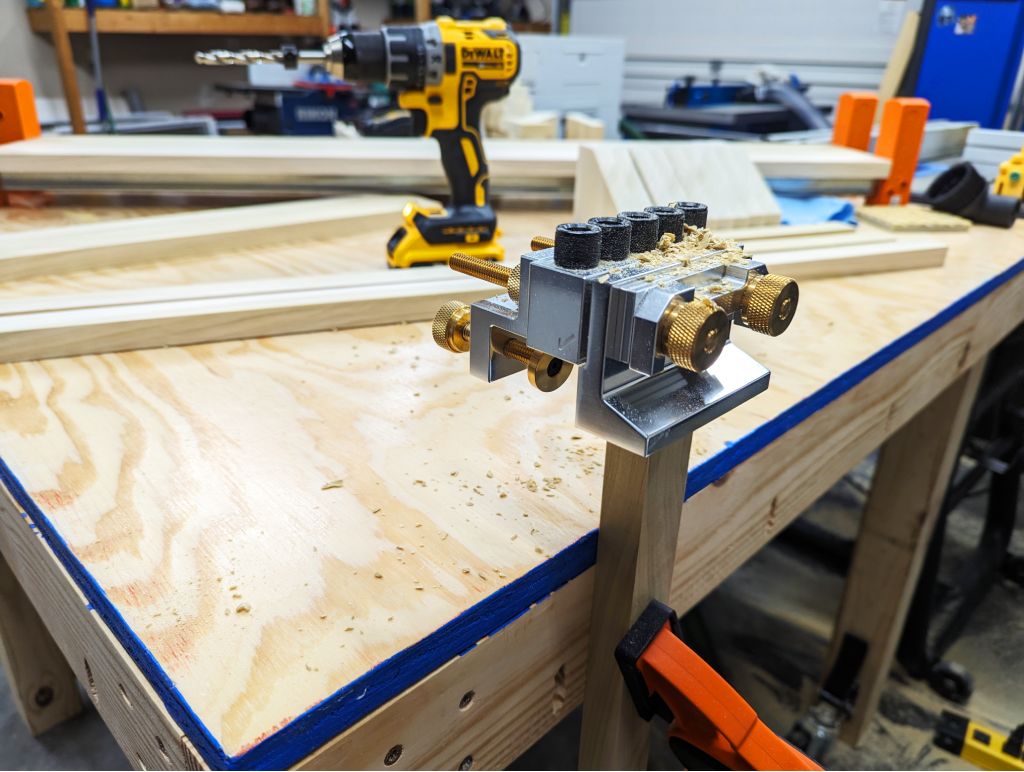 |
| I use the Dowelmax on the ends of the wall brackets so that I can glue them together and make them the proper length. |
 |
These are MUCH easier to glue and dowel together than the shelves, since there are only 2 dowels in each one. I don’t even need clamps to help me bring them together!  It’s getting late, so I’ll come back tomorrow after everything dries in the next article It’s getting late, so I’ll come back tomorrow after everything dries in the next article |
Next time, I’ll be using the Dowelmax to make almost all the dowel holes in the
shelf brackets and wall brackets. But where exactly will I need to place the
holes along the length of the wall brackets? For that, I’ll be making a “story
stick”! I’ll explain what that is and how it will help me in the next article.
Until next time,
 Pixel
Pixel
 Next Time!