It is time! 
 I know exactly what we want to do with the
bookshelf, I’ve inadvertently practiced milling on wood that I now can’t
use, and I’m motivated to
mill up all the wood that I can use—what more can one ask for?? If you
thought that was just a rhetorical question, you’d be WRONG! Because I can also
ask for my wife
I know exactly what we want to do with the
bookshelf, I’ve inadvertently practiced milling on wood that I now can’t
use, and I’m motivated to
mill up all the wood that I can use—what more can one ask for?? If you
thought that was just a rhetorical question, you’d be WRONG! Because I can also
ask for my wife  to join me today for at least some of the tasks, and she
is!
to join me today for at least some of the tasks, and she
is! 
 Starting Point
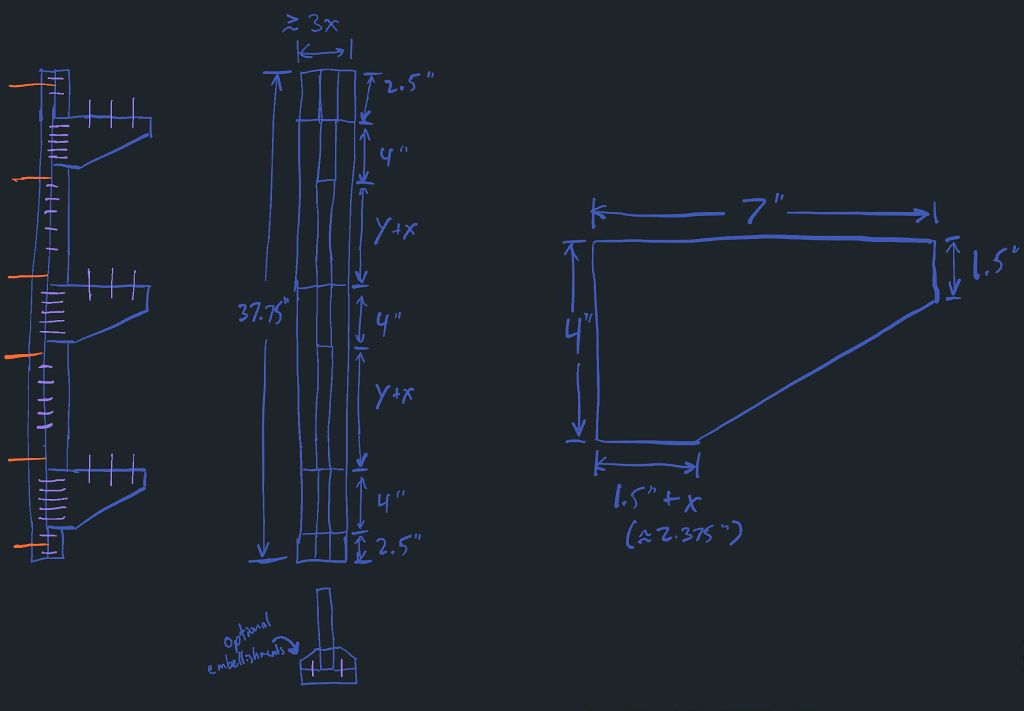 |
| Final bookshelf plan overview. Left, side view of 1 bracket assembly, attached to the wall with orange screws; the exposed purple dowels will interface with the shelves, not pictured. Middle, front view with dimensions. Middle bottom, view of the bracket assembly bottom. Right, an individual shelf bracket up close, side view, with dimensions. |
Here is the plan we have settled on for the bookshelf, with many more details
in the last
post. I’ll be
making 3 of these brackets and positioning them on the studs of our wall. The
only fasteners used will attach the brackets to the wall, and those will be
hidden with vanity plates.
 Milling Time!… Again!
The last time I milled the
wood for the bookshelf, I made it far too thin. This time, we’re going to cut
the wood into smaller pieces of 6-8 in (15-20 cm) wide and 24 in (61 cm) long. I
can then join the ends of the wood together to make longer boards, or join the
sides to make wider boards. Not only will the smaller wood be easier to work
with, but it should guarantee that I can preserve as much as possible of the
thickness of the wood.
My goal is to end up with 1 in (2.5 cm) thick boards from this 1.25 in (3.2 cm)
thick rough wood. Let the experiment commence!
 Breaking Down the Wood
 |
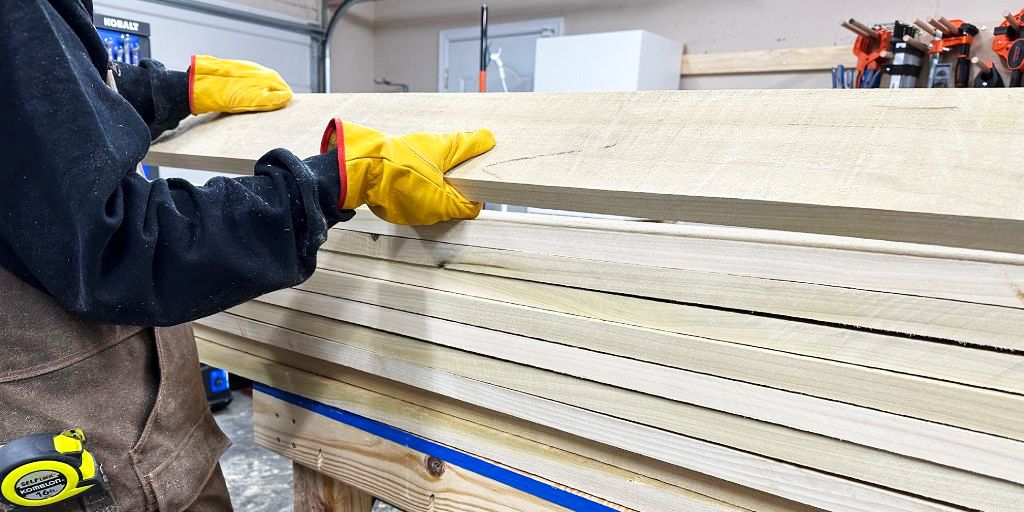
We take a series of roughly 6-8 in (15-20 cm) cuts on the unprocessed boards to make long strips of wood that will be easier to work with. At times, we will first take a thin waste cut on the edge when the wood is extremely bowed so that we can get somewhat straighter cuts (pictured). This is my wife processing this piece, and the wood is bigger than her!  |
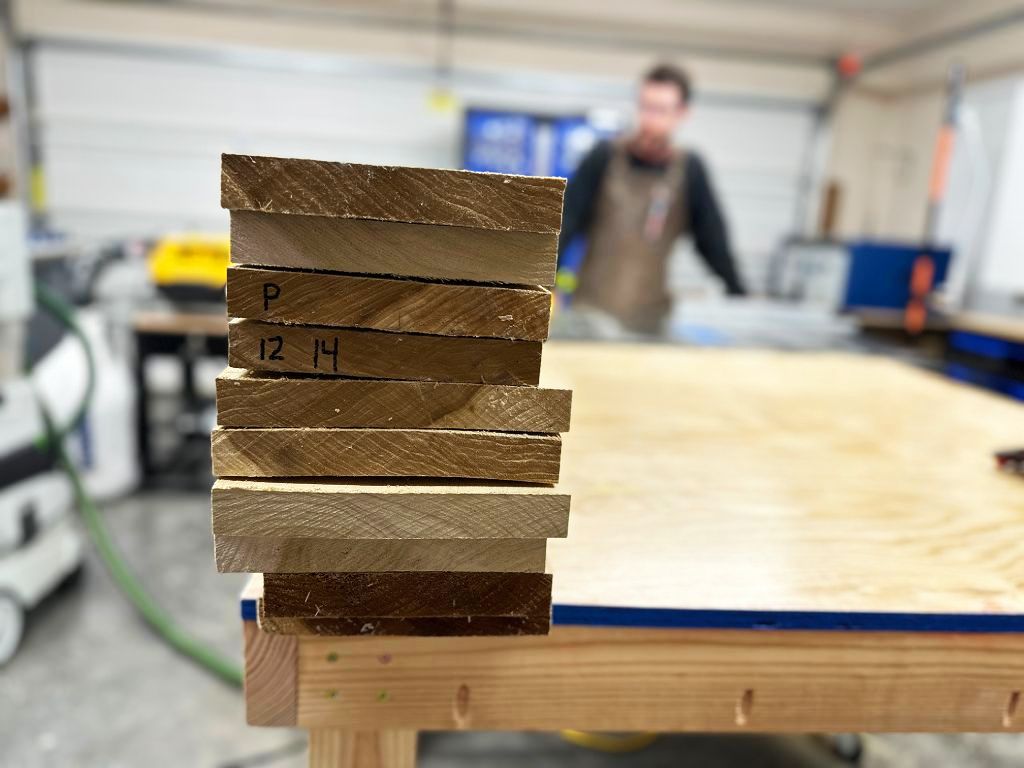 |
| Rough cuts from 5 boards produce a total of 10 boards. The wider boards will be used for the shelves, and the other boards for the brackets. |
 |
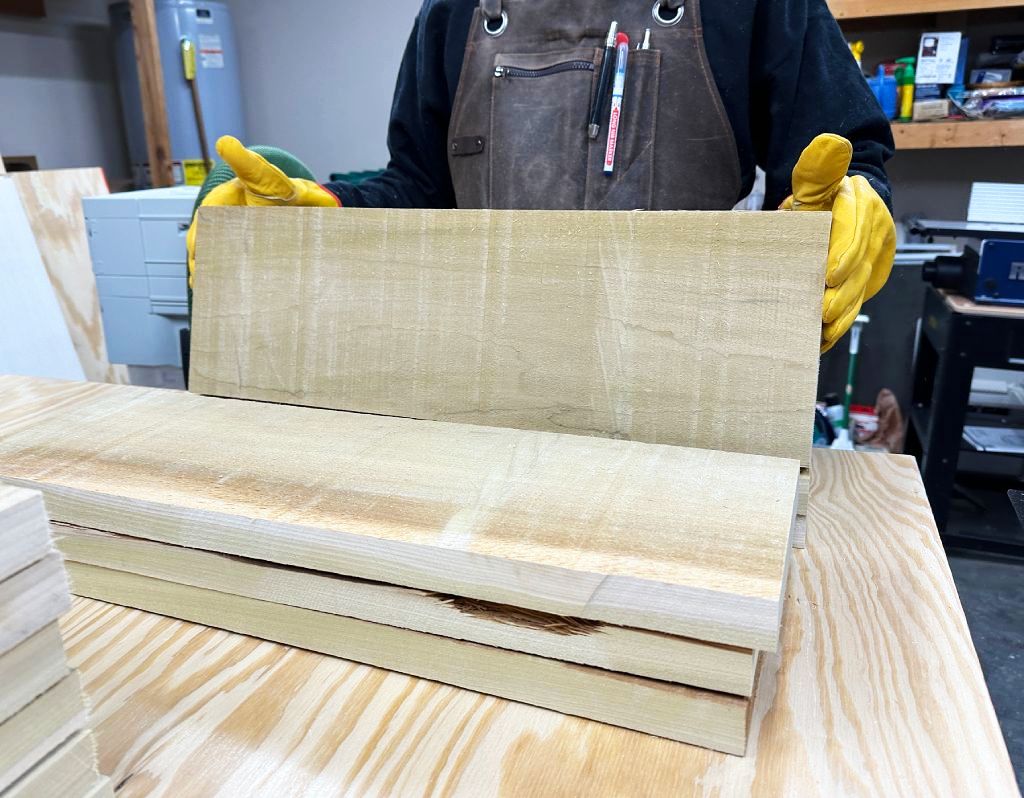
| These 10 boards are still over 6 ft (183 cm) tall. I hope to preserve as much as possible of this nice thickness during milling! |
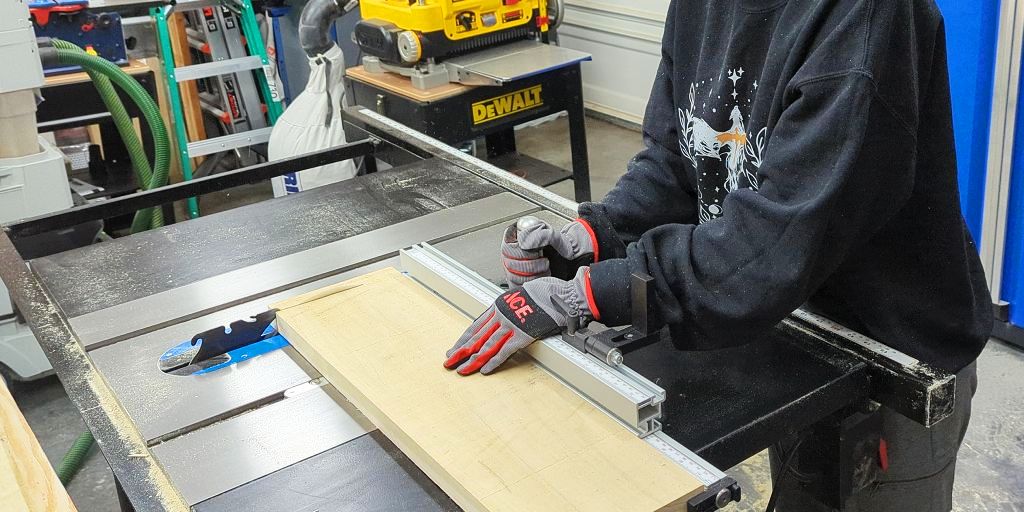 |
| I adjust the miter gauge to the desired length of 24 in (61 cm), and we start cutting each of the 10 boards down to size. |
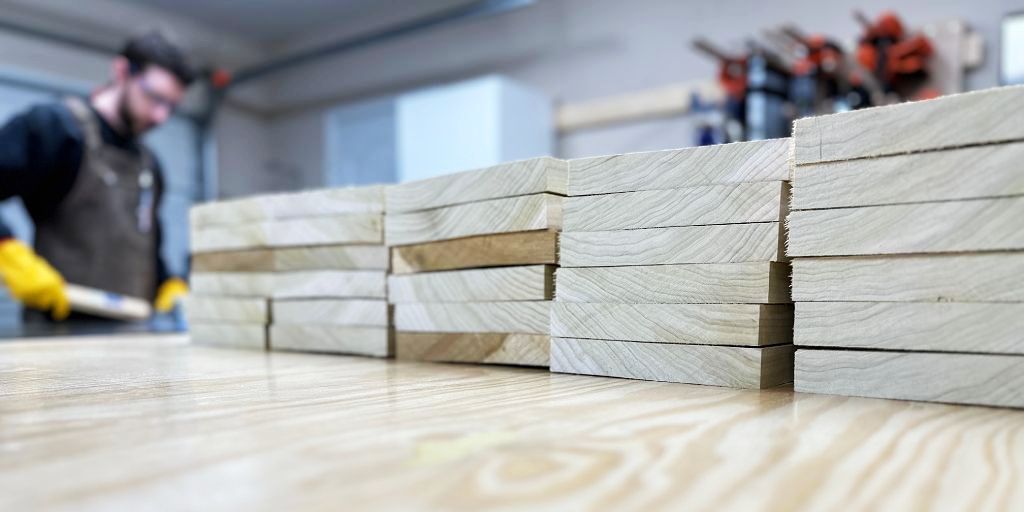 |
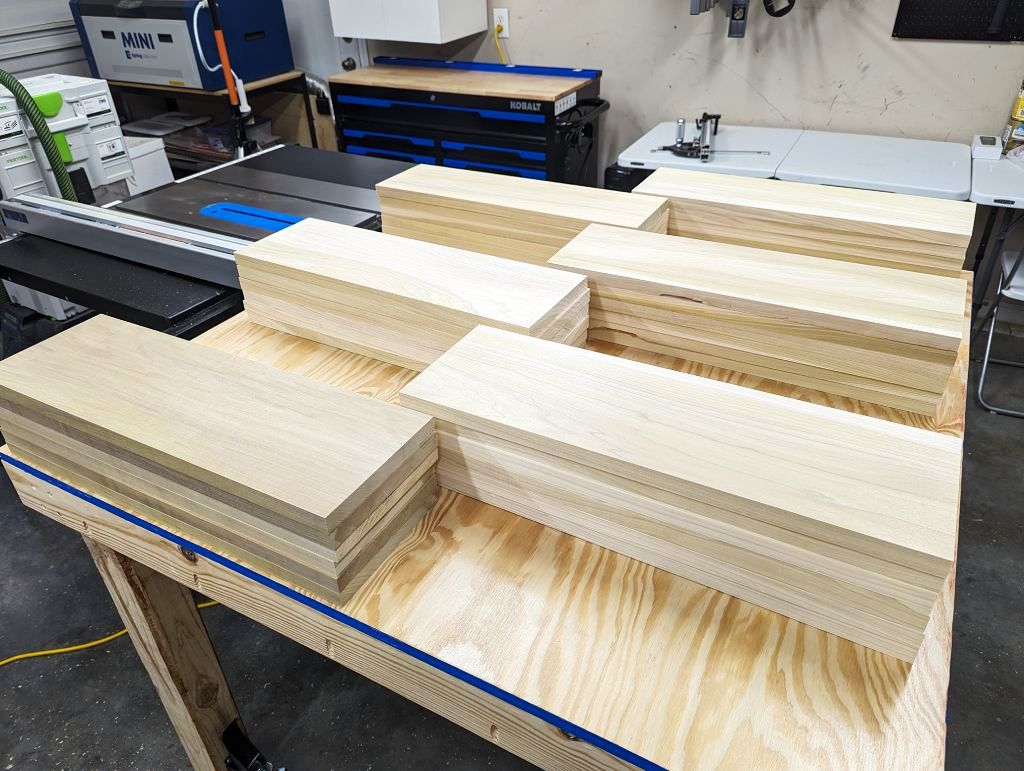
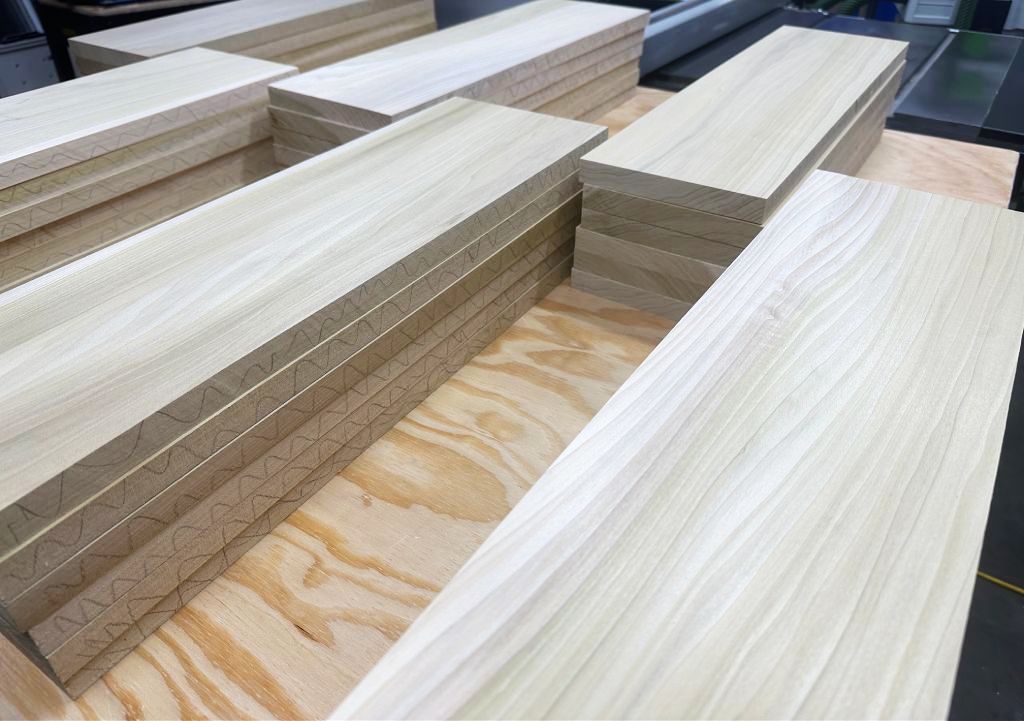
| After all the wood is cut down, we’re left with 30 boards, all 6-8 in (15-20 cm) wide and 24 in (61 cm) long. These should be much easier to handle than last time! |
 |
Another view of the wood. Can you guess who has a degree in photography? Not me!  |
 Jointing Time!
 |
| Now that they are all cut down to size, let’s get to work on these horrendous surfaces! To make the rest of the process faster, we go ahead and orient all of the wood so that the grain is going one direction—don’t want to accidentally take out chunks of wood on the jointer or planer! |
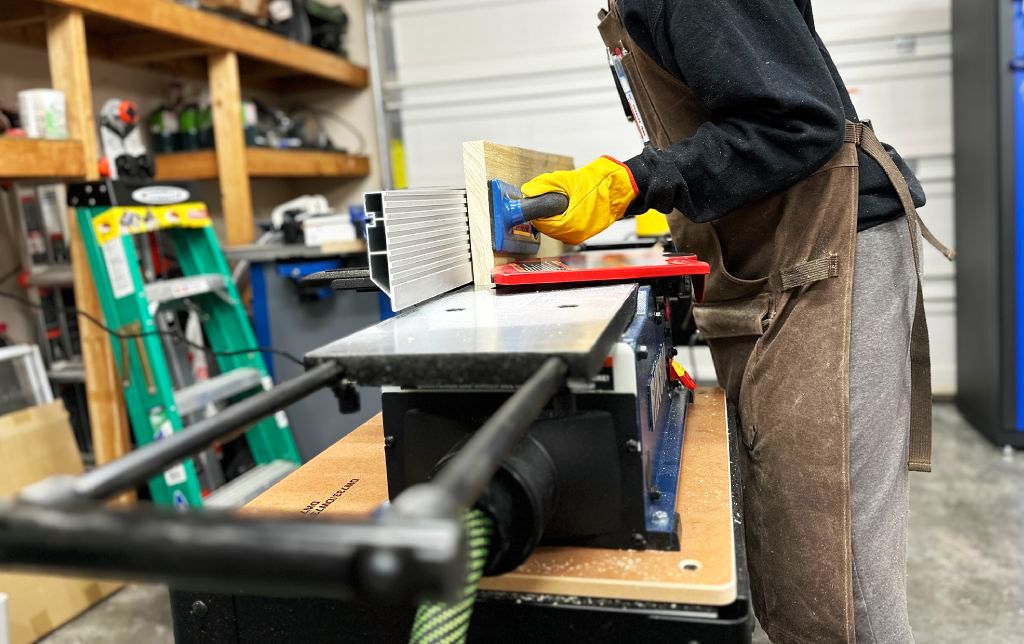 |
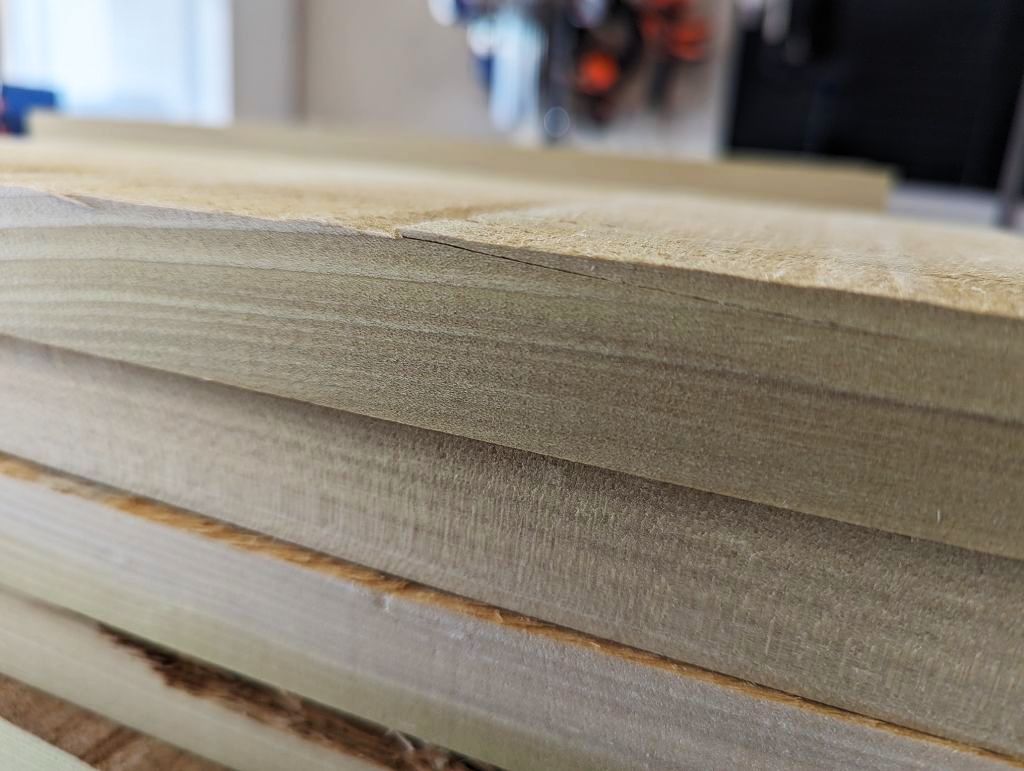
| As always, we’ll start by jointing one face to make it flat. Then, we’ll press that flat face against the jointer’s fence to make a flat AND perpendicular edge (pictured). |
 |
| View from the back of the jointer while jointing an edge. Notice that the face pressed up against the fence has already been jointed. |
 |
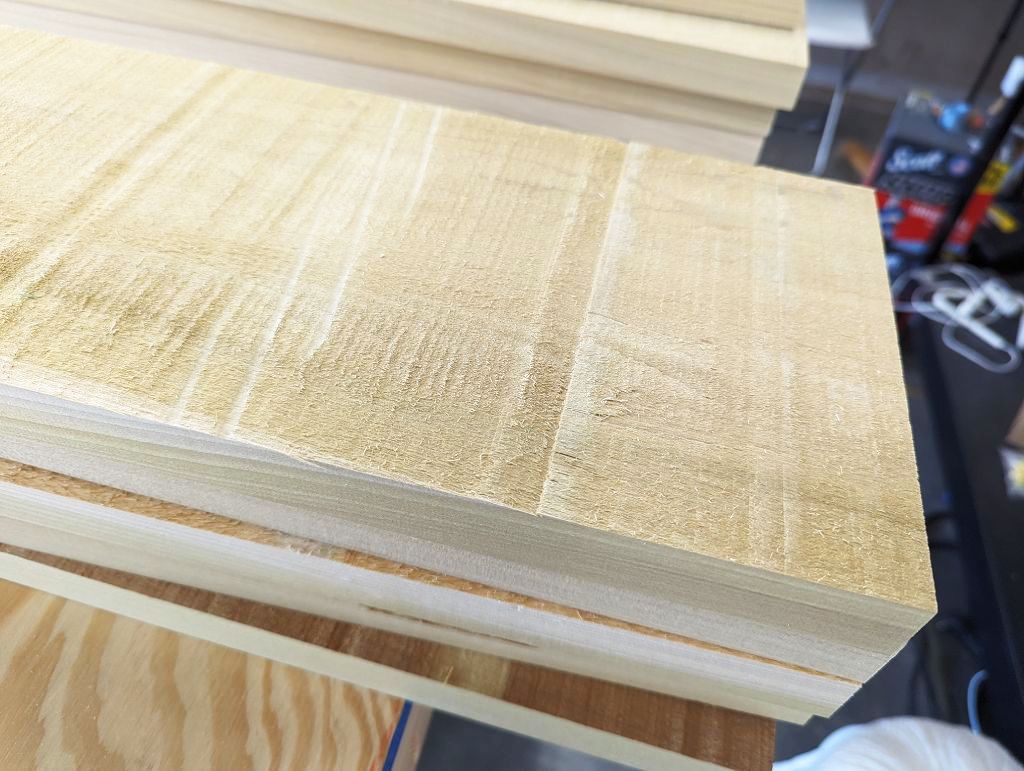
| It is always a good idea to scribble some graphite along your surfaces before jointing. This makes it much easier to tell if we missed a spot! Let’s run it through again |
 |
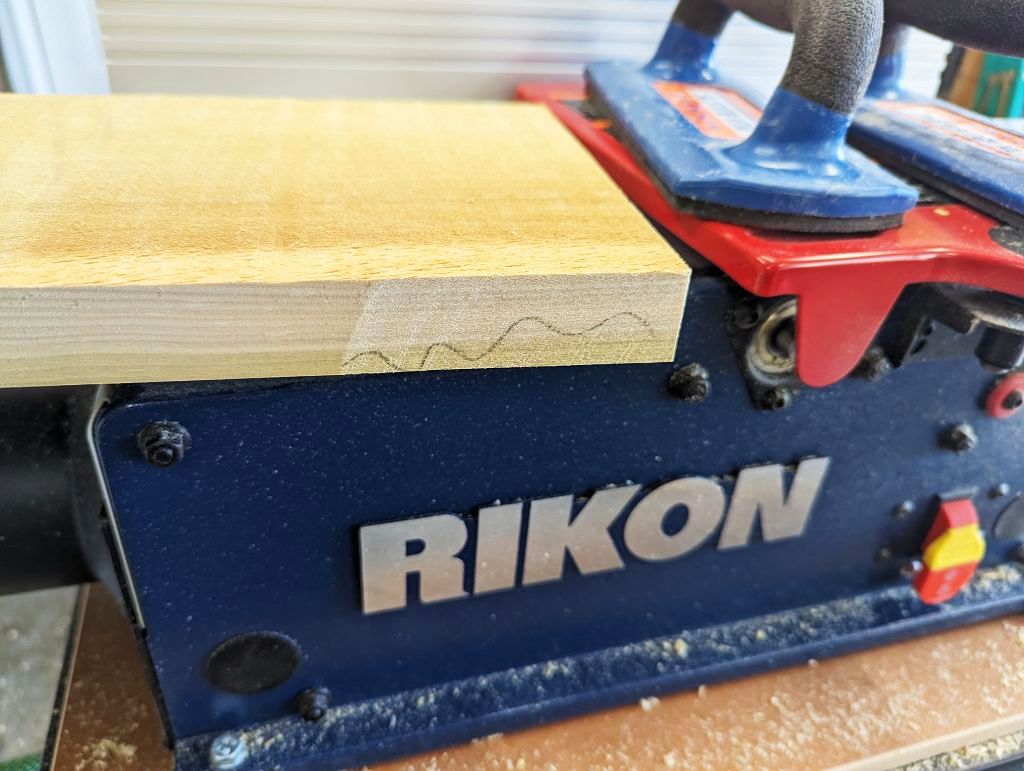
| Whoa! This crack on the top of the wood could have been gnarly in the jointer, since it could have caught on the blades and torn out a deep chunk, or been ripped out of my hand. I’m not sure what to do here, so I think I’ll just run it in the jointer against the grain so the blades can’t catch on the crack. The downside is I will risk a worse surface finish I’ll have to sand out later. |
 |
| Another view of the same crack. Hard to notice unless you’re looking for it, since all the wood is so rough. It’s right in the middle of the picture and is a line that runs the full width of the board. It’s good to inspect your boards before putting them in a machine! |
 Planing Time!
After jointing, I planed the other side of the board, and this went very quick
and easy with boards so small! I would have a picture to show you, if I didn’t
forget to take one 
You can see me planing other boards in the last
post
if you’re interested. These boards didn’t require use of the jig I made for
wider boards, since they were all less than 8 in (20 cm) wide.
Final Result
 |
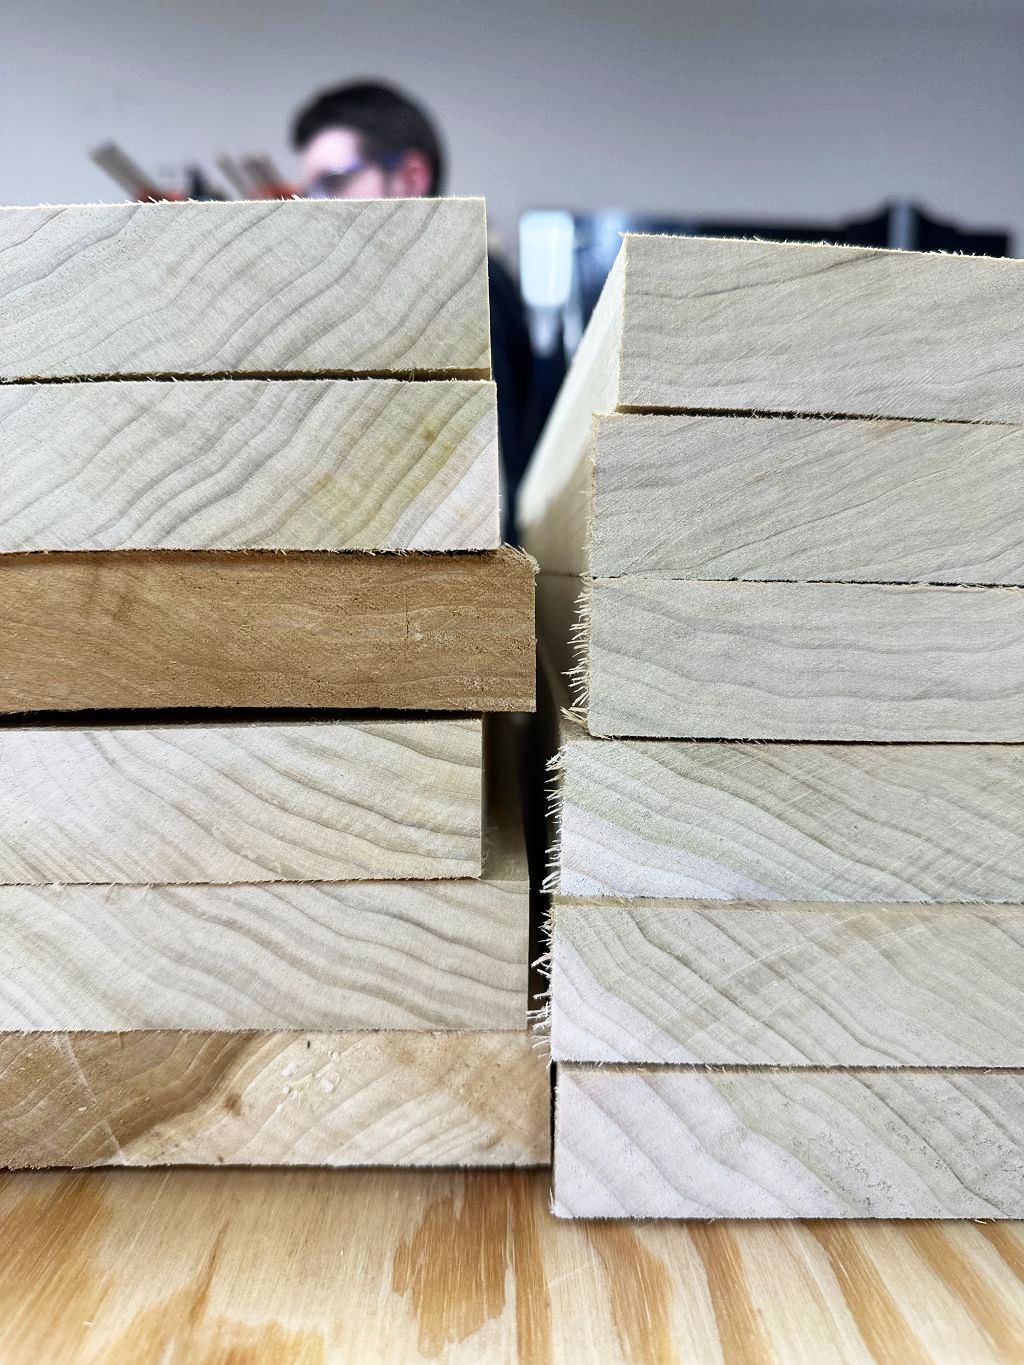
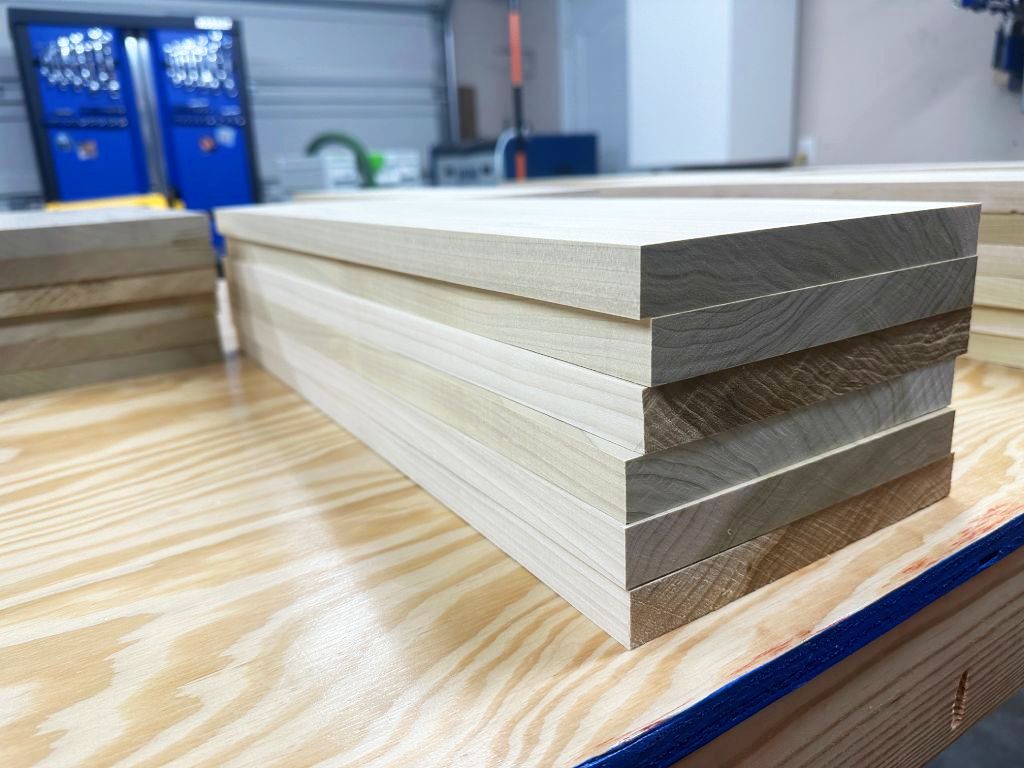
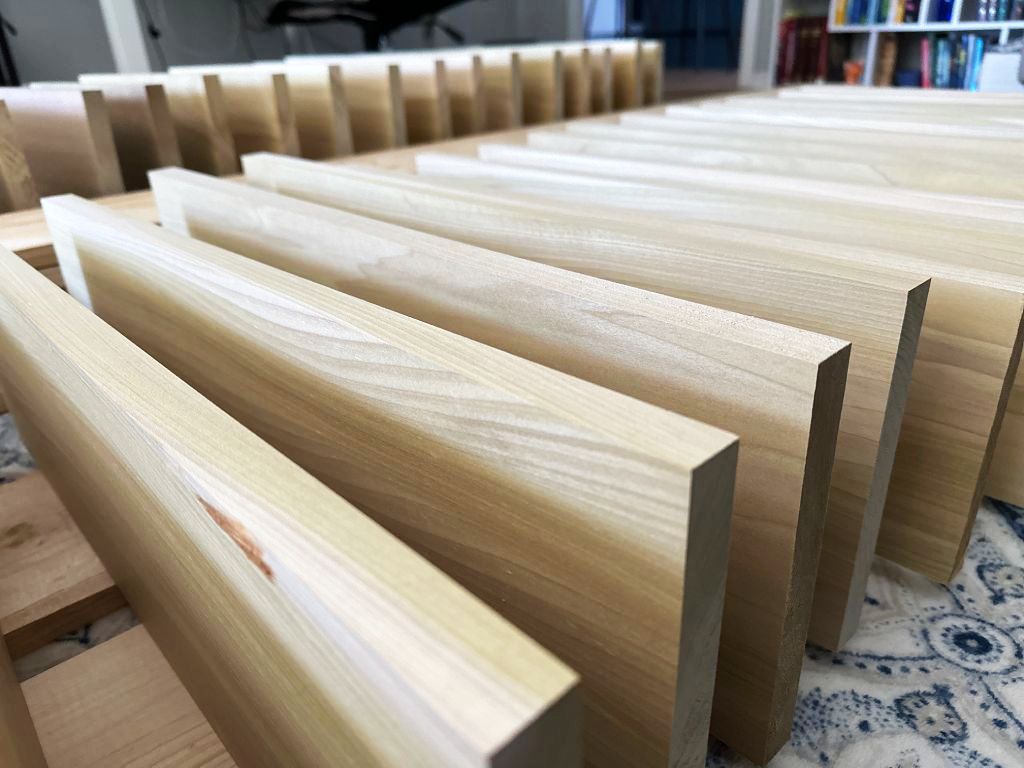
| Here are all the boards, fully jointed and planed! I barely missed my 1 in (2.5 cm) thickness target, but I’m very happy to report it is 0.94 in (2.4 cm) thick, more than good enough since the math assumed at least 0.875 in (2.2 cm)!!! |
 |
| You can see that one edge of each board still has scribbles! This is because one of the edges isn’t processed. This is fine! It will automatically be cut away when I cut the board into its final shape. |
 |
Everything is so crisp! Very happy with how it all turned out  |
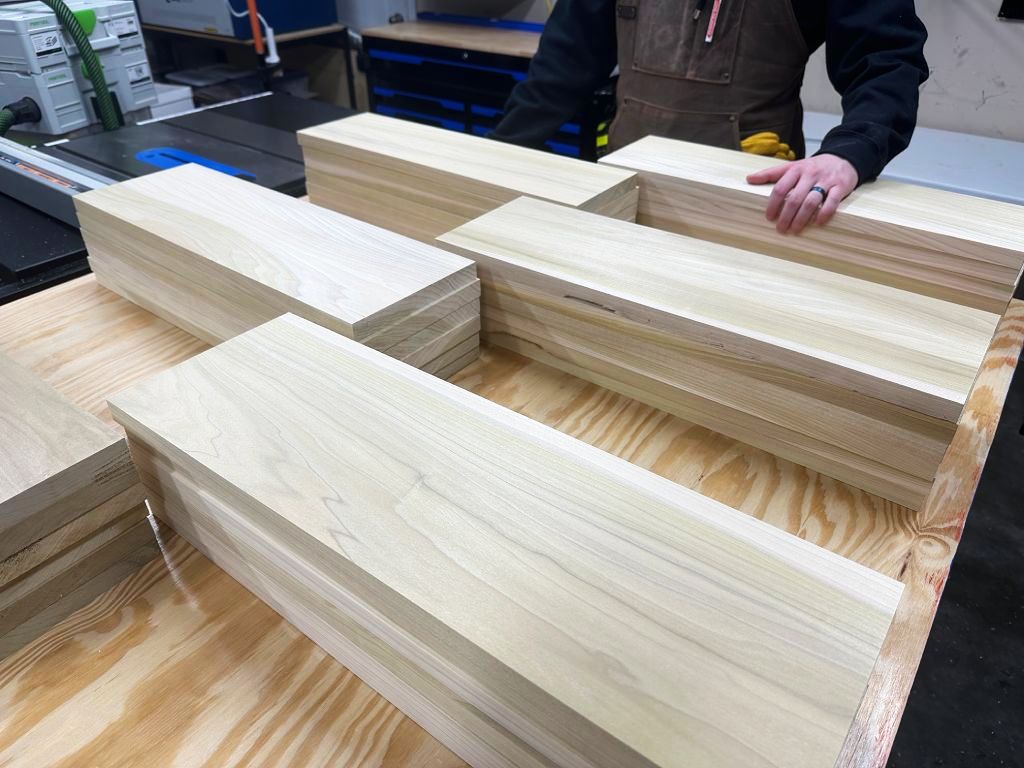 |
When your wife tells you to pose next to the wood you’re proud of processing so well, you listen  |
 Storing the Wood
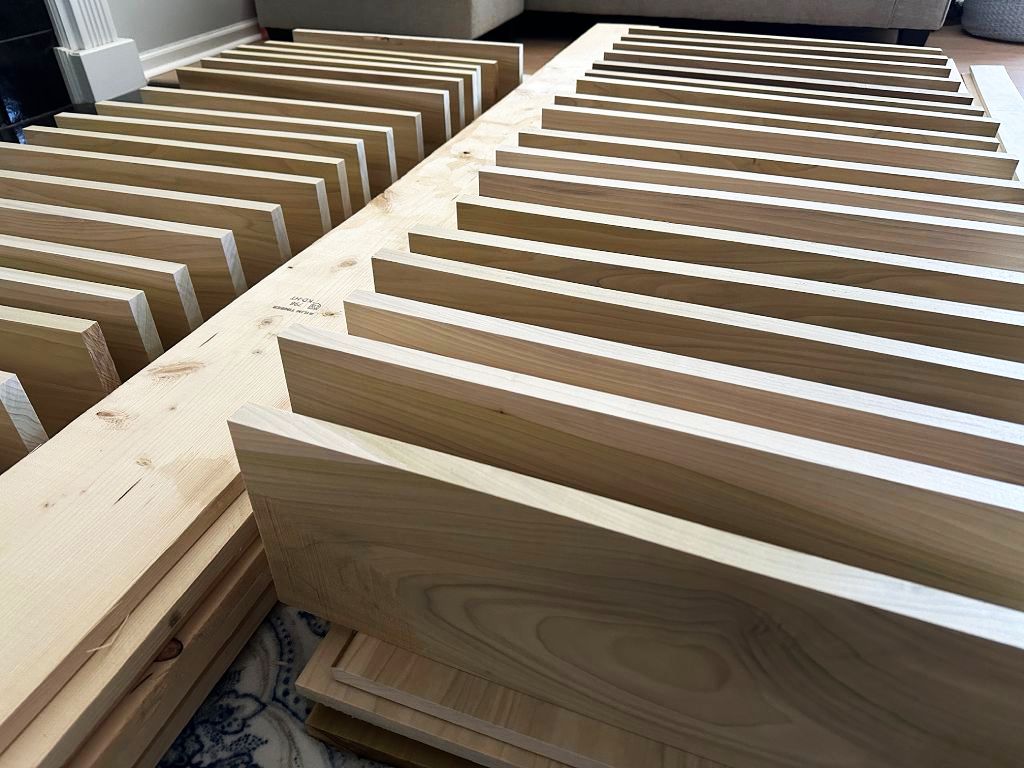 |
| Since I still don’t have any climate control in the shop, I carry them all into the office where I’ve been storing all the “good wood” so far. Hopefully, there won’t be much wood movement due to relaxing stresses, and I won’t have to do any more processing to the wood. |
 |
| It’s fun to look at all of it at different angles |
Next time, I’ll tape out the wall where the brackets will go, use the new
Dowelmax for the first time, make a shelf (sorta), and experiment with the
finish. A bit of a hodgepodge, but it will be very informative in helping set
the direction of the remaining steps of the project!
Until next time,
 Pixel
Pixel
 Next Time!