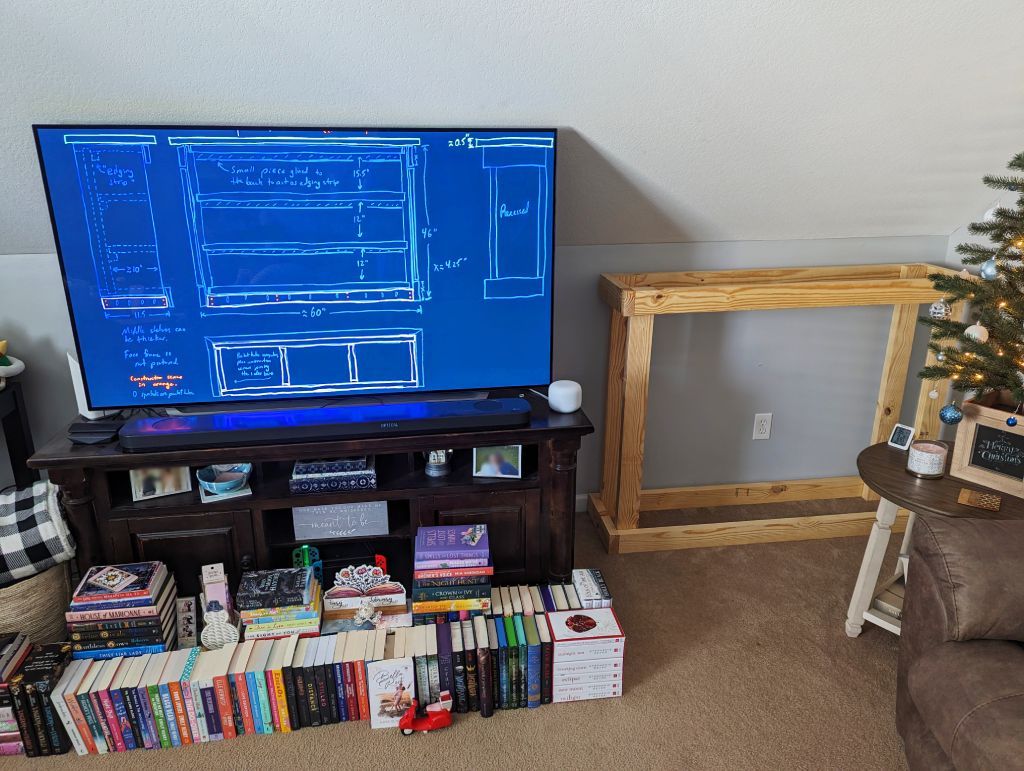
After living with the bookshelf mockup for a few days—weeks
![]() —we’re pretty pleased with it! I’m going to move forward with the
plan and get all the lumber milled up for the final bookshelves.
—we’re pretty pleased with it! I’m going to move forward with the
plan and get all the lumber milled up for the final bookshelves.
 Plans vs. Mockup
 |
|---|
| Before I get started on milling the wood, a final side-by-side check of the plans and mockup. Looking good! |
 Milling Time!
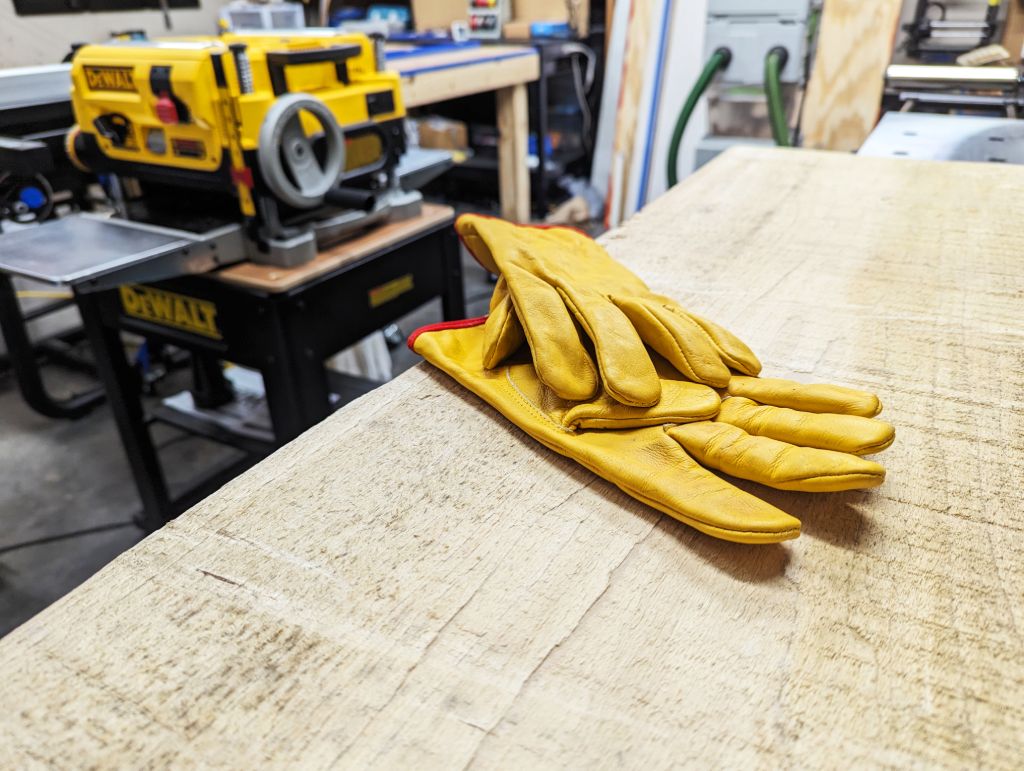
I have a stack of rough cut lumber, and I need to make it flat and square. We
invested in a jointer and planer, and I’ve learned how to use them on some scrap
boards. Now, it’s time to put that knowledge to use on the real thing! ![]()
 Step 1: Jointing Half of First Face
 |
|---|
| I’ve got one piece of rough lumber sitting on top of my jointer (barely pictured), and the planer to the side ready to go after jointing! The rest of the wood is sitting off to the side, not pictured. |
 |
|---|
| My 8 inch (20 cm) wide jointer is unable to process the 15 inch (38 cm) width boards in one pass, so I’ll use a trick to process the entire side in a moment! |
 Step 2: Planing Opposite Face
 |
|---|
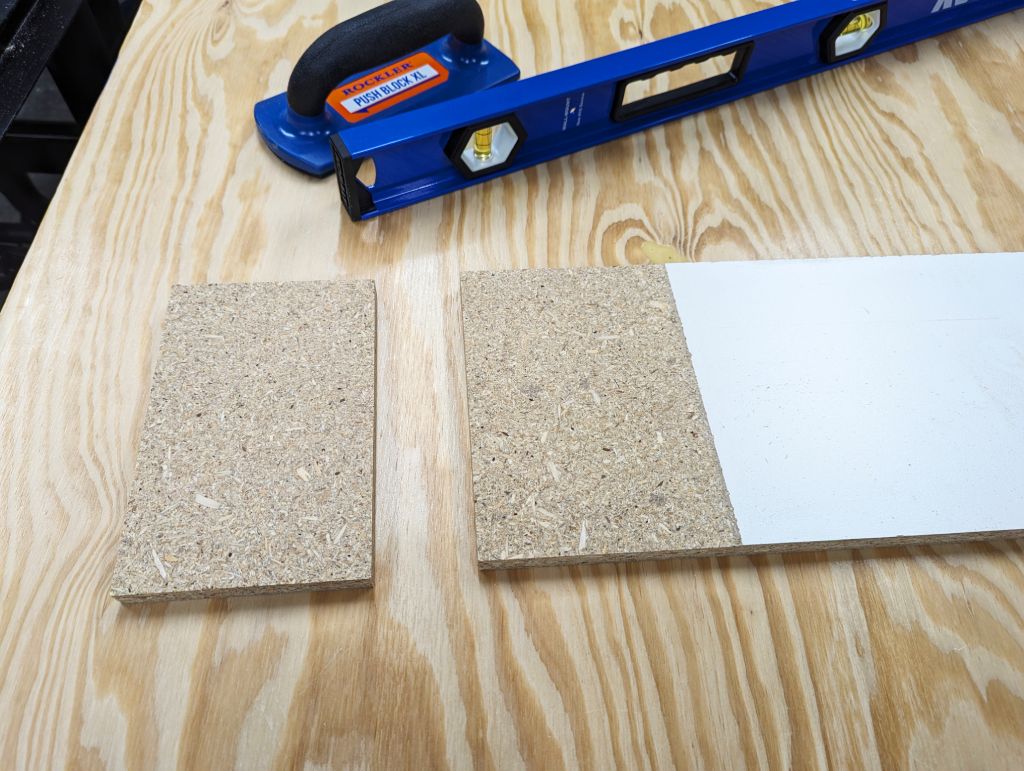
| To get around my jointer not being well-endowed enough (I figured 8 inches would have been enough…), I will cut a piece of very flat MDF/melamine at 7.5 inches (19 cm) wide, and then glue another piece of MDF at the same width to one end, creating a lip. Why?… |
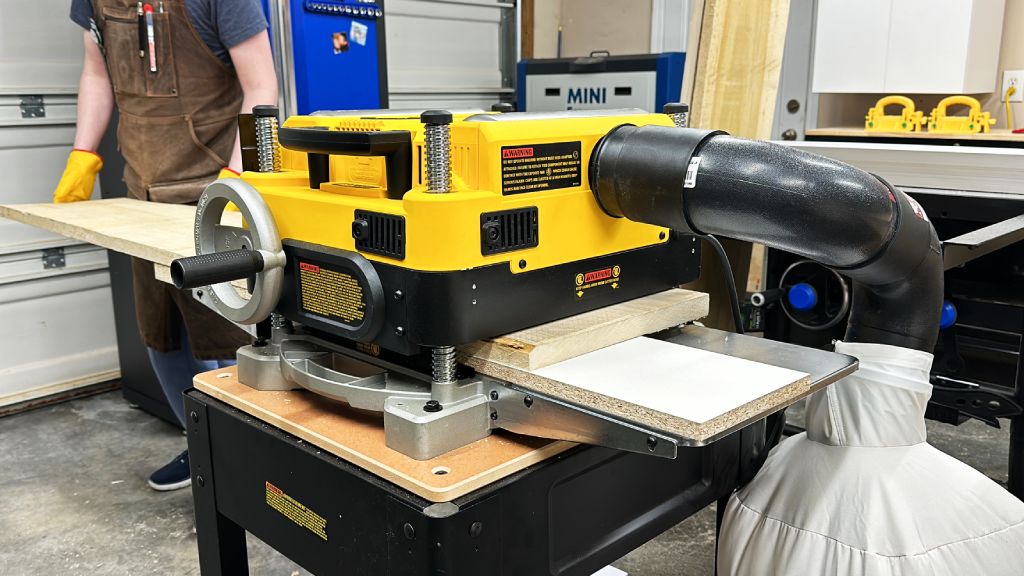 |
|---|
| …so that I can use the lip to keep the jig from being fed into the planer with my lumber! I can put my half-finished face of the lumber against my jig, and feed the lumber through the planer, creating a perfectly flat full-face on the opposite side of my lumber. I can then remove the jig, flip the board, and plane the half-jointed side flat. |
 |
|---|
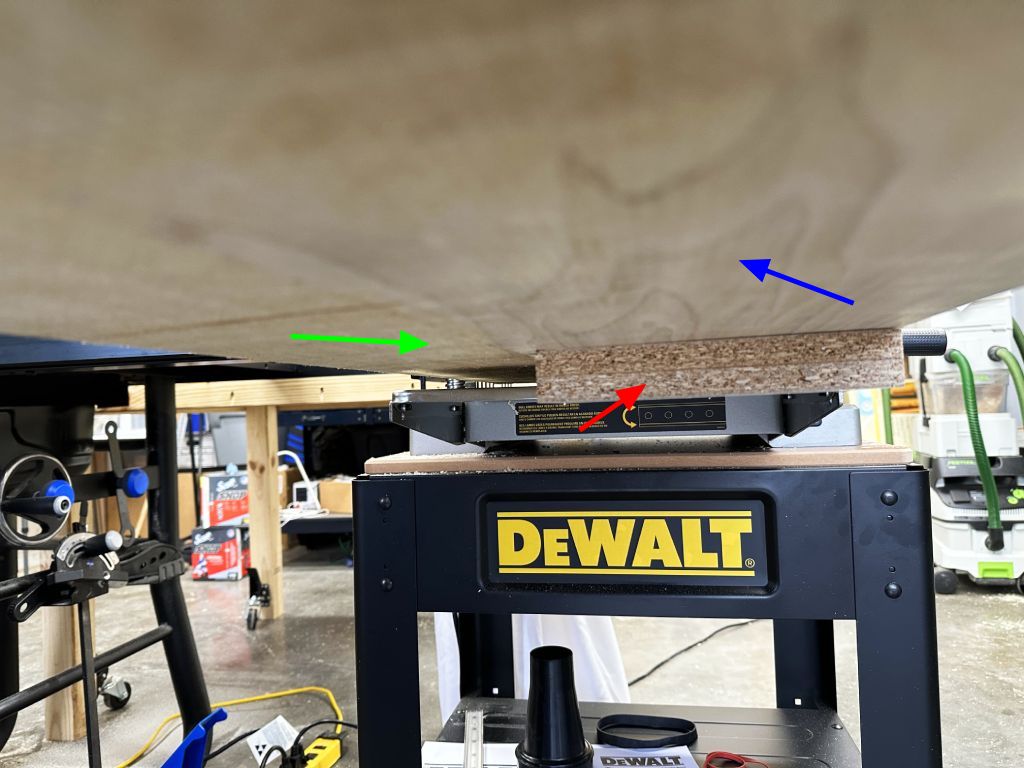
| This is an angle looking at underneath the input side of the planer, with the MDF jig (red) sitting in the planer, and a board being fed through (blue/green). The jig lip hangs down (red) and catches on the planer feed so the jig doesn’t get fed into the planer. Notice that the jointed portion (blue) of the board is touching the jig, and the rough part that wasn’t jointed (green) is not. |
 Step 3: Edge Jointing
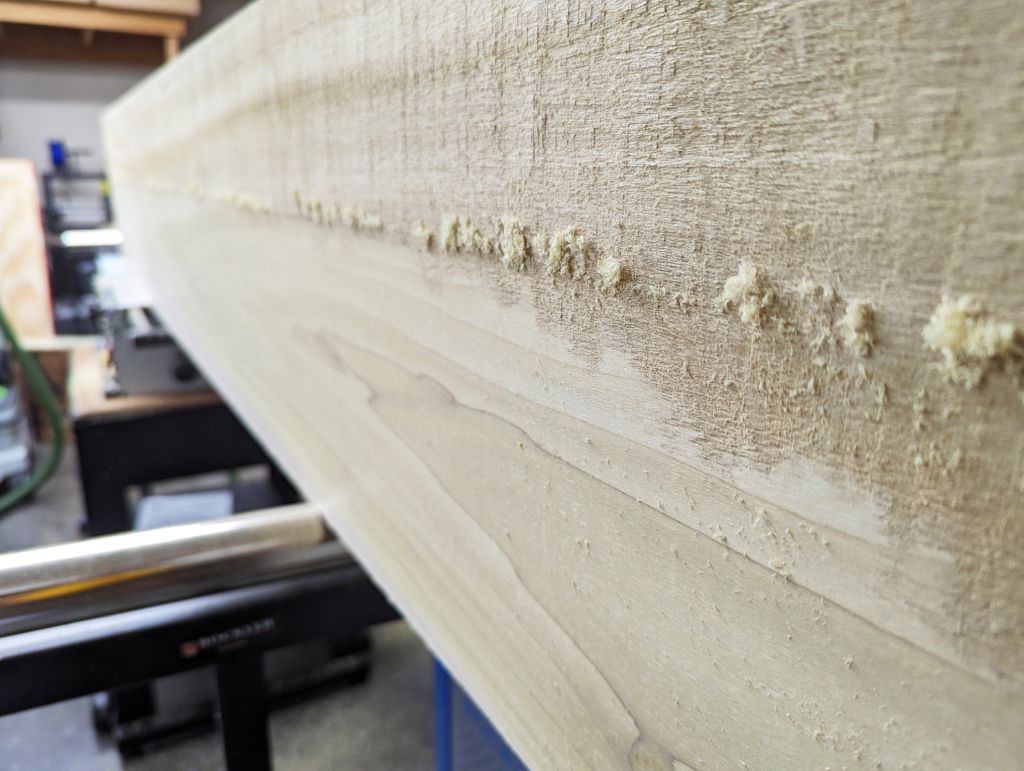
With both faces flat, I will now joint one edge of the board (the third side) to
be square to the faces. This should be pretty straight forward and go fairly
quick! But WOW, I am getting VERY tired moving around these large pieces of wood
by hand, especially in a small space ![]()
I will not joint the fourth and final side of the board, since I will need to do that on the table saw to ensure all four sides are square to each other. I’ll also wait to cut the boards to length until after I’ve jointed all the boards, so that I can cut them all at once to ensure they are all the same.
 Lesson in Sawdust
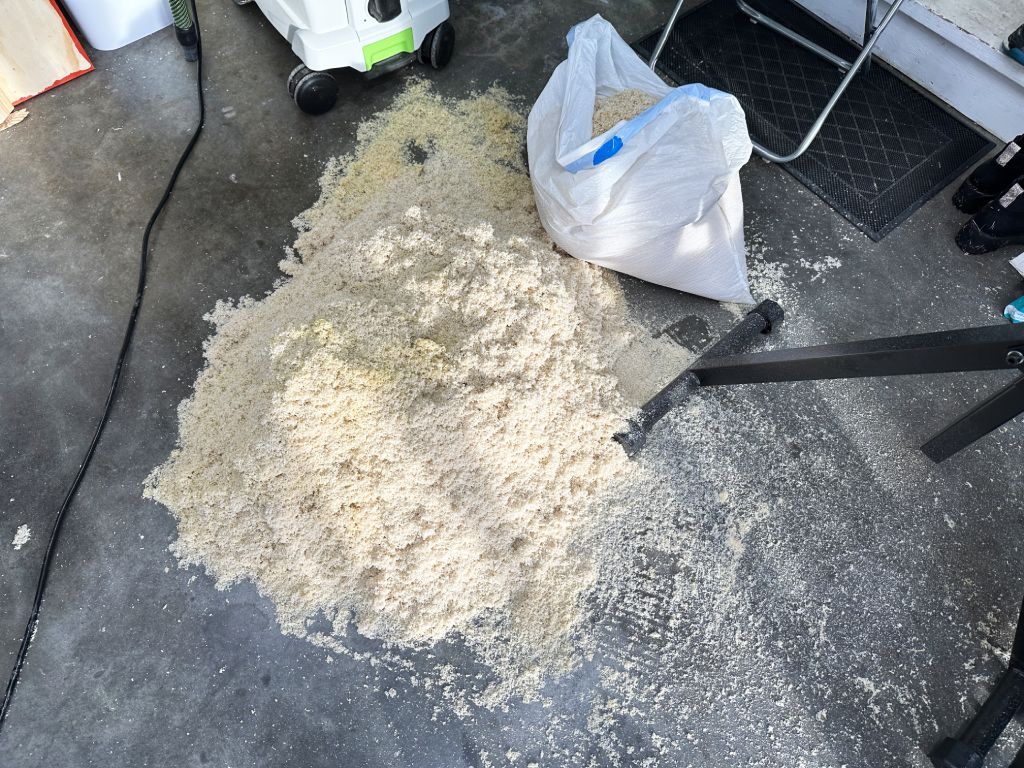
Something I learned in this process was how. much. sawdust. is created when milling lumber. I mean, I thought I did a pretty good job picking out wood that wasn’t warped too bad, but I think the large width of the boards proved to be a lot to deal with! Flattening a board with a large width is just going to create a lot more wasted material than milling several smaller width boards. This is because making a smaller board flat with itself requires the removal of less thickness than making a larger board flat with itself. I’ll have to keep this in mind for future projects!
 |
|---|
| One half of ONE of the sawdust piles from milling the lumber, with the other half already in the garbage bag. I have 6 garbage bags full of the stuff just from these 4 boards! No idea what to do with it all… |
Ideally, I was wanting as close as possible to 1 inch (2.5 cm) thick boards, but
I was only able to get 5/8 inch (1.6 cm) thick boards at the end of the milling
process ![]() I’ll have to keep this in mind when designing the joinery
for the bookshelves, as I’ll need to make sure the joinery is strong enough for
the thinner material. Life is full of these “little” challenges, isn’t it?
I’ll have to keep this in mind when designing the joinery
for the bookshelves, as I’ll need to make sure the joinery is strong enough for
the thinner material. Life is full of these “little” challenges, isn’t it?
![]()
In the future, I need to either start with wood that is thicker than the 1-1/4 inch (3.2 cm) rough cut lumber I started with, or I need to first rough cut the wood down to smaller widths before milling so there will be less thickness milled away.
 Next Time!
I. Am. EXHAUSTED.
“Hi, Exhausted. I’m …”
Don’t you dare finish that horrible joke! ![]()
Yeah. I need some rest. I’m talking to myself in my own article…
Next time, we’ll move forward with cutting the boards to length and width, and
then start the joinery for the bookshelves ![]()
Until next time,
![]() Pixel
Pixel