(The following took place on the week of September 12, 2023)
This will be the last article in this project series ![]() Continuing
from my last article
here, I’ll be applying
the fabric to the inside of the box, and that will finish the project! At the
end, I’ll show some pictures of the final result, placed in its final location
Continuing
from my last article
here, I’ll be applying
the fabric to the inside of the box, and that will finish the project! At the
end, I’ll show some pictures of the final result, placed in its final location
![]()
 Starting Point
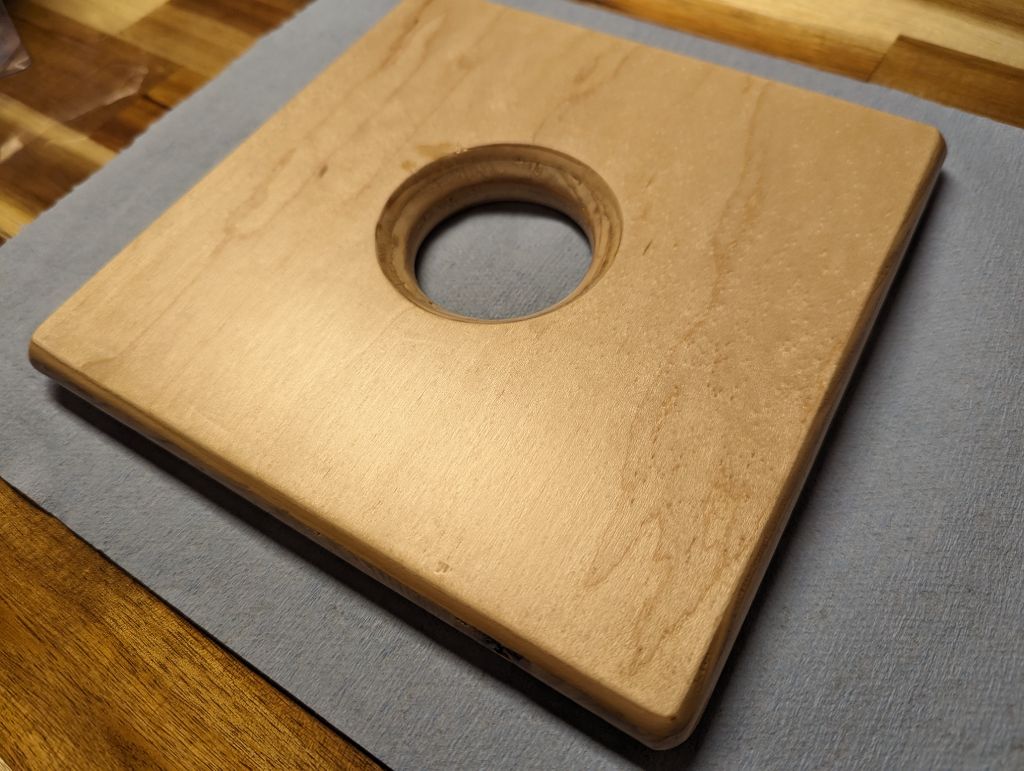
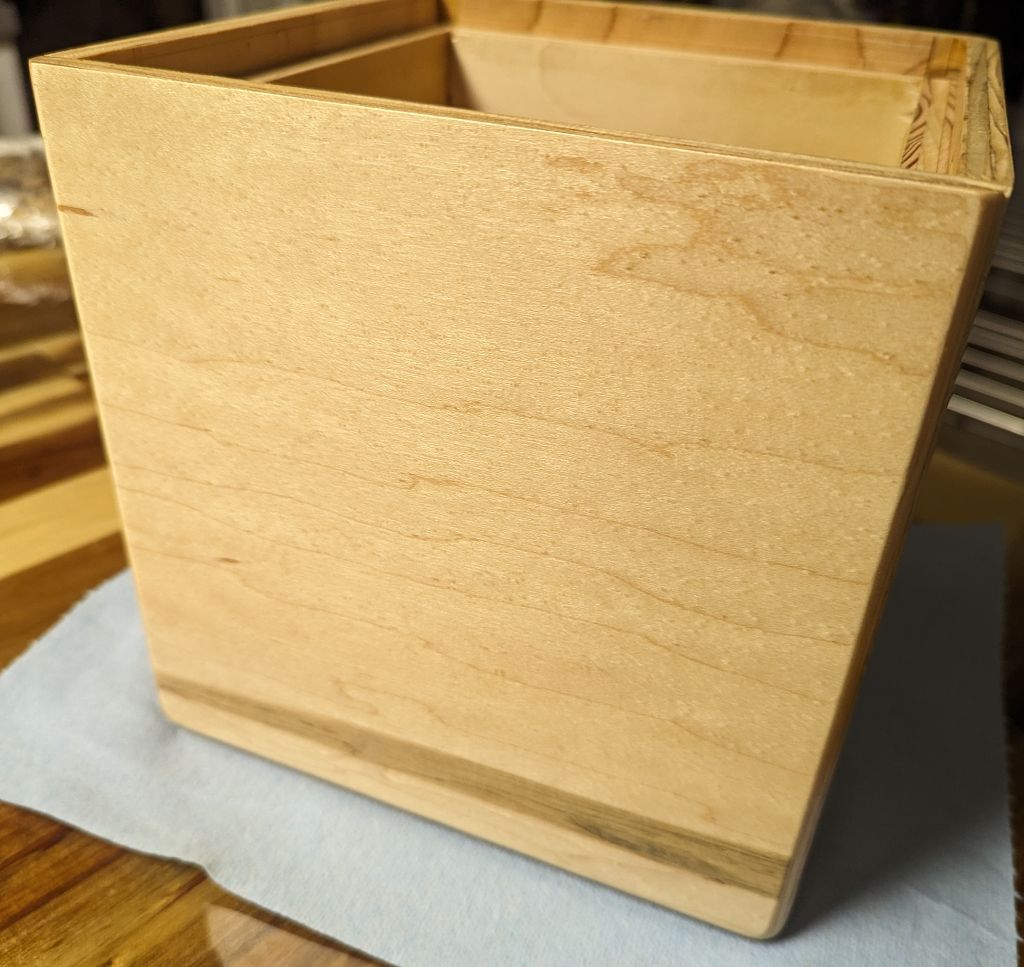
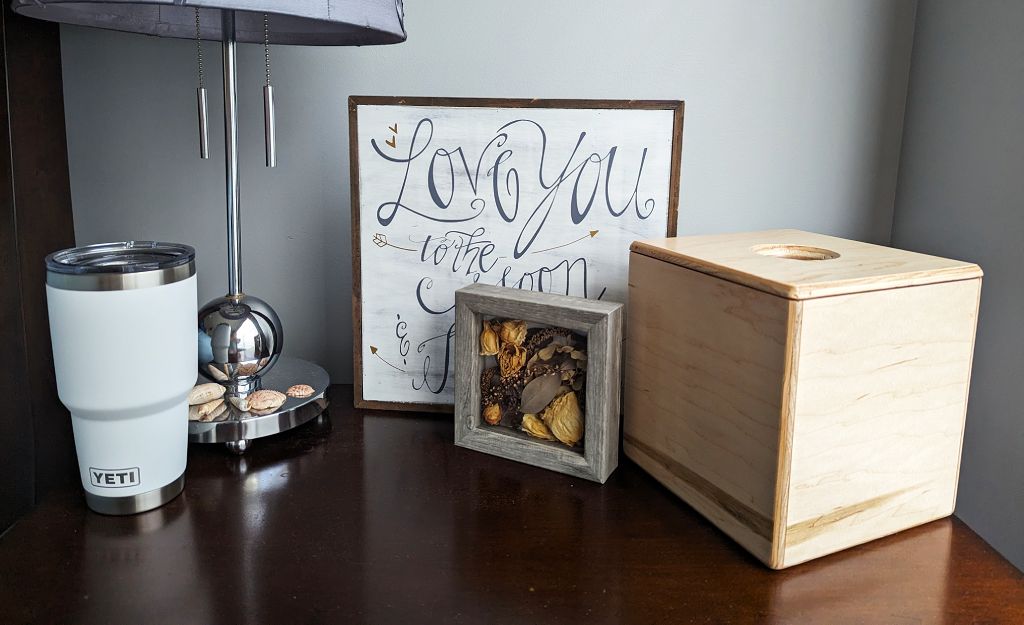
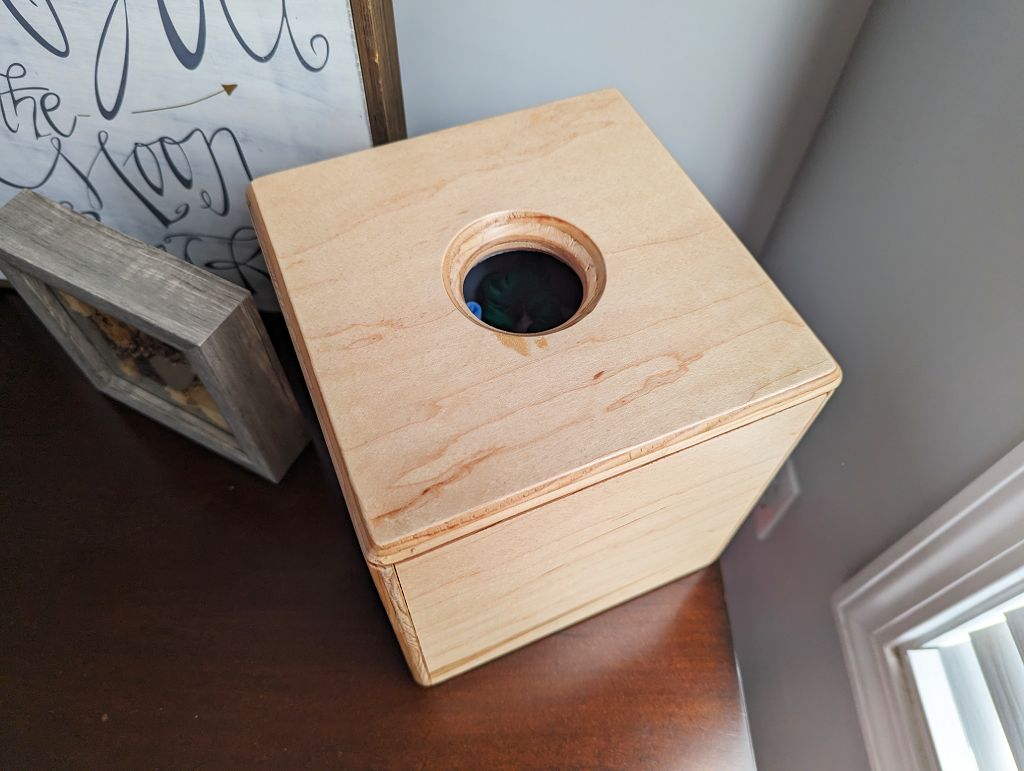
As a quick reminder, here is the state of the box at the end of the last article. The finish has been applied to the outside. The nighttime kitchen lighting made this wet finish look even more different than it will look in natural lighting and dry.
 |
|---|
| The lid of the box, indoors, drying on a shop towel |
 |
|---|
| The box, indoors, drying on a shop towel |
 Fabric
The next day, I went to JOANN Fabric and Crafts with my wife ![]() , who was
sooooo burdened to be there
, who was
sooooo burdened to be there ![]() , and she helped me pick out some thick,
soft, spongy fabric for the box. I wanted her opinion on the color since she’ll
be looking at it every day, so I wanted her to be happy with it.
, and she helped me pick out some thick,
soft, spongy fabric for the box. I wanted her opinion on the color since she’ll
be looking at it every day, so I wanted her to be happy with it.
We settled on a pale blue color of fleece for the fabric, which I think will
also compliment the wood color. But, how can I attach this to the box? The
adhesives I saw in the store were all sprays (and very expensive ![]() ), but
I want more control over where the adhesive goes than a spray would give me.
), but
I want more control over where the adhesive goes than a spray would give me.
My ideal adhesive should have the following characteristics, in no particular order:
- can work on wood and fabric (obviously)
- easy to apply and in a uniform thickness, and is not a spray
- working time of at least a minute, ideally longer
- will not easily soak through my thick fabric, making the fabric stiff instead of soft
- does not contract when drying as to not warp the fabric
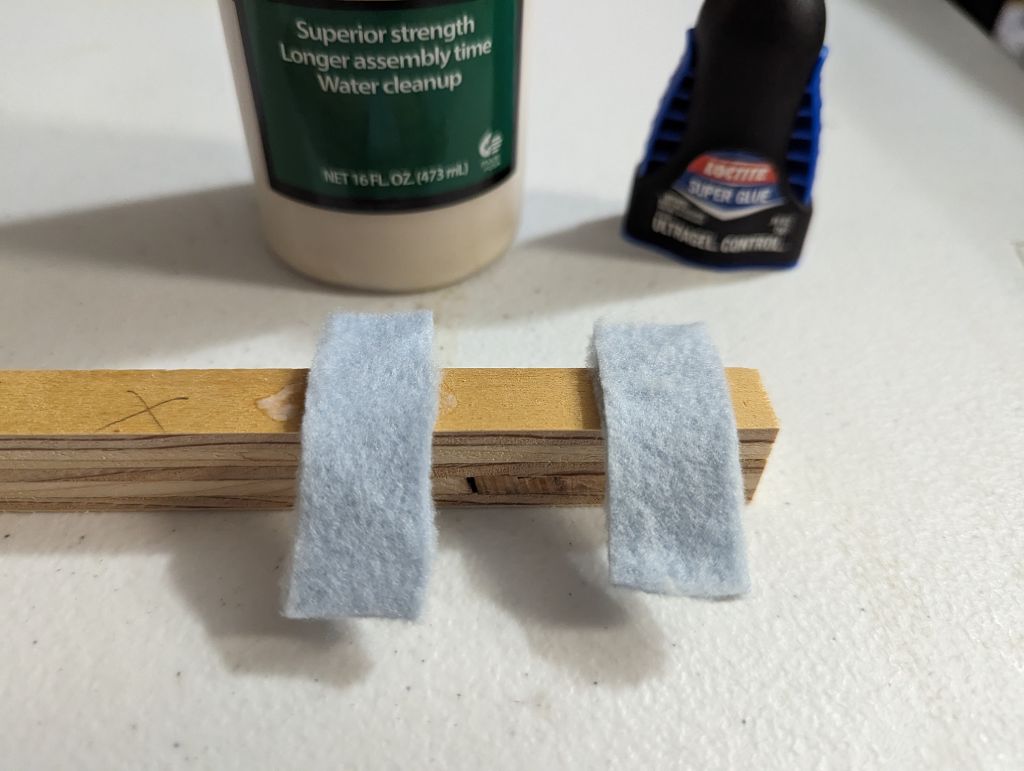
Back at home, I do a quick test with two glues I always keep on hand: wood glue and CA glue (superglue). I do keep hot glue on hand, but it doesn’t satisfy my requirements of uniform thickness and working time.
 |
|---|
| Testing wood glue and CA glue on scrap pieces of fabric and plywood |
Thankfully, the wood glue works better than I expected! In fact, it held even better than the CA glue. I believe this is because the CA glue is so thin that it soaked through the fabric and didn’t have enough surface area to hold onto the wood. When I pushed the fabric onto the wood, I felt some glue get on my hands through the fabric, breaking that requirement before the test had even started!
Wood glue it is!
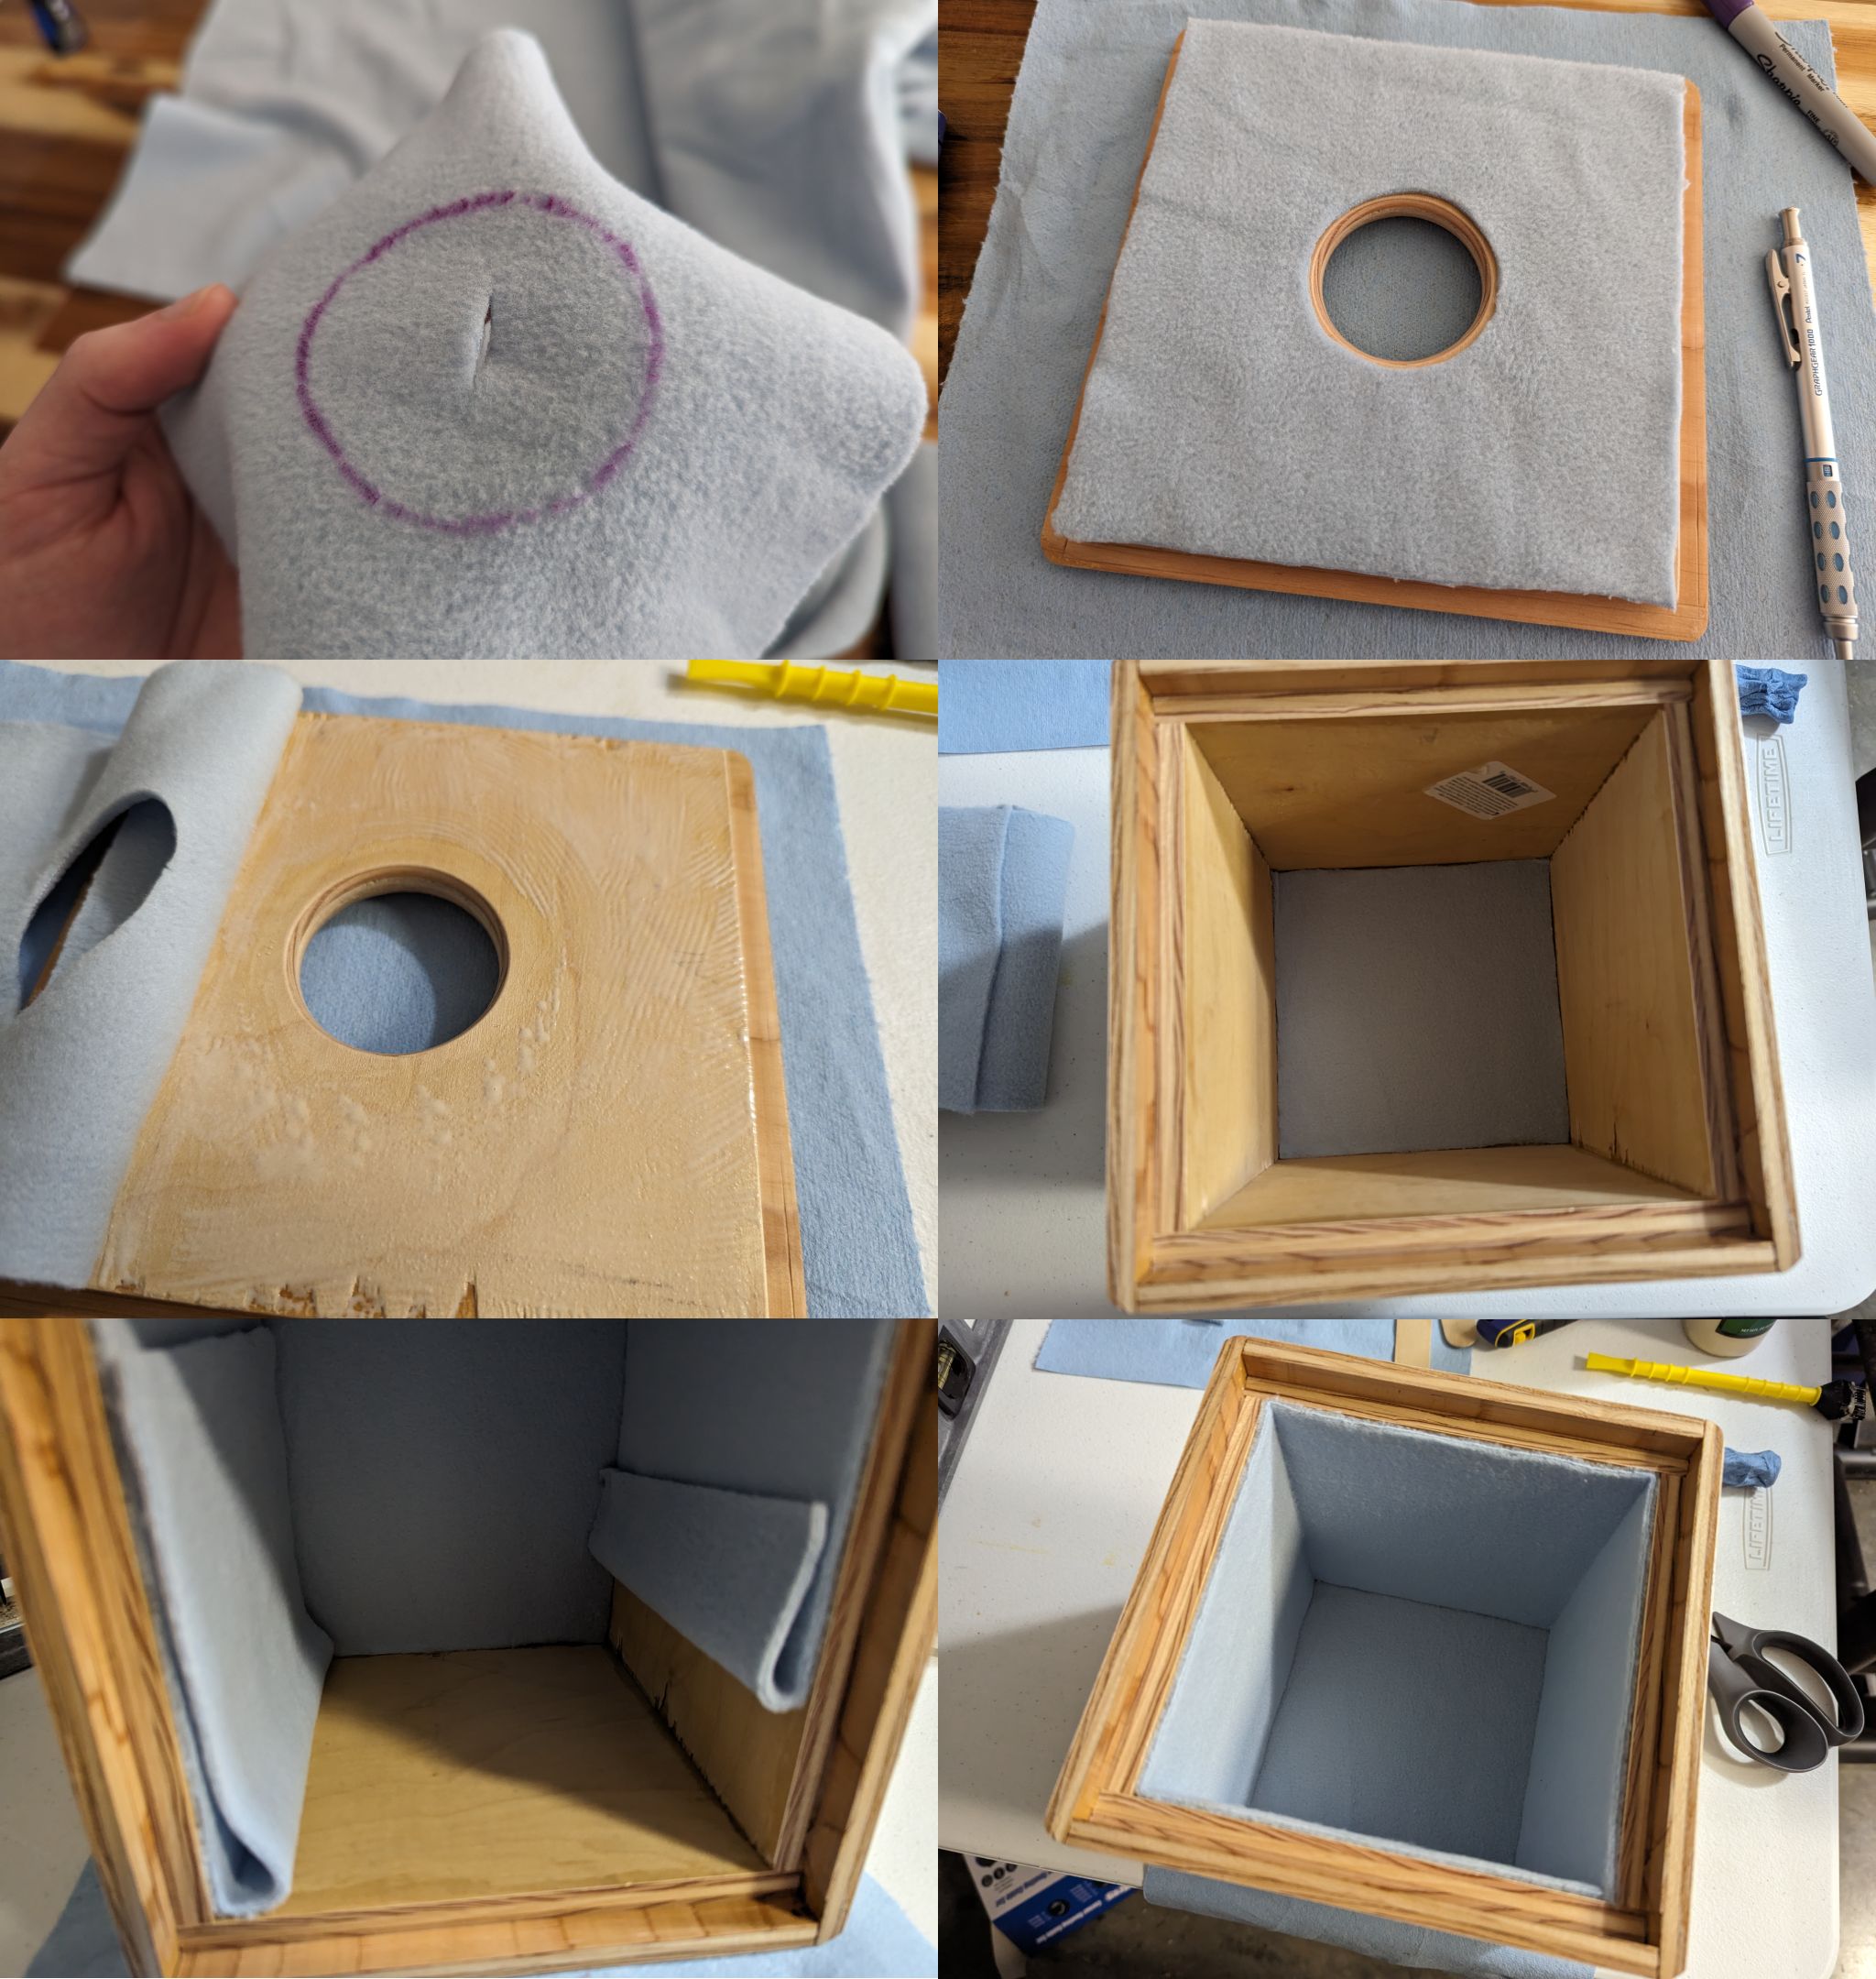
I take my time cutting out the fabric and slowly applying the wood glue to the
box, one side at a time, while I hold the fabric in place. Because the wood glue
is so thick, the fabric is secure enough to hold itself to the wood while I work
on each side ![]()
Plus, something I didn’t realize would be a big benefit is how the fabric being so thick would allow me to stretch or contract it just enough to let me massage the fabric perfectly flat and uniform across all the surfaces. It really made a huge difference to the look and feel of the fabric!
Before I know it, the fabric is all done! And WOW does it look and feel good. The fabric feels so soft and spongy, and it also feels sturdy at the same time.
I’ll wait until tomorrow when it’s completely dry to take it to its final location.
 |
|---|
| The box with the fabric applied to the inside, just needs to dry |
 Final Reveal
I. am. so. PROUD ![]()
And my wife is so happy with it! ![]()
![]()
Nothing more is needed to make me feel like this was a successful project!
 |
|---|
| Final hair bow box reveal, in its final location on my wife’s |
 |
|---|
| Closeup of the box, with a hair bow visible inside, having just been dropped in through the hole |
 |
|---|
| Closeup of the box, with the lid open, showing the hair bows inside and the fabric on the inside |
 Project Conclusion
Yes, there are things I will want to do better the next time, but nobody will
notice them but me, unless I tell them! And I’m not going to tell them
![]()
Even with those things, I am so incredibly proud of this! It is my first woodworking project in a very long time, and I made everything from the user requirements list, to the design, and finally to this finished box itself.
I surpassed my expectations for myself, both in what the final product would
look like and how much fun I had doing it. I can definitively answer the
question I set out to answer when I started this project: “yes, I absolutely do
want to get back into woodworking” ![]()
It’s at this point that I started thinking about making this blog. I want to
document my journey and share it with others, as well as my future self. Plus,
my wife ![]() has really enjoyed reading about everything that went into her
box! I’m writing this several months later (until my blog gets caught up with
present time), and she still uses it!
has really enjoyed reading about everything that went into her
box! I’m writing this several months later (until my blog gets caught up with
present time), and she still uses it! ![]()
I look forward to sharing more details with her and you as I make not just
wooden furniture in our house, but also electronics and software engineering for
our home. I hope you’ll join me on this journey, and sign up for my newsletter
at the bottom of this page ![]()
![]() Pixel
Pixel