(The following took place on the week of September 12, 2023)
Time for some hands-on testing with some finishes! Continuing from my last article here, I’ll be applying the finish I choose after some fun testing.
 Starting Point
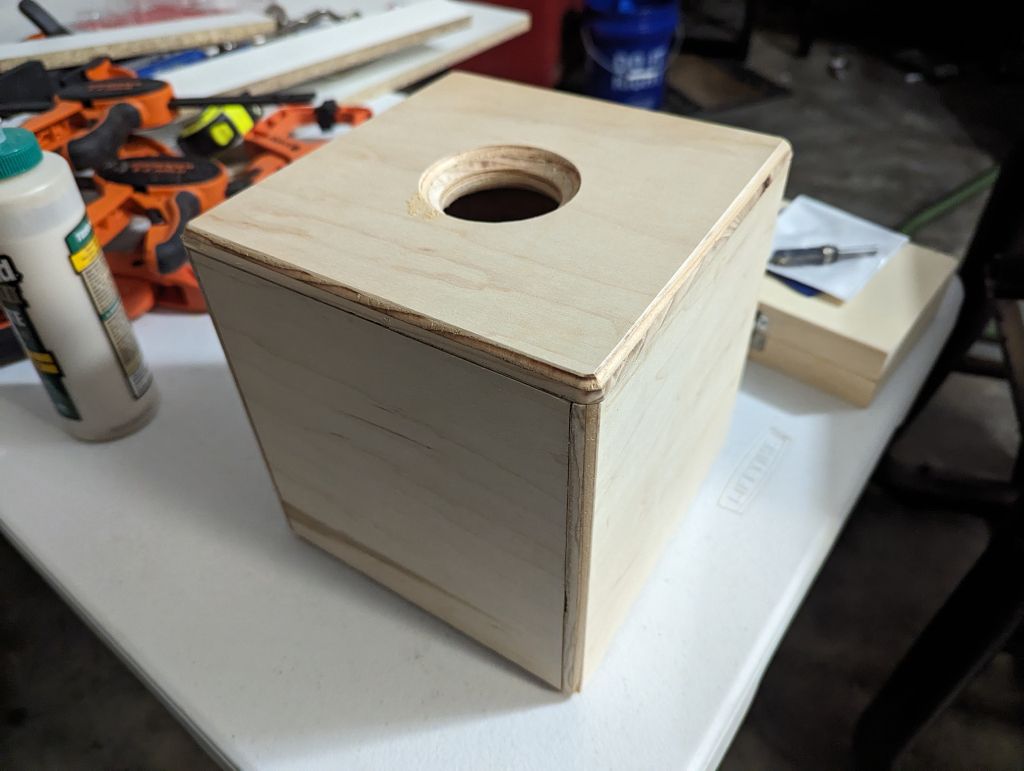
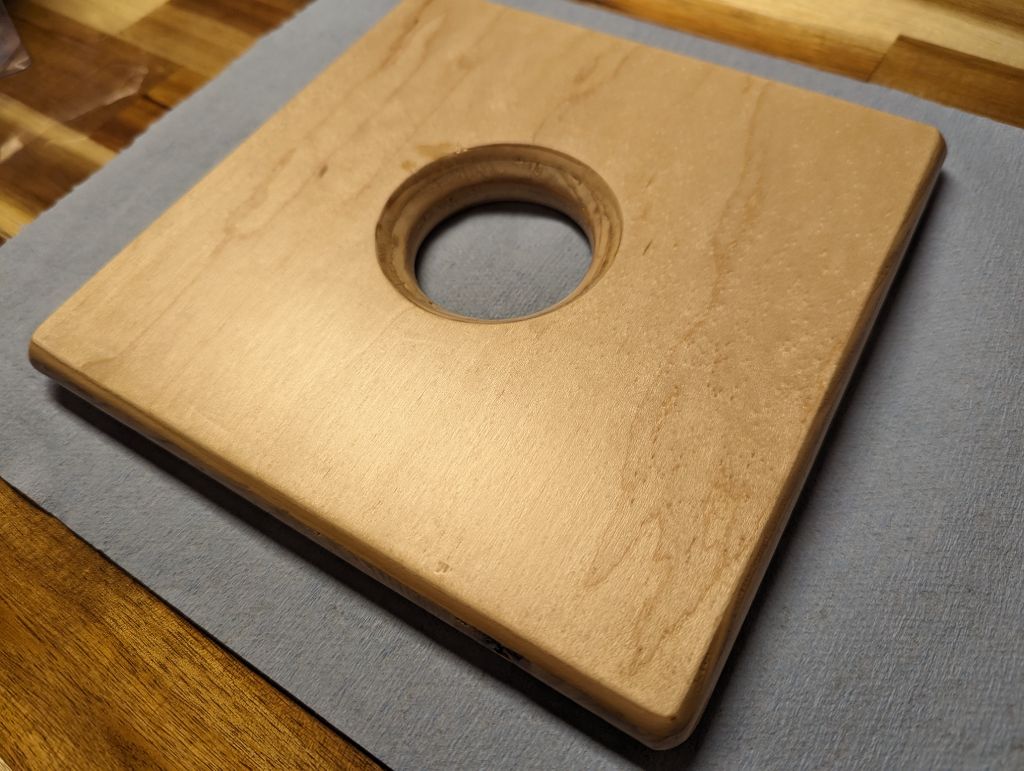
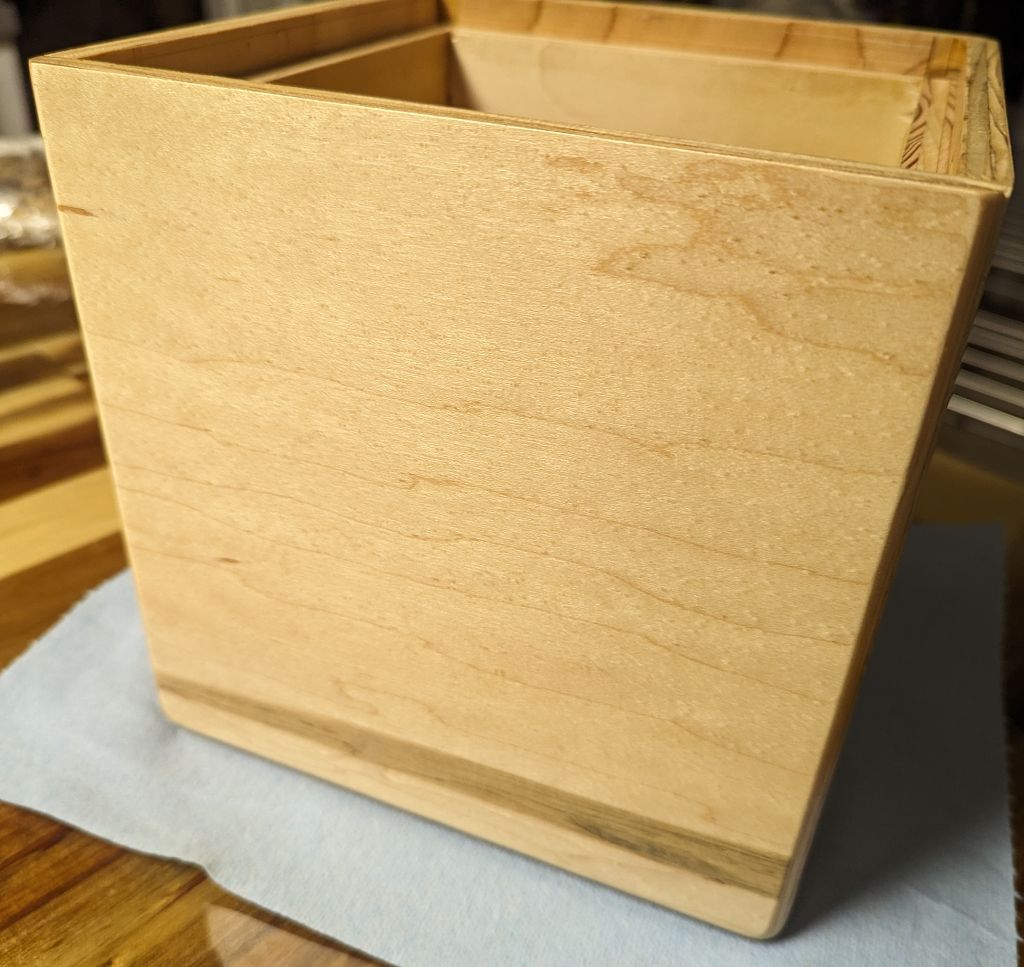
As a quick reminder, here is the state of the box at the end of the last
article. The structure is complete and all edges have been rounded over. The
marring on the lid has been fixed enough, and I’m leaving the small gaps where
the glue lines connect—I figured trying to fix them with wood filler would
bring more attention to them than just leaving them as-is. I learned from that
and I’ll do better on my joinery next time ![]()
 |
|---|
| Dry assembly of the box with the lid, before applying finish to the outside and fabric to the inside |
 Finishing
I’ve got a lot of questions about the various finishes, so I’m going to do some
testing to answer them! Then, I can apply the finish to the box without fear of
ruining the project I’ve put so much of myself into ![]()
 Testing the Finish
From my research, I’ve chosen to apply a polyurethane finish to the box for a few reasons, in no particular order:
- Easy to apply, using just a brush or rag without a special technique or finesse, so less for me to learn right now
- Very durable, which is important for something that will be handled everyday
- Water-resistant, a good trait for something that will be on a nightstand and may get wet from a drink
- UV-resistant, so it won’t yellow over time in indirect sunlight while it’s sitting by the window
- Wood grain can be seen through it
But, I still have a few questions about whether to choose a water-based or oil-based polyurethane:
- How many coats will each need?
- How long will each take to dry?
- Between coats
- Full cure
- What color will the wood become after applying each? Or does it alter the color at all?
- Is there actually an optimal amount of both to apply to get the best results?
- How easy is each to apply and look very smooth and professional?
- Is one more durable / resistant than the other?
- physically durable
- water-resistant
- UV-resistant
Some of these questions can be answered by just looking at cans in Lowe’s, like the coating and cure times. But others will require actual testing!
Let’s get started ![]()
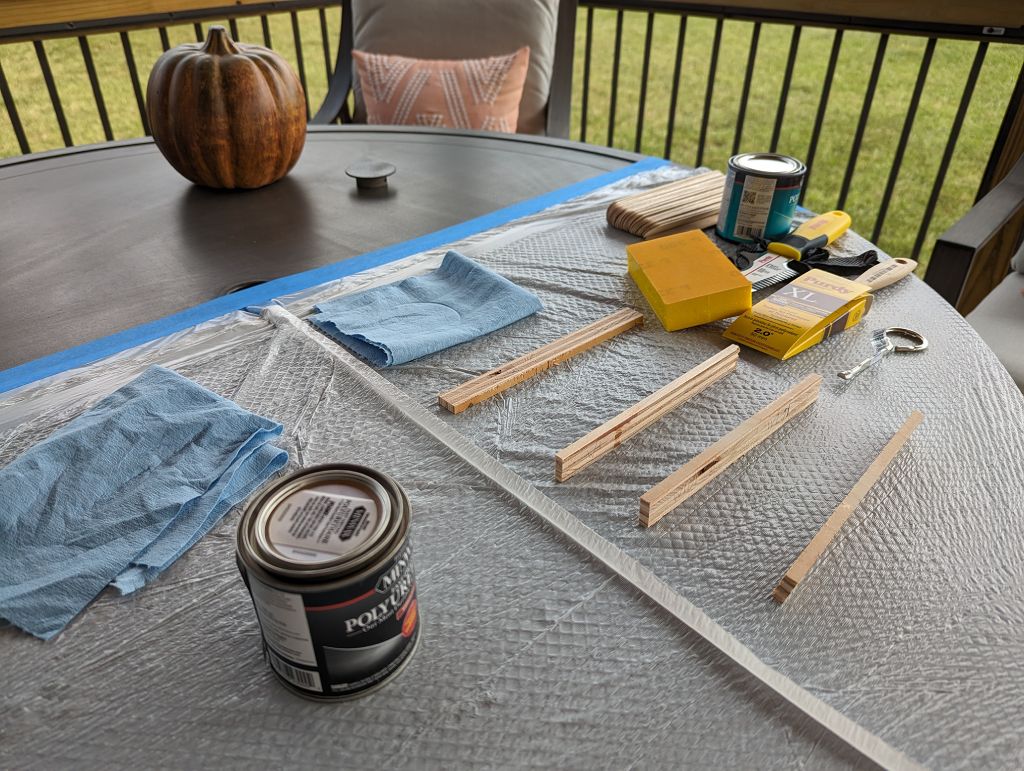 |
|---|
| Setup for testing finishes, with a cut-open garbage bag taped down outside for my work surface |
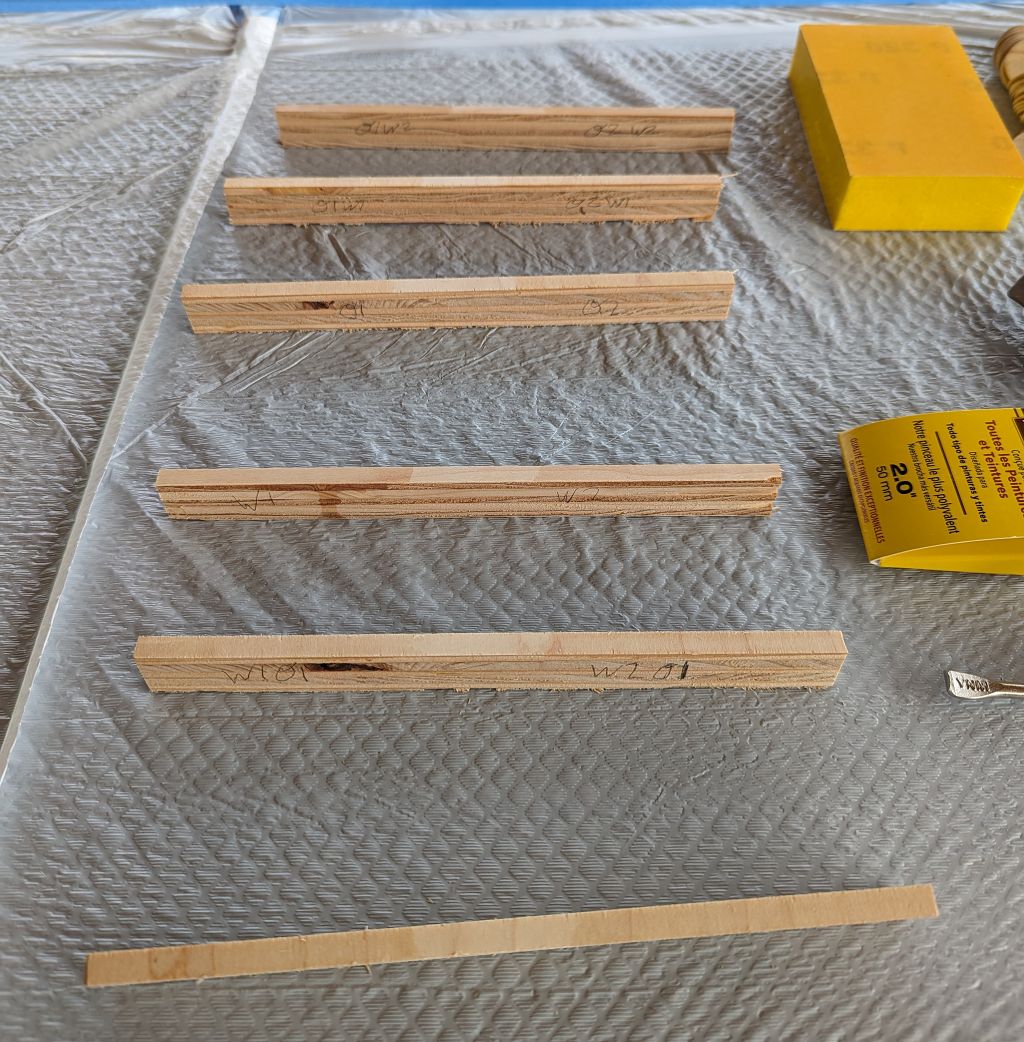 |
|---|
| Plywood samples with a coat already applied, each side marked — W = water-based, O = oil-based, # = number of coats |
After applying the types and numbers of coats designated on each side of each plywood sample, waiting three hours and lightly sanding in between each coat, I have my result!
I’m going to be using two to three coats of the water-based polyurethane finish. It’s easier to apply, dries faster, and doesn’t alter the color of the wood as much as the oil-based finish. In my research, I found that the oil-based finish is more durable than the water-based finish, but not by much, and it tends to yellow more than the water-based finish over time.
While I could potentially do some combination of water-based and oil-based to optimize my requirements, it’s just not enough of a difference to be worth it, and I’d rather work with just a single type of finish on my brush.
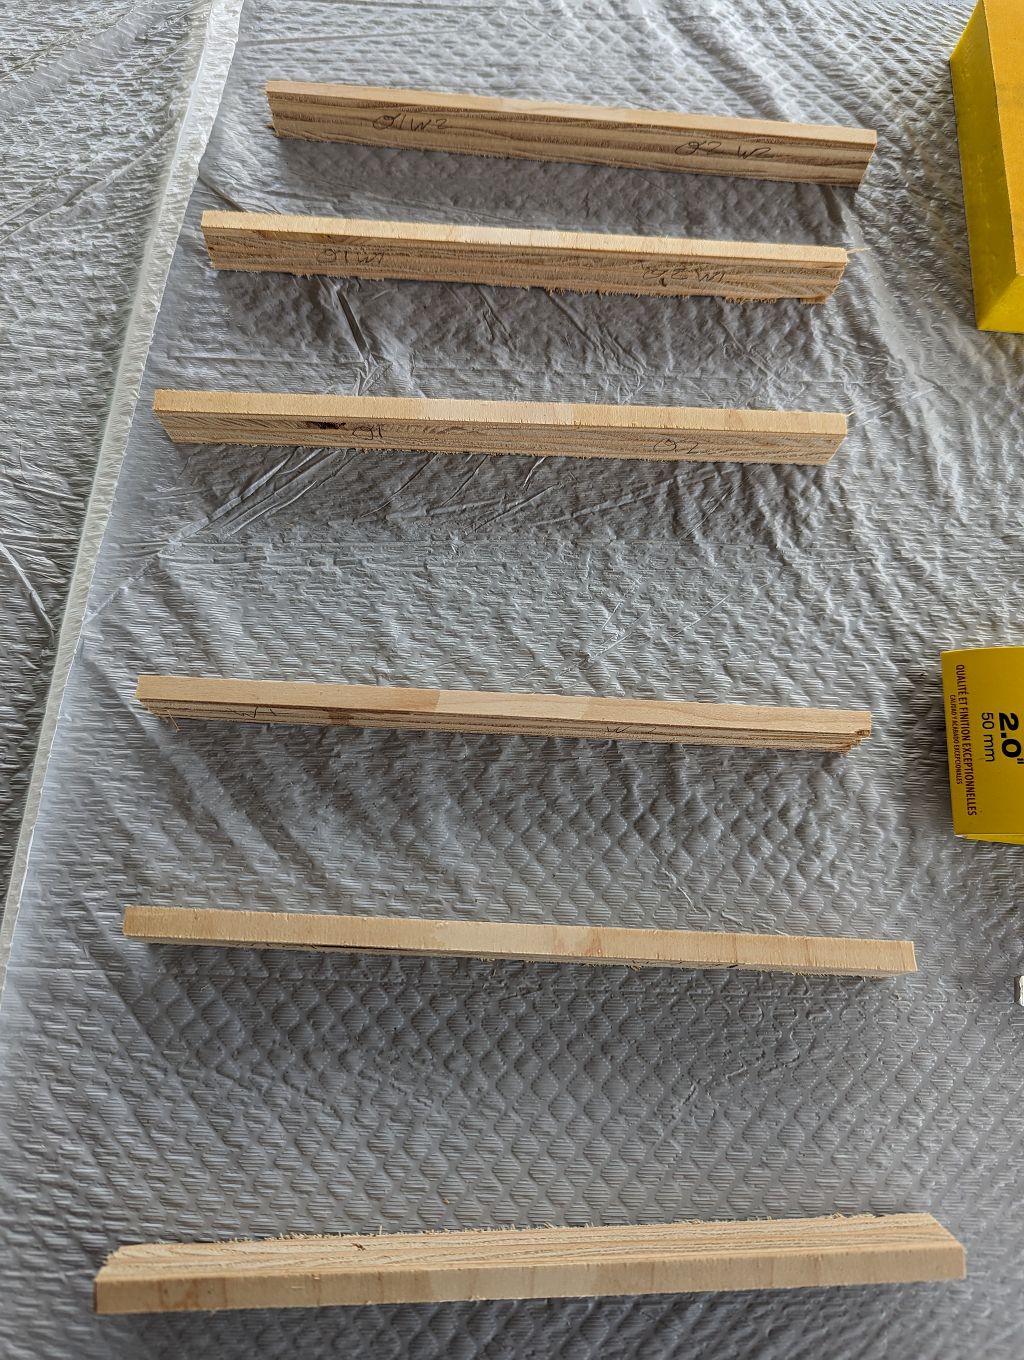 |
|---|
| Final results, with the samples in the same order as in the previous photo — differences can be seen easier in person |
Also, while the full cure time is one day for the water-based vs. two days for the oil-based, this didn’t factor into the decision, but it is a nice bonus.
 Applying the Finish
The hard part is done! Now, time to prepare the sides with a light sanding, then
apply what I’ve learned about the finish ![]()
I’ll only be applying finish to the outside of the box, not the inside, since I’ll be applying fabric to the inside. I’ll also do a quick single coat along the inside rim of the box and lid which will be exposed briefly when the lid is open during use, but not multiple thicker coats so that I don’t risk my lid no longer fitting.
Everything seems straight-forward, except for how to coat the bottom of the box
at the same time as the rest… thankfully, my wife ![]() already
inadvertently solved this problem when she decorated this table with the ceramic
pumpkin her grandparents gifted us when we got the house
already
inadvertently solved this problem when she decorated this table with the ceramic
pumpkin her grandparents gifted us when we got the house ![]() #resourcefulness
#resourcefulness
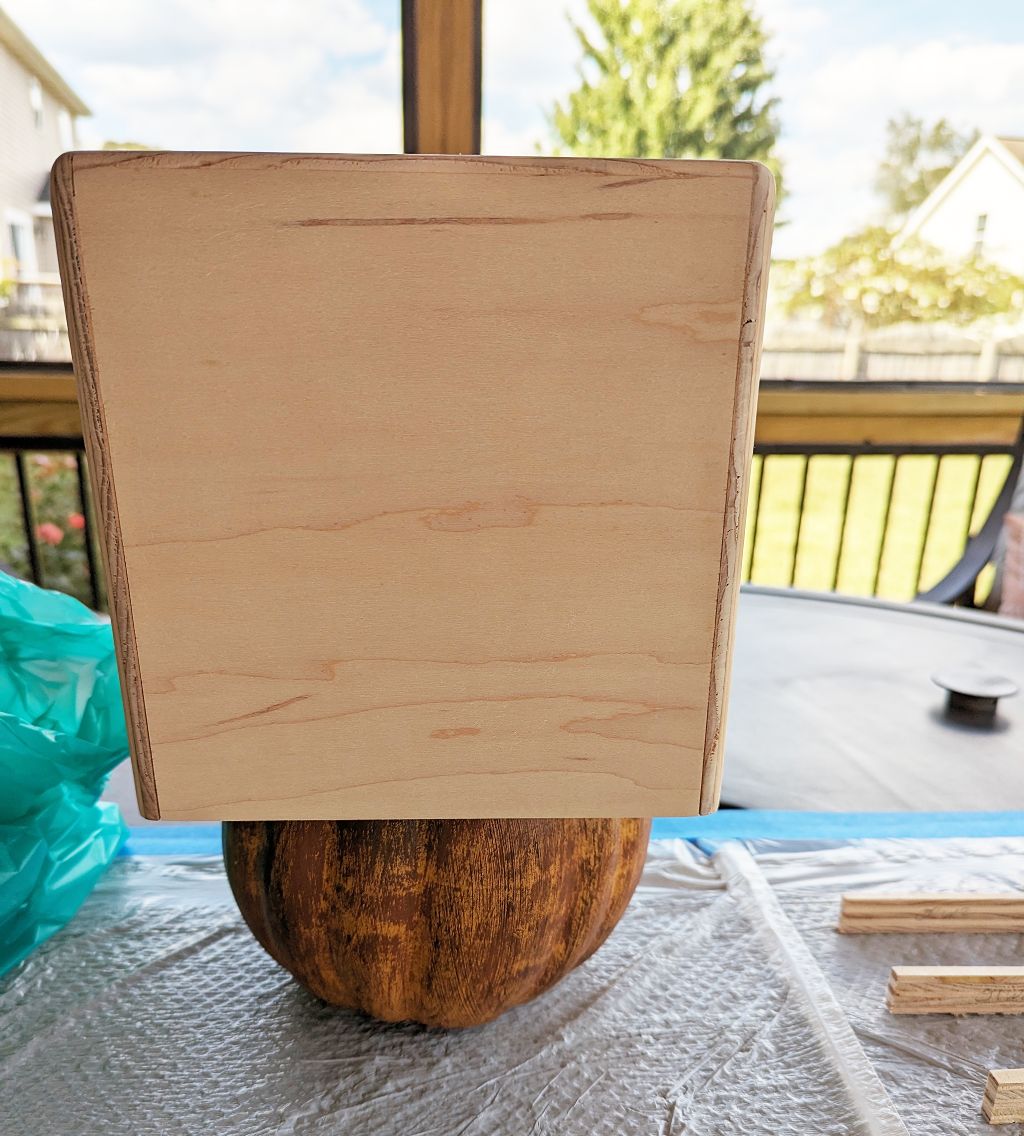 |
|---|
| The box upside down and fitted onto the ceramic pumpkin, FromSawToSoftware’s “official” finishing stand |
A few coats later, and I’m done! Very excited that my decision to keep the brown accent across the two sides of the box looks to have been a good one!
I decide to bring the box inside to dry overnight so that bugs don’t become a
permanent art feature on the box ![]()
 |
|---|
| The lid of the box, indoors, drying on a shop towel |
 |
|---|
| The box, indoors, drying on a shop towel |
The nighttime kitchen lighting makes the wet finish look even more different than it will look in natural lighting and dry.
 Lessons Learned
I learned something very important during this! I didn’t catch this issue during
my testing because the pieces were too small. Before I applied my second coat of
finish to the box, I noticed that the wood was considerably rougher than I would
have expected. Much rougher than when I started! But then I remembered something
I had read: finishes, especially water-based ones, tend to raise the grain of
the wood ![]()
So, what I should have done, and will do in the future before I start applying finish, is spray my bare wood with a mist of water, and then gently sand it smooth again with the grain raised. I suspect this will make the final finish much smoother and more professional-looking.
It’s similar to painting a wall in your house, where the quality of the final paint job is directly related to the quality of the prep work on the wall, regardless of how good the paint is.
That being said, I’m still very happy with how this looks!
 Next Time!
Tomorrow, I’ll get started on the fabric and then it will be complete! I’ll
finish this build in the next article, where I’ll be applying the fabric to the
inside, and then showing off the final product ![]()
![]() Pixel
Pixel