(The following took place on the week of September 12, 2023)
Continuing from my last article
here, I’m going
to glue up all the sides and bottom, and drill the hole for the lid handle. This
will be my first time ever using Forstner bits! And it will be very obvious that
this is the case… you’ll see ![]()
 Building
As a quick reminder, here is the dry fit of the box from last time, and is now my starting point:
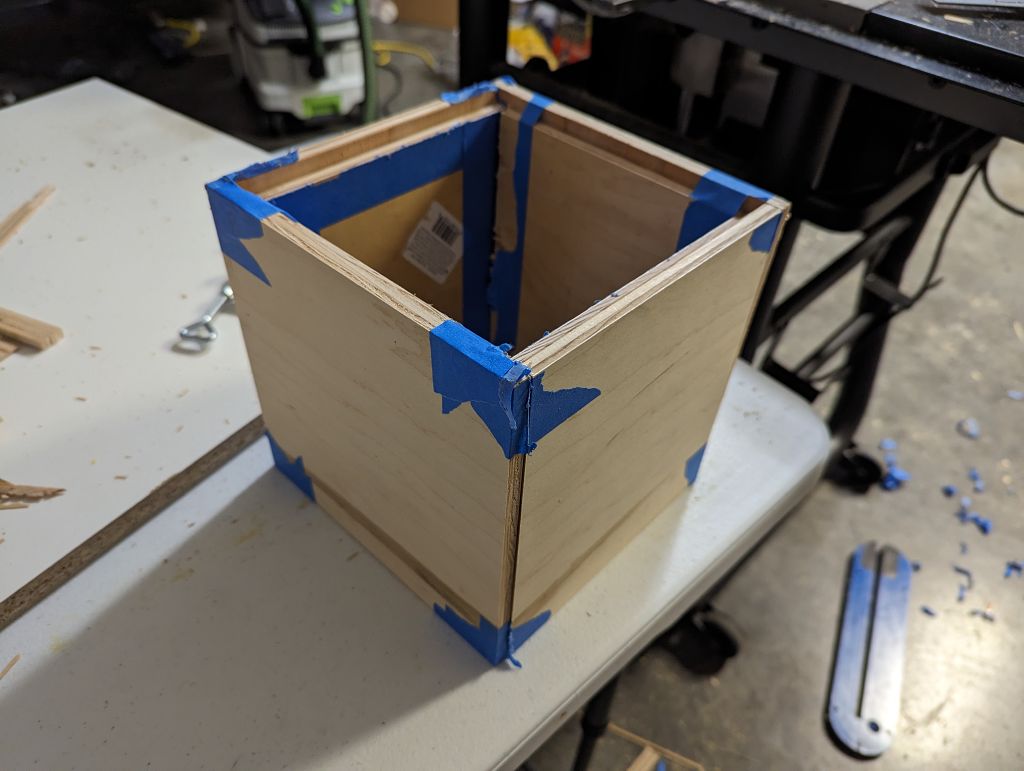 |
|---|
| Successful dry fit of the box, with brown accent lined up |
 Gluing
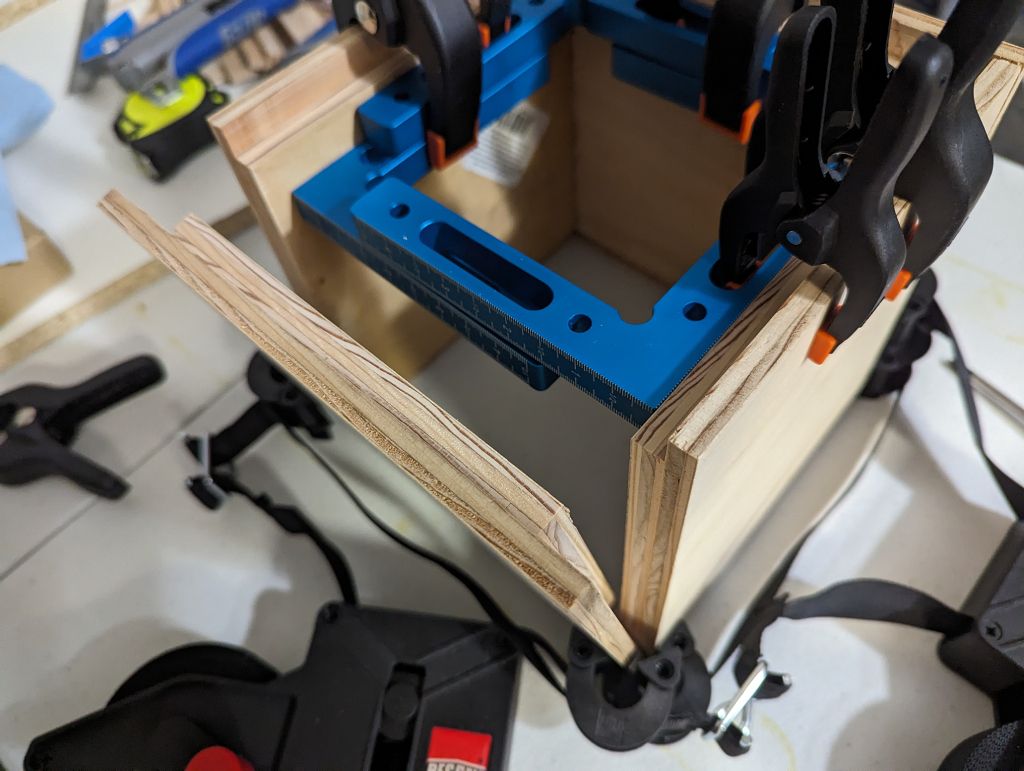
Before gluing the box together, I remove all the blue tape and then do a dry fit with clamps and the lid so that I can make sure everything fits together well. Also, doing it with the clamps will make sure that I have the proper clamp setup and I won’t have to scramble around while my glue is drying trying to find clamps. I’m doing woodworking to have fun, not to create anxiety for myself!
Upon doing so, I notice the lid of the box does not quite fit all the way flat.
And it will be made even worse once I add the thickness of the fabric on the
bottom of the box lid. The lid must be getting caught on the inside ledge of the
box ![]()
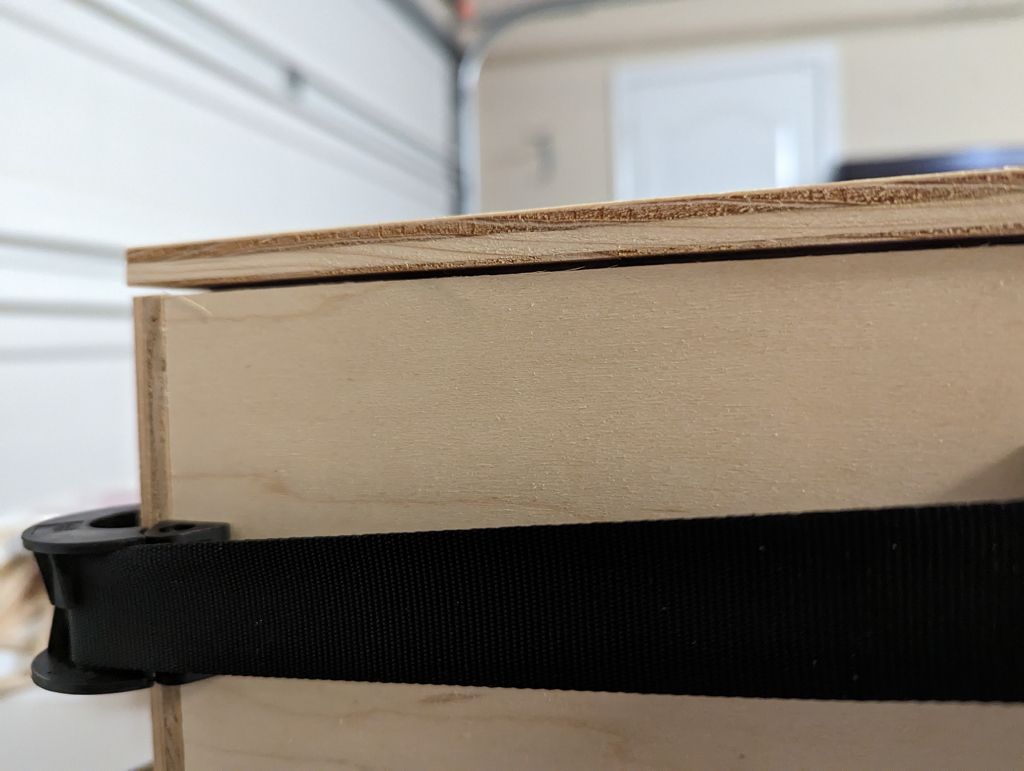 |
|---|
| Lid does not lay flush with the box |
I have a couple ways to fix this:
- I can sand down the inside surface of the lid to make it thinner so that it doesn’t contact the inside ledge of the box.
- I can cut away more of the inside of the lid so that it completely misses the inside ledge of the box.
Option 1 would be very easy… if I had an electric planer. I do not. And I’m
not about to hand sand it that much ![]() So I’ll go with Option 2. If only
I had checked this BEFORE removing my dado stack just before I started on this
So I’ll go with Option 2. If only
I had checked this BEFORE removing my dado stack just before I started on this
![]() No biggie, but it’s likely I won’t be able to get the height
exactly right, which means I’ll probably see some of the dado marks on the
inside of the lid. Oh well, it’s the inside of the lid, so it’s not a big deal.
And lesson learned for next time!
No biggie, but it’s likely I won’t be able to get the height
exactly right, which means I’ll probably see some of the dado marks on the
inside of the lid. Oh well, it’s the inside of the lid, so it’s not a big deal.
And lesson learned for next time!
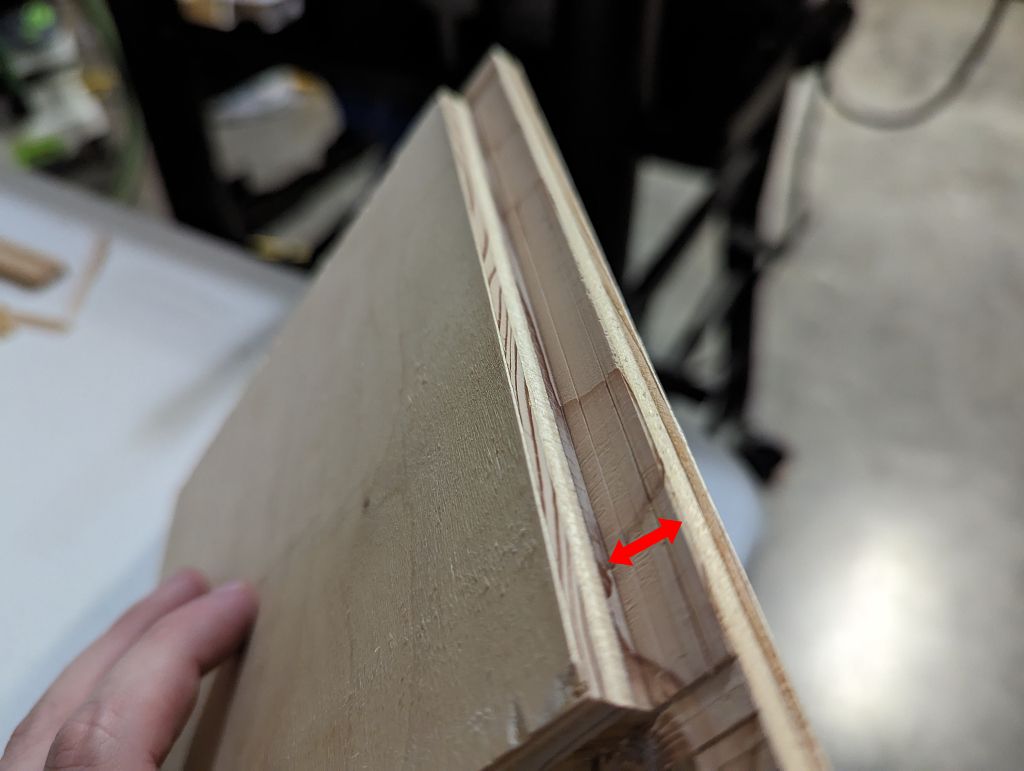 |
|---|
| Second dado cut on the inside of the lid |
 |
|---|
| Lid now sits flush with the box |
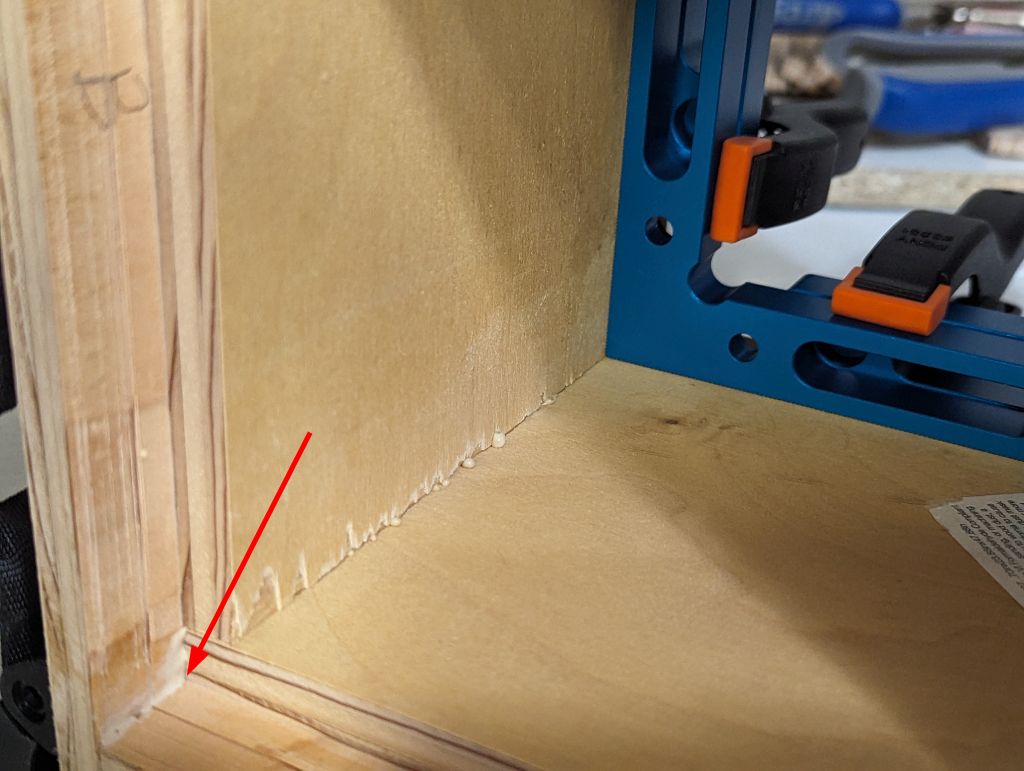
I plan to dry clamp everything together again, then glue the box together by gently peeling back a side at a time, applying glue to the rabbet joints, and re-clamping that side. I’ll then clamp it all together with the bottom which can be easily glued and clamped, then let it dry overnight.
I’m pretty happy with my process I’ve made here for this! I’ll probably do this in a similar way for future projects as well.
 |
|---|
| Dry clamping the box together, gluing one side at a time |
I could actually wait to glue on the bottom after the sides have set and the glue is dry. However, that would mean I would need to try very hard to sop up all the glue in those little corners with a damp rag right now. Why? If I waited until the glue was dry, it would interfere with my fit on the bottom. If I instead glue on the bottom now, I won’t have to clean that glue off since I’ll just be adding more wet glue to it.
Work smarter, not harder! I choose the latter and glue on the bottom now.
 |
|---|
| Gluing the sides of the box, with bottom glue squeeze out |
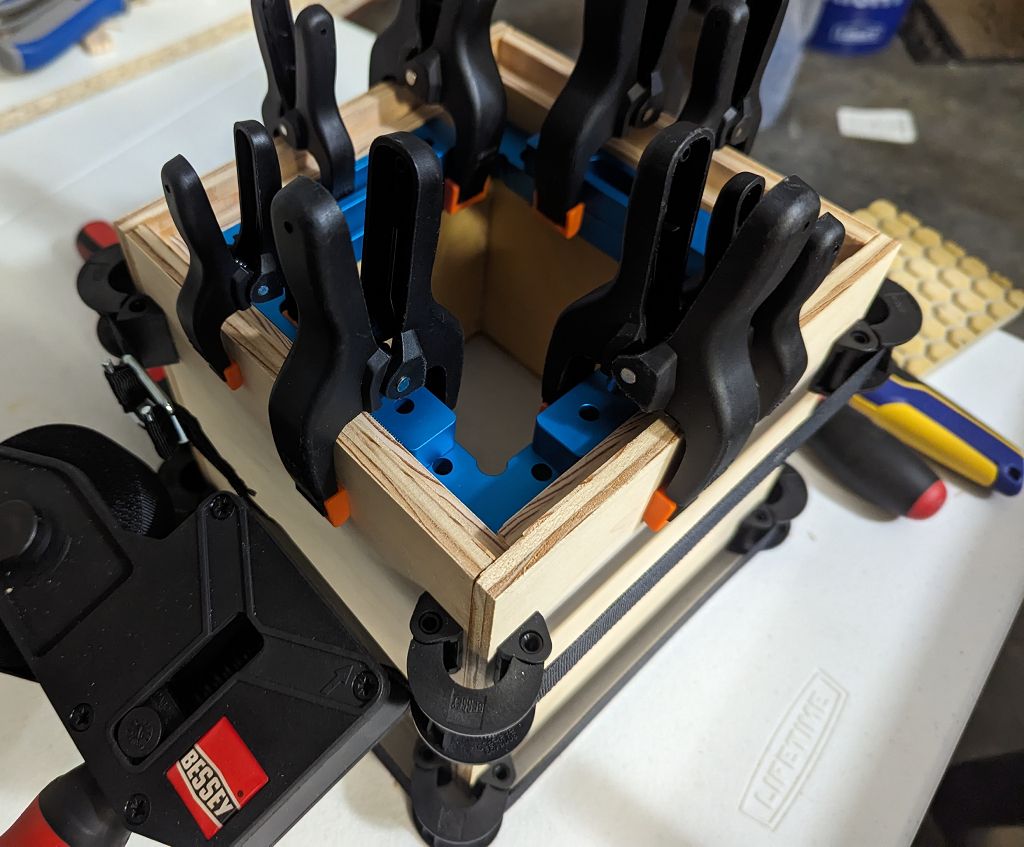
After gluing up everything, I take a damp rag and wipe off all the glue squeeze out in the remaining areas. Gluing is done! Now, I wait for the glue to dry overnight.
 |
|---|
| Gluing the box together |
 Drilling the Handle Hole
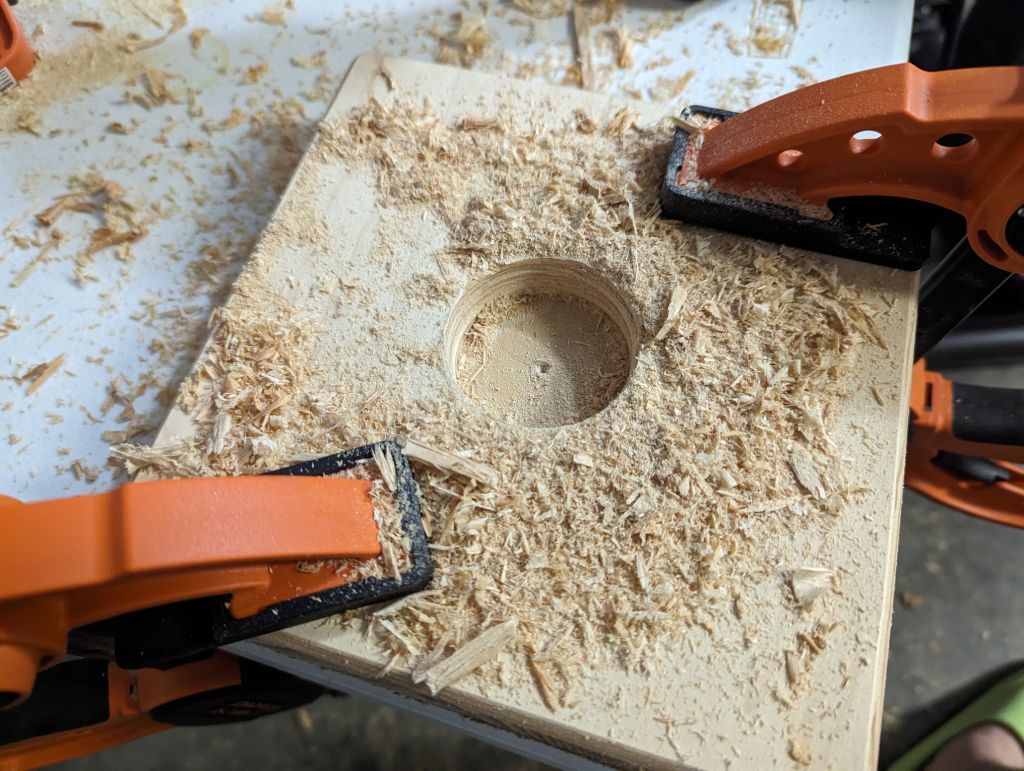
I will drill a 2-inch (5cm) hole in the center of the lid to be the handle. I’ll use a Forstner bit for this, which is a bit that has a flat bottom and a sharp rim. They’re used when you want to either drill a flat-bottomed hole or when you want to drill a hole with a very clean edge. I don’t care about having a flat-bottomed hole since the hole will be going all the way through, but I do care about having a clean edge with minimal tear out.
I don’t have a drill press for this, so I’ll just be using my hand drill. Yes, I will be somewhat wobbling because I’m doing it by hand, but the final dimension of the hole doesn’t matter that much since it’s just a handle. And this won’t affect the clean edge I’m looking for.
I drill for several minutes trying to get this thing to go through the wood.
Even though I have clamped the lid to the table, because the Forstner bit is so
large, it cuts very aggressively. And I don’t mean it takes off a lot of wood
each time, I mean I feel like it’s manhandling me ![]() I’m trying to keep it
on the wood, and it’s trying to push itself away from the wood AND me! Even
though each revolution of the bit would drill out a good volume of wood, the bit
was only taking off a thin depth of wood since the area of the bit was so large.
I’m trying to keep it
on the wood, and it’s trying to push itself away from the wood AND me! Even
though each revolution of the bit would drill out a good volume of wood, the bit
was only taking off a thin depth of wood since the area of the bit was so large.
Suffice it to say, it was a long battle. A battle that I won!
 |
|---|
| Drilling the handle hole, with the pilot hole in the center |
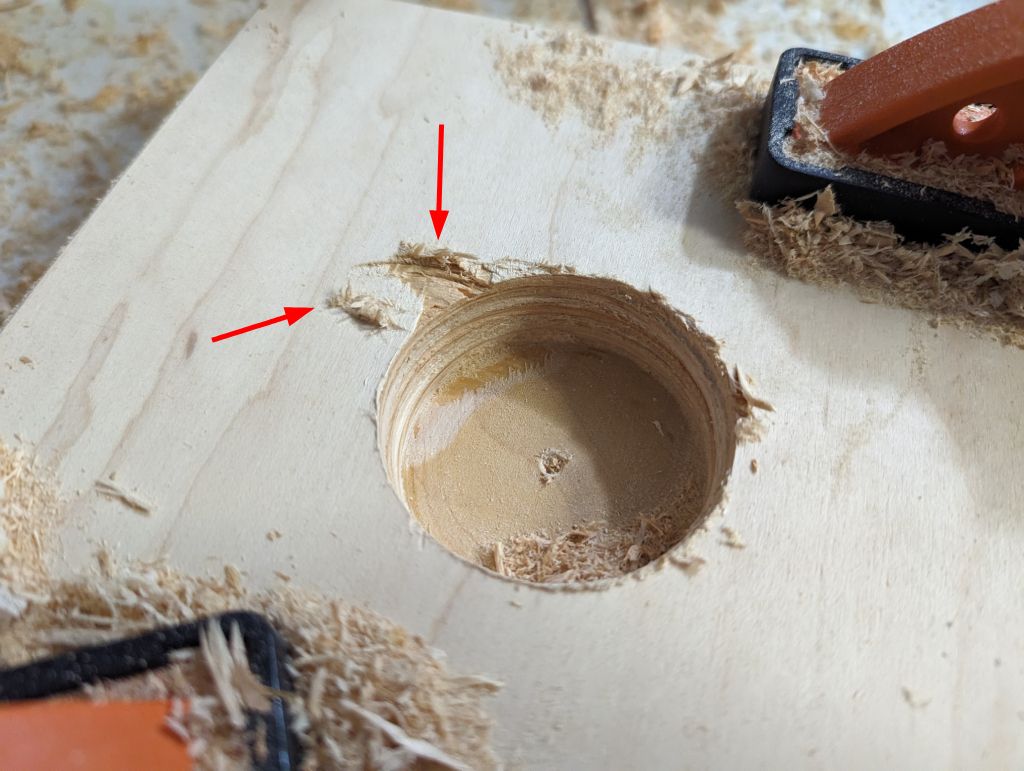
But at the last moment, the Forstner bit ensured it would have the last laugh. I was drilling through the last bit of wood, and I was almost through. I got hung on the wood. With a still-spinning large drill bit suddenly stopping in the wood, the momentum of the drill caused my tired wrist to buckle.
Pop.
Thankfully, not my wrist, just the drill bit. Out. Of. The. Hole. The
still-spinning drill bit then gets overtaken by gravity… and lands back onto
the lid. I quickly let go of the drill trigger to turn off the drill in this
milliseconds-long fight, but I was too late ![]()
 |
|---|
| The lid with the scarring from the drill bit landing on it |
Every issue is an opportunity to adapt. At least, it is after I calm down ![]() I’ll take care of this when I’m routing the edge of the hole later, and I’ll
show you that process in the next article!
I’ll take care of this when I’m routing the edge of the hole later, and I’ll
show you that process in the next article!
 Sum Up
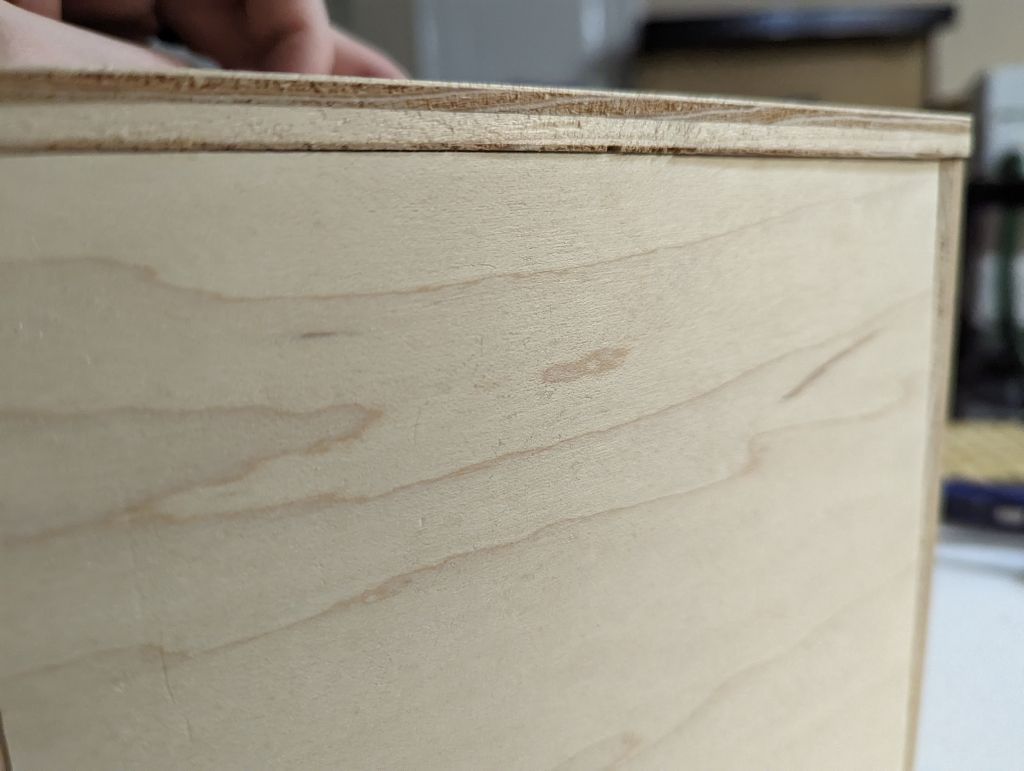
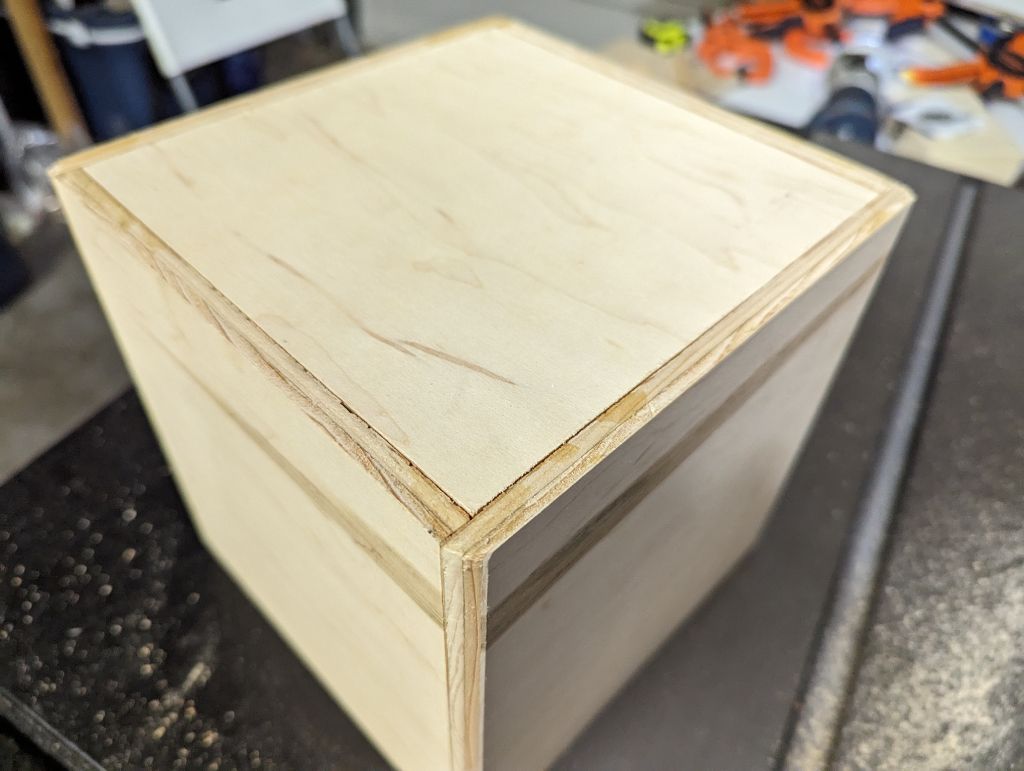
I take off all the clamps the next day, and I can see that the glue up went very well! There are minimal gaps everywhere, especially considering I didn’t properly sand the rough rabbets like I should have before gluing. Plus, the brown accent is lined up almost perfectly!
 |
|---|
| Glued assembly of the box, bottom facing up, before routing the edges |
Let’s just all pretend that I didn’t forget to take a photo of this until after
I started routing some of the edges ![]() Just consider that a sneak
peek of the next article!
Just consider that a sneak
peek of the next article!
 Next Time!
I’ll continue this build in the next article, where I’ll be using a router for
the first time since high school to round the edges, and it feels like it’s
going to eat my hand! But don’t worry, it works out in the end ![]() See you
then!
See you
then!
![]() Pixel
Pixel